Tiramisu is more than just a dessert. It feels like a celebration on a plate—a little indulgence that brings warmth and comfort. If you're looking for a way to enjoy this classic treat without alcohol, you've come to the right place.
This alcohol-free version maintains the essence of traditional tiramisu while offering a delightful experience for everyone.
Let’s explore why this recipe works so remarkably well.
Why This Recipe Works
- Rich and Creamy Texture: No compromise here! Using mascarpone and heavy whipping cream delivers that luscious texture we love. Mixing these ingredients carefully gives you the light yet rich mouthfeel that defines a great tiramisu.
- Bold Coffee Flavor: By using brewed coffee or espresso, you ensure that every bite is bursting with rich coffee notes. The addition of espresso powder further deepens that flavor profile, ensuring your dessert isn't shy on taste.
- Equality in Sweetness: The sugar balance plays a pivotal role. It sweetens the layers without overpowering the other flavors. This ensures a harmonious bite every time.
- Versatility: This tiramisu can adapt. Want to enhance flavors? Add vanilla or a spoonful of cocoa powder. Need to substitute an ingredient? Options abound. This dessert is open to interpretation without losing its essence.
How Does It Taste?
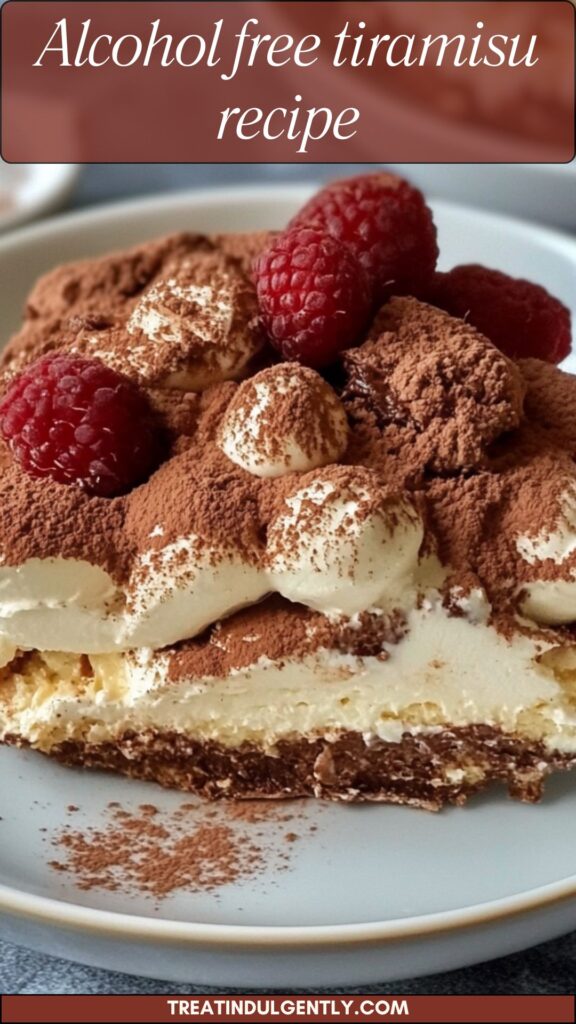
Imagine lifting your fork to a piece of tiramisu. As you bite in, the rich, creamy layer gives way, melting in your mouth. The distinct coffee flavor washes over you, complemented by a delicate sweetness. It’s a treat that feels indulgent yet inviting.
While traditional tiramisu might have a deeper complexity due to the alcohol, this version retains the cornerstone elements. The textures of ladyfingers—soft but sturdy, soaked just enough—will have you swooning.
What Sets This Recipe Apart?
Many alcohol-free tiramisu variations come off as mere imitations with little character. This recipe stands out because it embraces the core philosophy of what tiramisu should feel like.
Each layer is lovingly crafted, ensuring that the classic features shine through without any compromise.
The Ingredients
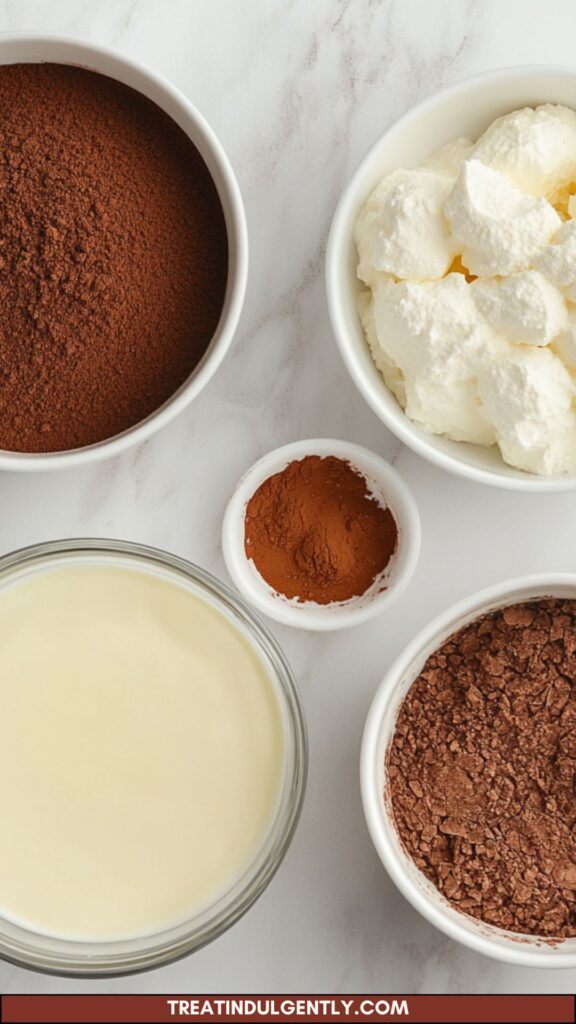
Here’s what you’ll need to bring this creation to life:
- 2 tubs of Mascarpone cheese (8 oz each): Acts as the creamy base.
- 6 large egg yolks, at room temperature: Essential for richness and flavor.
- 1 cup granulated sugar (200g): Balances the creaminess.
- 1 ½ cups strong brewed coffee or espresso, cooled to room temperature: Provides that classic coffee punch.
- 2 cups cold heavy whipping cream: For stability and fluffiness.
- 500g Savoiardi (ladyfinger) biscuits: The backbone of tiramisu.
- 1 teaspoon pure vanilla extract (optional): Adds depth.
- 2 tablespoons unsweetened cocoa powder (for dusting): That quintessential finish.
- 2 tablespoons dark rum (optional, for extra depth of flavor): You can skip this in the non-alcoholic version.
- 1 tablespoon espresso powder (optional, for a more intense coffee flavor): Enhances the coffee experience.
Instructions
Let’s get rolling with the preparation!
Step 1: Prepare Your Coffee
Start by brewing your coffee. You want a strong brew, so don't be shy on the amount of grounds! Allow it to cool to room temperature while you prep the other ingredients.
Step 2: Mix Egg Yolks and Sugar
In a mixing bowl, whisk together the egg yolks and granulated sugar. You're aiming for a pale and creamy mixture. This should take about five minutes using a hand mixer. It’s important to allow enough time here for the sugar to dissolve and combine thoroughly.
Step 3: Add Mascarpone Cheese
Now, gently fold in the mascarpone cheese. Be cautious! You want to keep that light, airy texture building up. The mixture should look creamy and smooth without any lumps.
Step 4: Whip Your Cream
In another bowl, whip the heavy cream until stiff peaks form. This brings volume and a lovely fluffiness to the filling. You want this step to be just right—over-whipping can make it grainy!
Step 5: Combine
Gradually fold the whipped cream into the mascarpone mixture. Use a spatula for soft, gentle movements. You’ll see the transformation of texture to something truly delightful.
Step 6: Soak the Ladyfingers
Take the cooled coffee and add a teaspoon of vanilla extract if you're using it. Quickly dip each ladyfinger into the coffee for no longer than a second. You don’t want them to get mushy; just enough to absorb some flavor.
Step 7: Layer Your Tiramisu
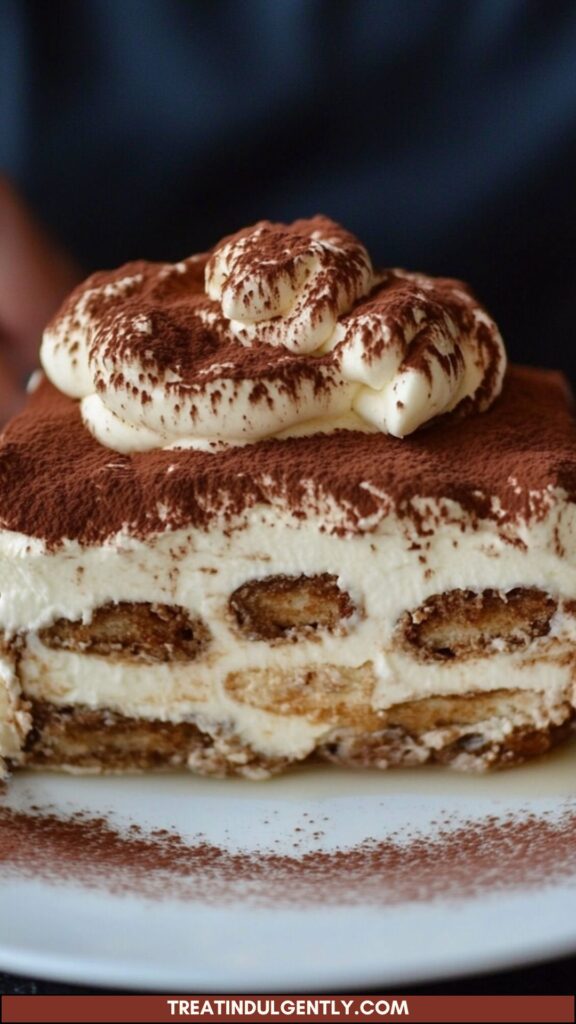
In a baking dish, place a layer of soaked ladyfingers. Spread half of the mascarpone mixture on top, smoothing it out. Repeat the process with another layer of soaked ladyfingers and the rest of the mascarpone mixture.
Step 8: Dust with Cocoa
Finally, give it a gentle dusting of cocoa powder on top. This not only adds visual appeal but also enhances the chocolatey notes.
Step 9: Chill
Refrigerate your tiramisu for at least four hours. Overnight is even better! Allowing it to rest helps all the flavors meld together beautifully.
Notes
Here are some tips to ensure your recipe is a hit:
- Make Ahead: Tiramisu keeps well, so consider making it a day before serving.
- Don’t Rush the Soaking: A quick dip is fine. Too long, and you’ll have a soggy dessert.
- Use Good Quality Ingredients: The fresher and higher quality your ingredients, the better your tiramisu.
- Temperature Matters: Ensure your ingredients—like mascarpone and eggs—are at room temperature before mixing.
- Experiment with Flavors: Feel free to add a hint of orange zest or cocoa nibs for an added twist.
Nutrition Information
Here's the breakdown of nutrition per serving:
- Calories: ~370
- Total Fat: 25g
- Saturated Fat: 15g
- Cholesterol: 115mg
- Sodium: 65mg
- Total Carbohydrates: 34g
- Dietary Fiber: 1g
- Sugars: 24g
- Protein: 6g
How Do You Store This Alcohol-Free Tiramisu?
Tiramisu is best when chilled. Cover it tightly to avoid absorbing any unwanted odors from your fridge. It should stay fresh for about three to four days.
If you’ve got leftovers (lucky you!), keep them stored in individual portions for a quick treat.
Sides for Alcohol-Free Tiramisu
Complementing this dessert can elevate your dining experience. Here are a few suggestions:
- Fresh Fruit Salad: A crisp and bright salad featuring seasonal fruits can cleanse the palate. Think strawberries, blueberries, and kiwi.
- Ice Cream or Gelato: A scoop of vanilla ice cream or coffee gelato can add another creamy dimension to your dessert table.
- Chocolate-Covered Espresso Beans: These little bites add texture and an extra coffee kick, creating a delightful pairing with your tiramisu.
Ingredient Alternatives
Not everything may be available when you want to make this dessert. Here are some smart swaps:
- Mascarpone: If you can’t find mascarpone, cream cheese mixed with heavy cream can serve as a substitute.
- Savoiardi Biscuits: Any sponge cake can work. You can even use angel food cake cut into strips.
- Egg Yolks: For a vegan alternative, use aquafaba (the liquid from canned chickpeas) in place of egg yolks for a similar texture.
- Coffee: While traditional tiramisu uses coffee or espresso, you can substitute strong herbal tea or chocolate milk for a different take.
Conclusion
This alcohol-free tiramisu has become a favorite in my kitchen. It provides all the satisfaction of the traditional version without the drawbacks of alcohol. The rich flavors, creamy textures, and ease of preparation make it a perfect dessert for any occasion.
So go ahead—make this delightful dessert, and watch it become a staple at your gatherings! Whether you’re serving it at a dinner party, a family gathering, or just because it’s Tuesday, everyone deserves a little sweetness in their life. Enjoy!
You'll also like the following recipes!


