Ingredients
Method
Step 1: Create Your Banana Base
- Start by peeling your ripe banana and placing it in a mixing bowl. Use a fork to mash it until smooth. The riper the banana, the sweeter the taste! I love to get my littles involved in this process; it’s a fun way for them to feel included in the kitchen.
Step 2: Whip the Cream
- In another bowl, whip your heavy cream until it forms soft peaks. This might sound fancy, but all it means is that your cream should hold its shape without being too stiff. The fluffy cream will give your bars an indulgent texture!
Step 3: Combine the Ingredients
- Add the mashed banana, sweetened condensed milk, pure vanilla extract, and a pinch of sea salt to the whipped cream. Gently fold these ingredients together. Folding is a simple technique: you want to combine them without deflating the whipped cream. Don’t rush! Enjoy the process.
Step 4: Chocolate Meltdown
- In a heatproof bowl, melt your chopped chocolate with the coconut oil (or vegetable shortening). You can use a microwave in short bursts or a double boiler for more control. Stir until completely melted and smooth.
Step 5: Flavor the Chocolate
- Stir in your ground cinnamon to infuse the chocolate mixture with warmth and flavor. Honestly, this little step makes a world of difference. It adds that slightly unexpected flavor that keeps everyone guessing about your secret ingredient!
Step 6: Coat and Freeze
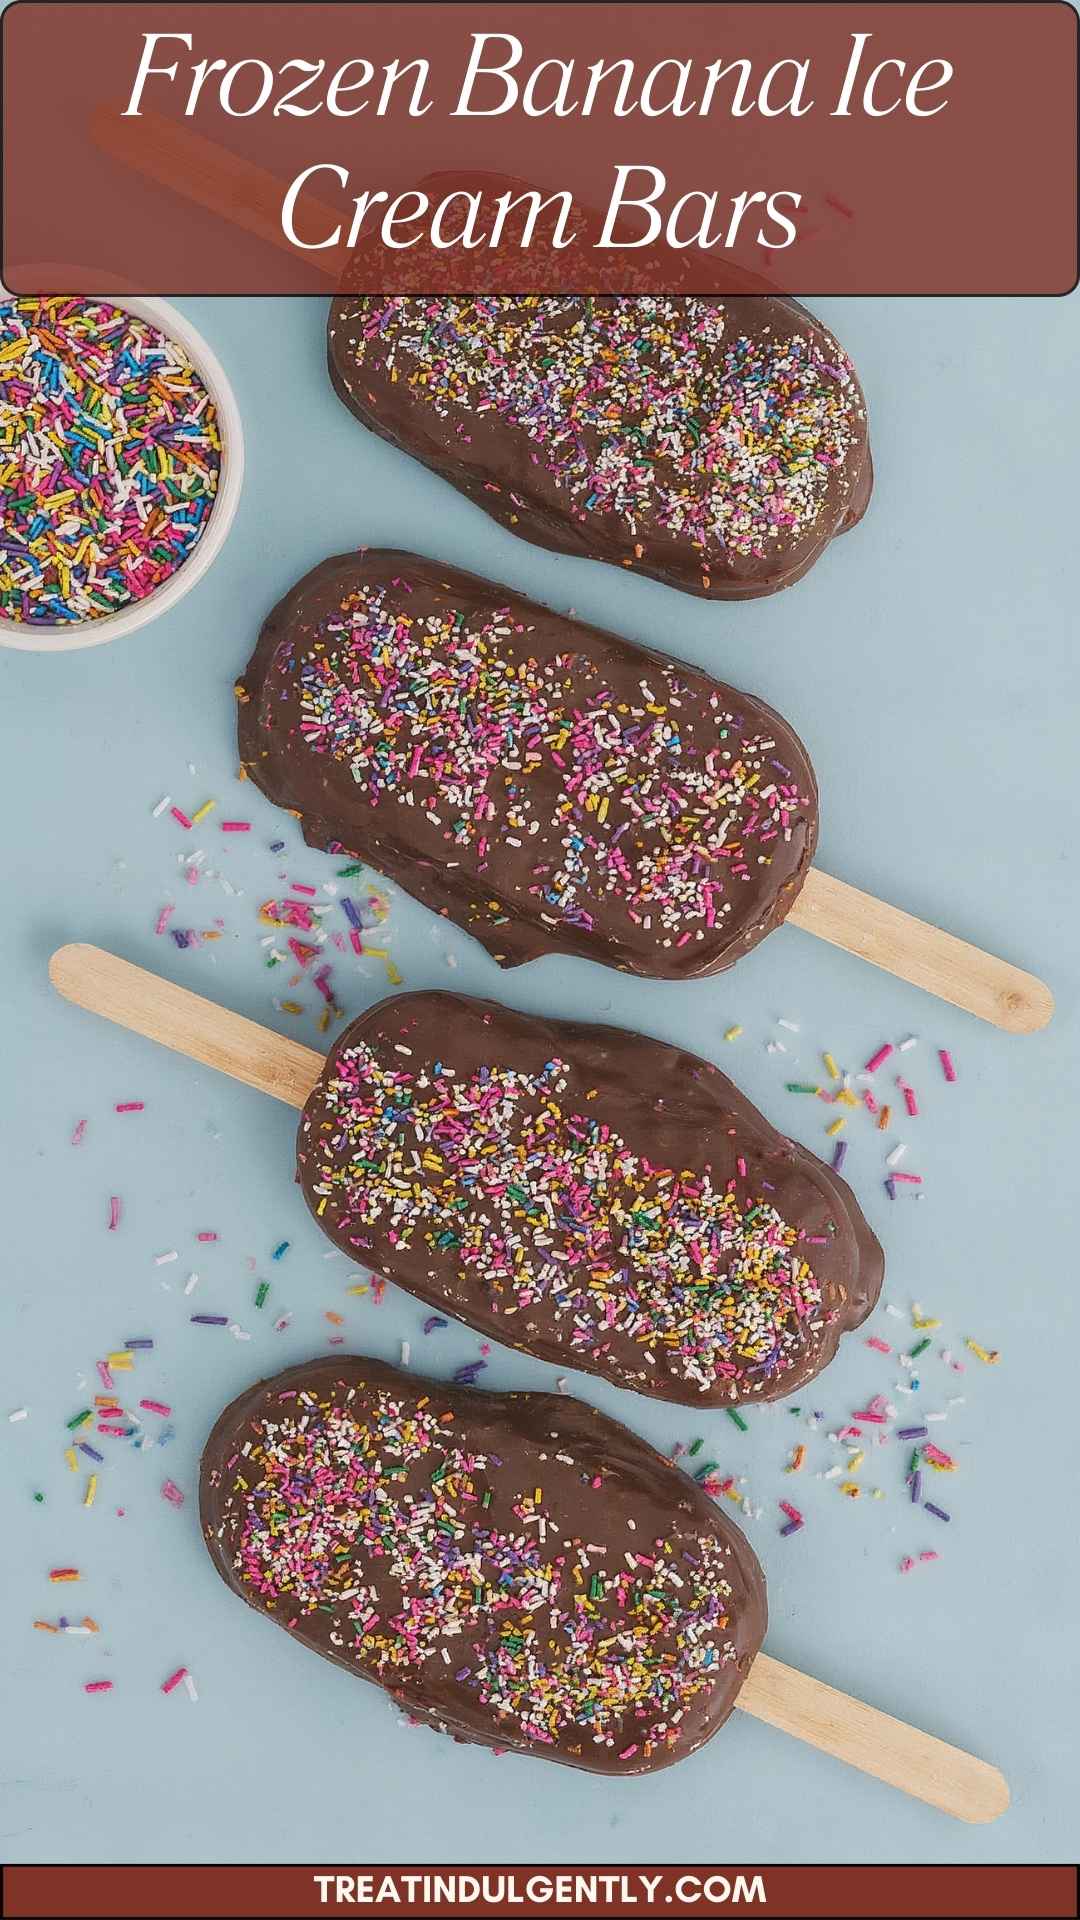
- Now, just layer the banana mixture evenly into a baking pan lined with parchment. Afterward, drizzle the melted chocolate mixture on top. Use a spatula to spread it evenly. Sprinkle the chopped toasted almonds and your choice of decorations—sprinkles or chopped nuts—onto the surface for a pop of color and crunch.
- Cover the pan with cling wrap and place it in the freezer. Let them freeze for at least 4-6 hours or overnight if you can wait that long!
Step 7: Slice and Enjoy
- Once fully frozen, take them out of the freezer, and cut them into bars. Each bar should be a piece of creamy deliciousness. If you have leftover chocolate, feel free to drizzle more on top before serving!
Notes
- Semisweet or Dark Chocolate: This is the star on top. It adds that rich flavor and balances the sweetness of the bananas.
- Heavy Whipping Cream: This ingredient provides that luscious texture, making your bars creamy rather than icy.
- Sweetened Condensed Milk: A small amount goes a long way; it adds sweetness and creaminess.
- Vanilla Extract: Pure vanilla elevates the overall flavor. Avoid imitation for best results.
- Sea Salt: Just a pinch enhances sweetness, surprising your taste buds in a good way.
- Banana: The base of this treat, a ripe banana ensures maximum sweetness and creamy texture.
- Coconut Oil: This helps the chocolate to harden nicely while adding a subtle flavor.
- Ground Cinnamon: Just a tiny bit adds warmth, making these bars feel extra special.
- Toasted Almonds and Toppings: Adds crunch and visual appeal, making your bars as fun to look at as they are to eat.