Ingredients
Method
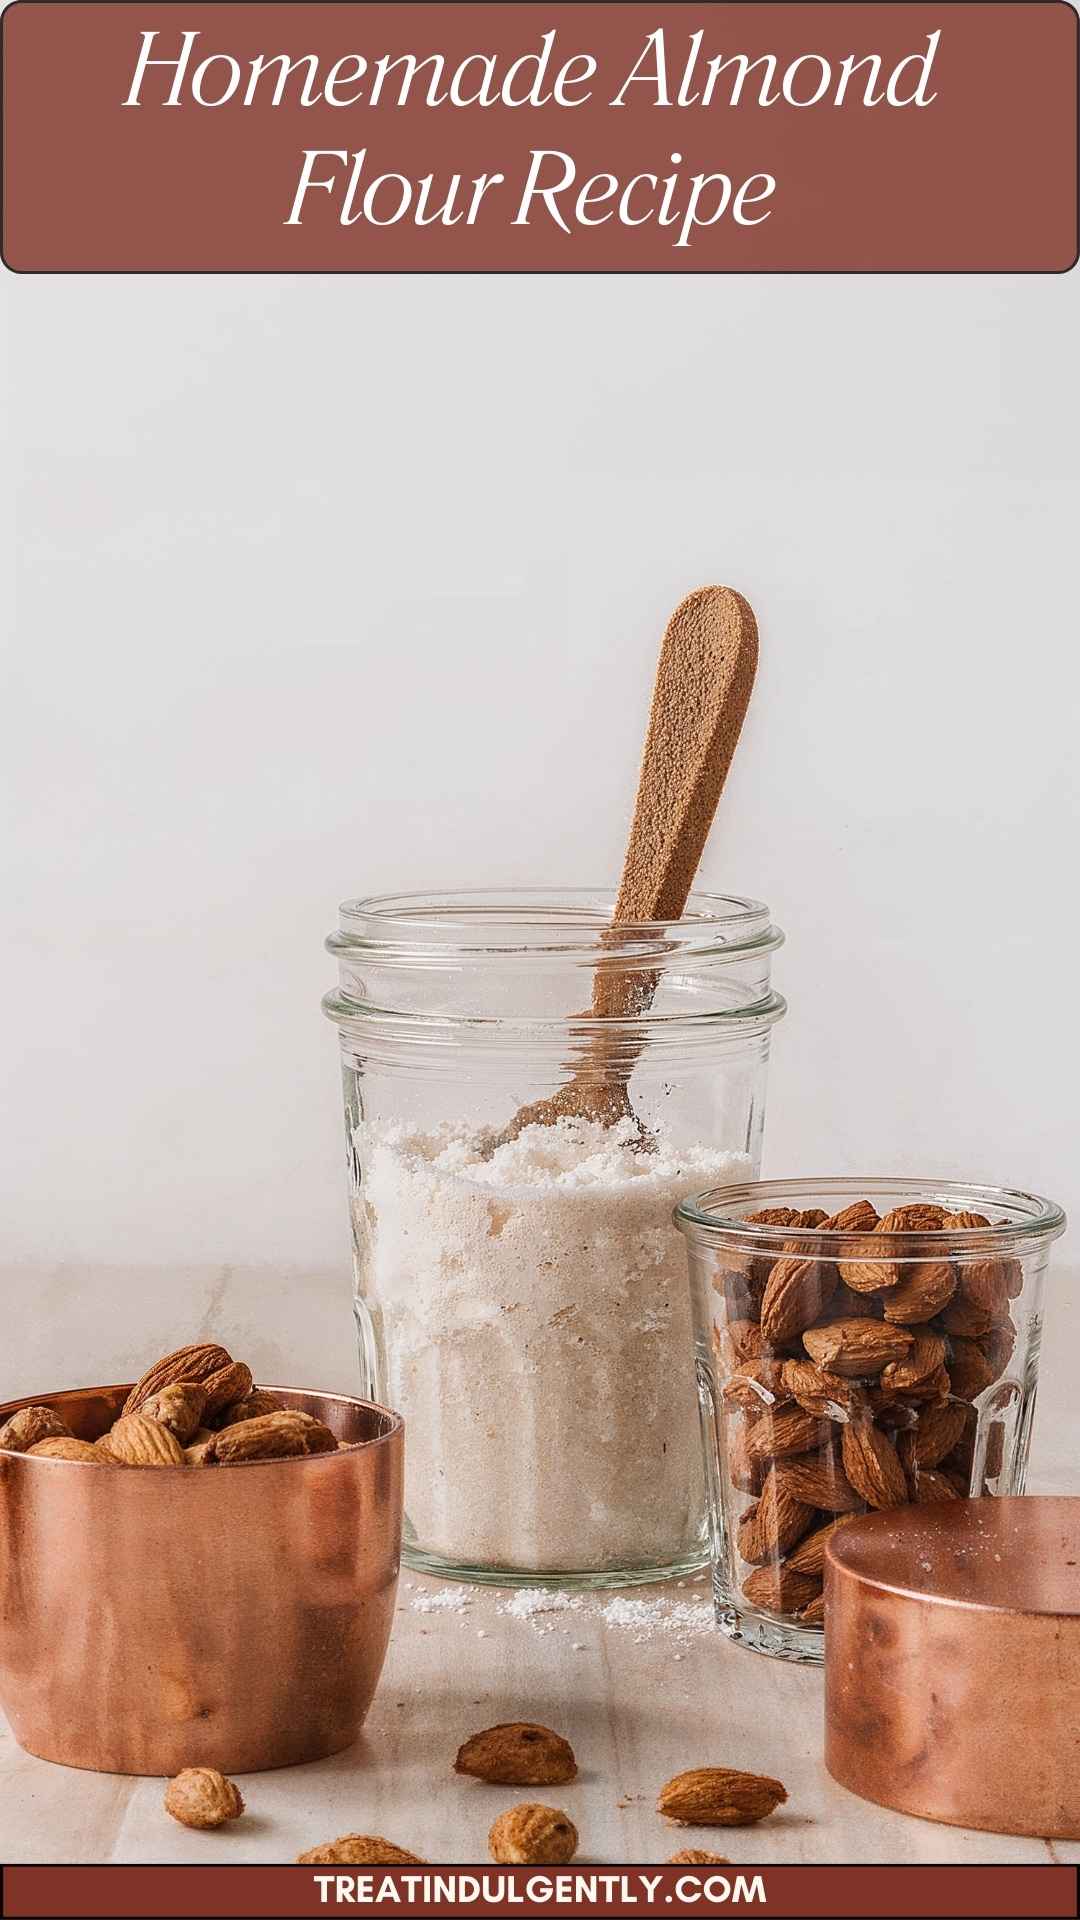
Step 1: Gather Your Ingredients
- Make sure to have everything on hand: a measuring cup, a blender or food processor, and a clean container for storing your flour. Trust me, having everything ready will make your life easier.
Step 2: Prepare the Almonds
- If you’re using raw slivered almonds, great! If you’re using blanched almonds, that’s even better for a finer flour. Rinse the almonds lightly if you prefer; after all, cleanliness is key!
Step 3: Blend the Almonds
- Place the almonds in your blender or food processor. Pulse them for about 10–15 seconds. Check the consistency; you want it to resemble coarse flour, not almond butter! Be patient. Too much blending can turn your batch gooey.
Step 4: Sift for Fineness (Optional)
- For an ultra-fine almond flour, sift your mixture through a fine mesh sieve. This step is optional, but if you’re making delicate cookies or pastries, it’s worth it.
Step 5: Store Your Flour
- Transfer your flour to an airtight container. If you have any leftover almonds, store those, too! Place the container in the fridge to maintain freshness.
Notes
- Almond type matters: Raw almonds yield more oil than blanched ones, affecting texture.
- Avoid over-processing: Keep an eye on your blender to prevent turning your almonds into almond butter.
- Sifting is key: If you're baking something light and airy, sifting really helps achieve the right texture.
- Experiment with flavors: Add herbs or spices for a twist on traditional almond flour.
- Use a high-speed blender: This makes a world of difference in achieving a fine consistency.