Ingredients
Method
Step 1: Preparing Your Ingredients
- Gather all your ingredients. Start by measuring out your flour. I like to use a food scale; it helps ensure consistency. Make a well in the center of the flour on a clean surface. This will be your mixing area.
Step 2: Mixing the Dough
- In the well, add the egg yolks, whole eggs, salt, olive oil, and squid ink. With a fork, begin to whisk the eggs gently, gradually incorporating the flour. As you mix, the dough will start to come together. Embrace the mess; it’s part of the fun!
Step 3: Kneading the Dough
- Once the dough starts forming, it’s time to switch to your hands. Knead the dough for about 8-10 minutes until it's smooth and elastic. It should feel a bit tacky but not overly sticky. If it feels too wet, sprinkle a bit more flour.
Step 4: Resting the Dough
- Wrap the kneaded dough in plastic wrap and let it rest for at least 30 minutes. This allows the gluten to relax and makes rolling it out much easier.
Step 5: Rolling Out the Pasta
- After the resting period, divide the dough into four pieces. Keep the pieces you're not currently using covered to prevent them from drying. Roll out the dough using a pasta machine or rolling pin until it’s about 1/16 inch thick. Dust with flour to prevent sticking.
Step 6: Cutting the Pasta
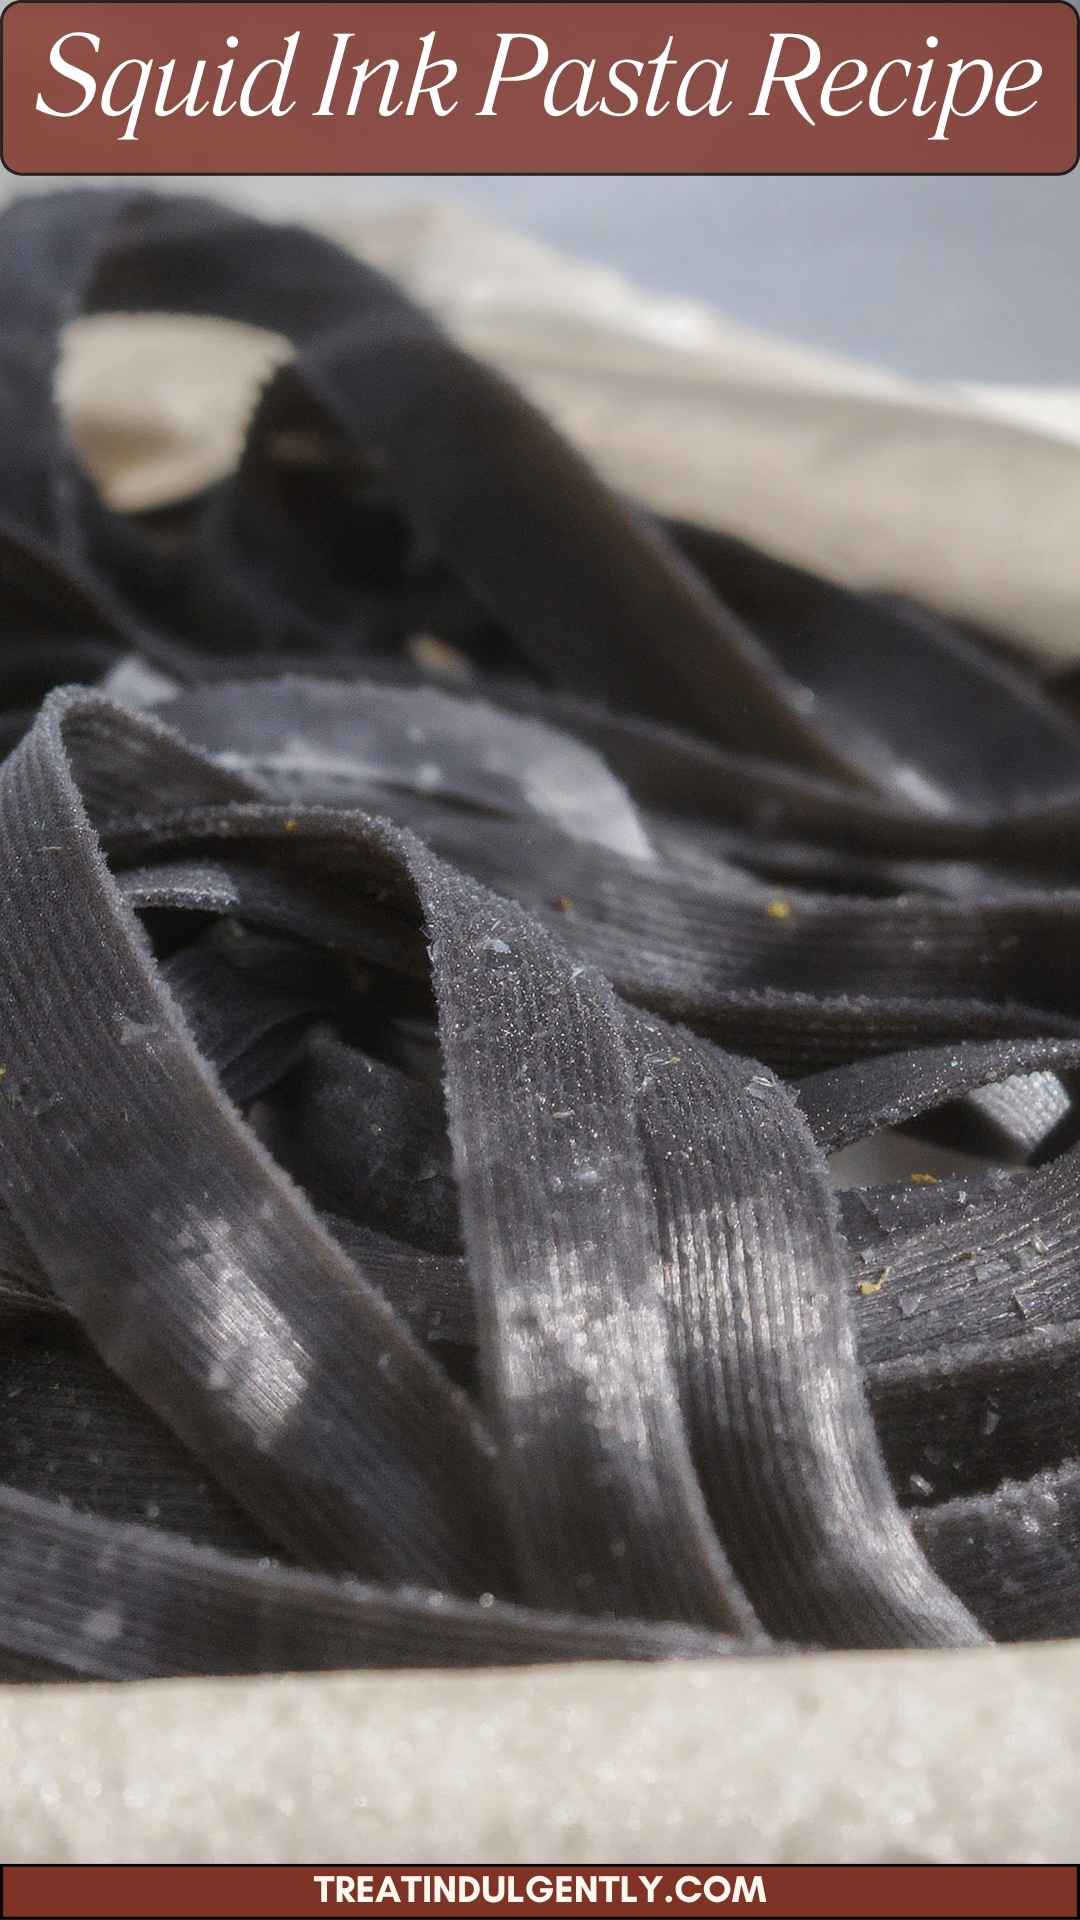
- Cut your rolled-out dough into your preferred shape. I love long strands like fettuccine, but you can go for tagliatelle or even more intricate shapes if you're feeling adventurous. Remember to dust with flour to keep the strands from clumping together.
Step 7: Cooking the Pasta
- Bring a large pot of salted water to a boil. Add the pasta and cook for about 2-3 minutes, or until it floats to the surface. Fresh pasta cooks much quicker than dried.
Step 8: Serving Your Pasta
- Drain the pasta, reserving a bit of the cooking water, and toss it with your sauce of choice. Don’t forget to have a glass of white wine handy—it pairs perfectly!
Notes
- Fresh Ingredients Matter: Use fresh eggs and high-quality squid ink to enhance flavor.
- Resting is Key: Don’t skip the resting time for the dough; it improves texture.
- Flour Wisely: Keep flour handy for dusting as you roll out and cut the pasta.
- Taste Test: Always taste your water before boiling the pasta; it should be salty like the sea!
- Experiment!: Feel free to adjust the squid ink to your liking. More ink means a softer flavor and deeper color.