Ingredients
Method
Step 1: Brew the Tea
- Start by brewing the Thai tea leaves. In a saucepan, bring 2 cups of water to a boil. Add the Thai tea leaves and simmer for about 5 minutes. Once the flavor is rich, strain out the leaves. This step is crucial; you want a strong tea base.
Step 2: Mix Egg Yolks and Sugar
- In a separate bowl, whisk the egg yolks and sugar together. You want to create a smooth paste that looks slightly pale. This ain’t a workout; it’s about a minute or two of continuous whisking.
Step 3: Combine with Cream
- Return to the saucepan with your brewed tea. Slowly pour the hot tea into the egg-sugar mixture while whisking continuously. The idea here is to temper the eggs, not scramble them!
Step 4: Cook Until Thickened
- Pour the mixture back into the saucepan and stir constantly over low heat until it thickens. This should take around 8-10 minutes. It’s all about watching that custard carefully.
Step 5: Add the Remaining Ingredients
- Once thickened, remove from heat and let it cool slightly. Add the half-and-half, vanilla extract, ground cardamom, and a pinch of salt. Stir until well combined.
Step 6: Chill the Mixture
- Refrigerate your mixture for at least 4 hours, or overnight if you can wait. Patience pays off here!
Step 7: Freeze the Ice Cream
- If you have an ice cream maker, follow the manufacturer's instructions. If not, pour your chilled mixture into a freezer-safe container and freeze. Stir the mixture every 30-45 minutes during the freezing process to break up ice crystals. After about 3-4 hours, you’ll have smooth, creamy ice cream.
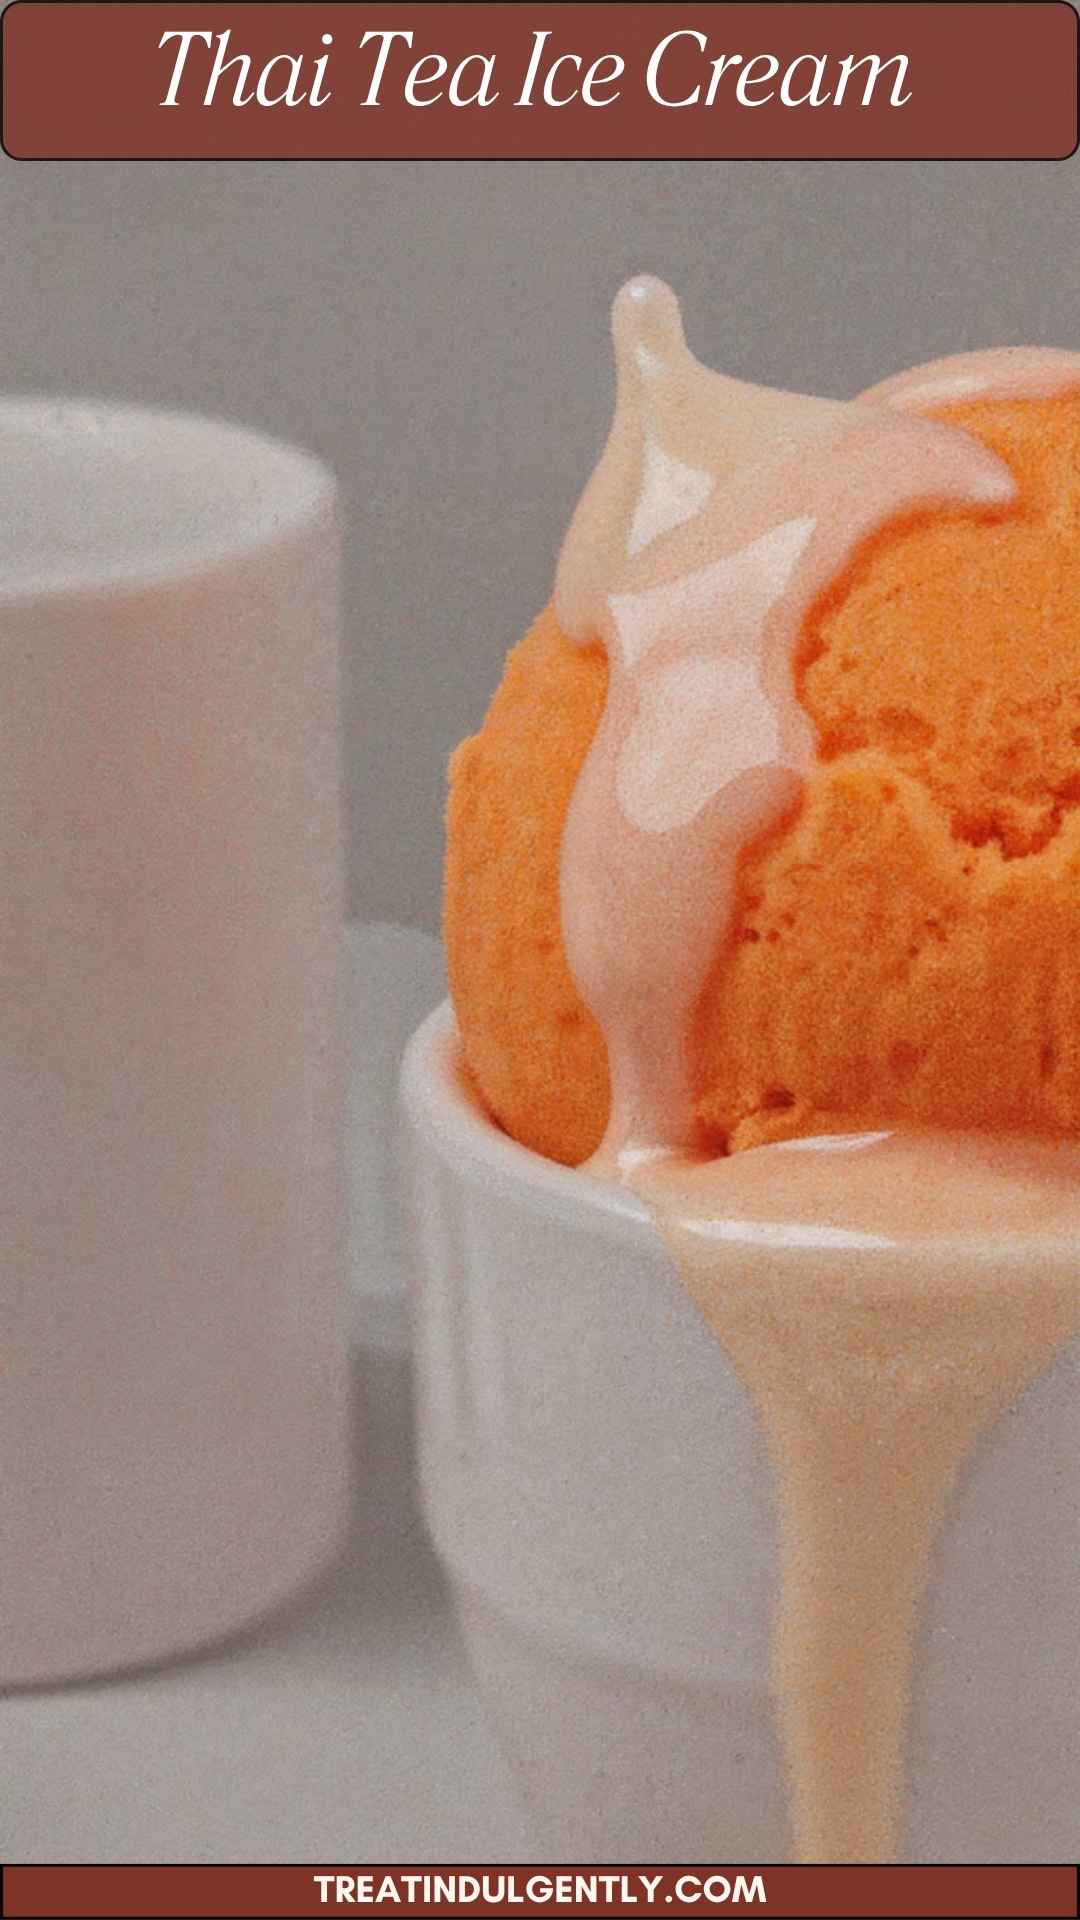
Step 8: Serve and Enjoy
- Scoop that Thai tea ice cream into bowls and drizzle with sweetened condensed milk. You’ve earned this!
Notes
- Use loose tea for best flavor: Avoid tea bags to get that full-bodied flavor.
- Keep an eye on the cooking process: Don’t rush it; the custard should not boil.
- Experiment with spice levels: If you love cardamom, feel free to add more!
- Consider adding a splash of coconut milk: This adds a tropical twist.
- Make in advance: This recipe is perfect for a make-ahead dessert.