Before we dive into the deliciousness of frozen banana ice cream bars, let’s talk about what they pair exceptionally well with. Imagine yourself sitting on a sun-drenched patio, a plate of these bars in hand, and a refreshing drink at your side. You could whip up a tangy lemonade or perhaps an iced herbal tea. Both options are light, complementary, and enhance the creamy sweetness of the banana bars.
For a more decadent experience, a scoop of vanilla or coconut ice cream alongside these bars adds a lovely creaminess. If you’re feeling a tad adventurous, sprinkle some chili powder on your chocolate for a surprising kick! Trust me, it’s a delightful contrast that dances on the palate.
Now, grab your apron, and let’s embark on this sweet adventure!
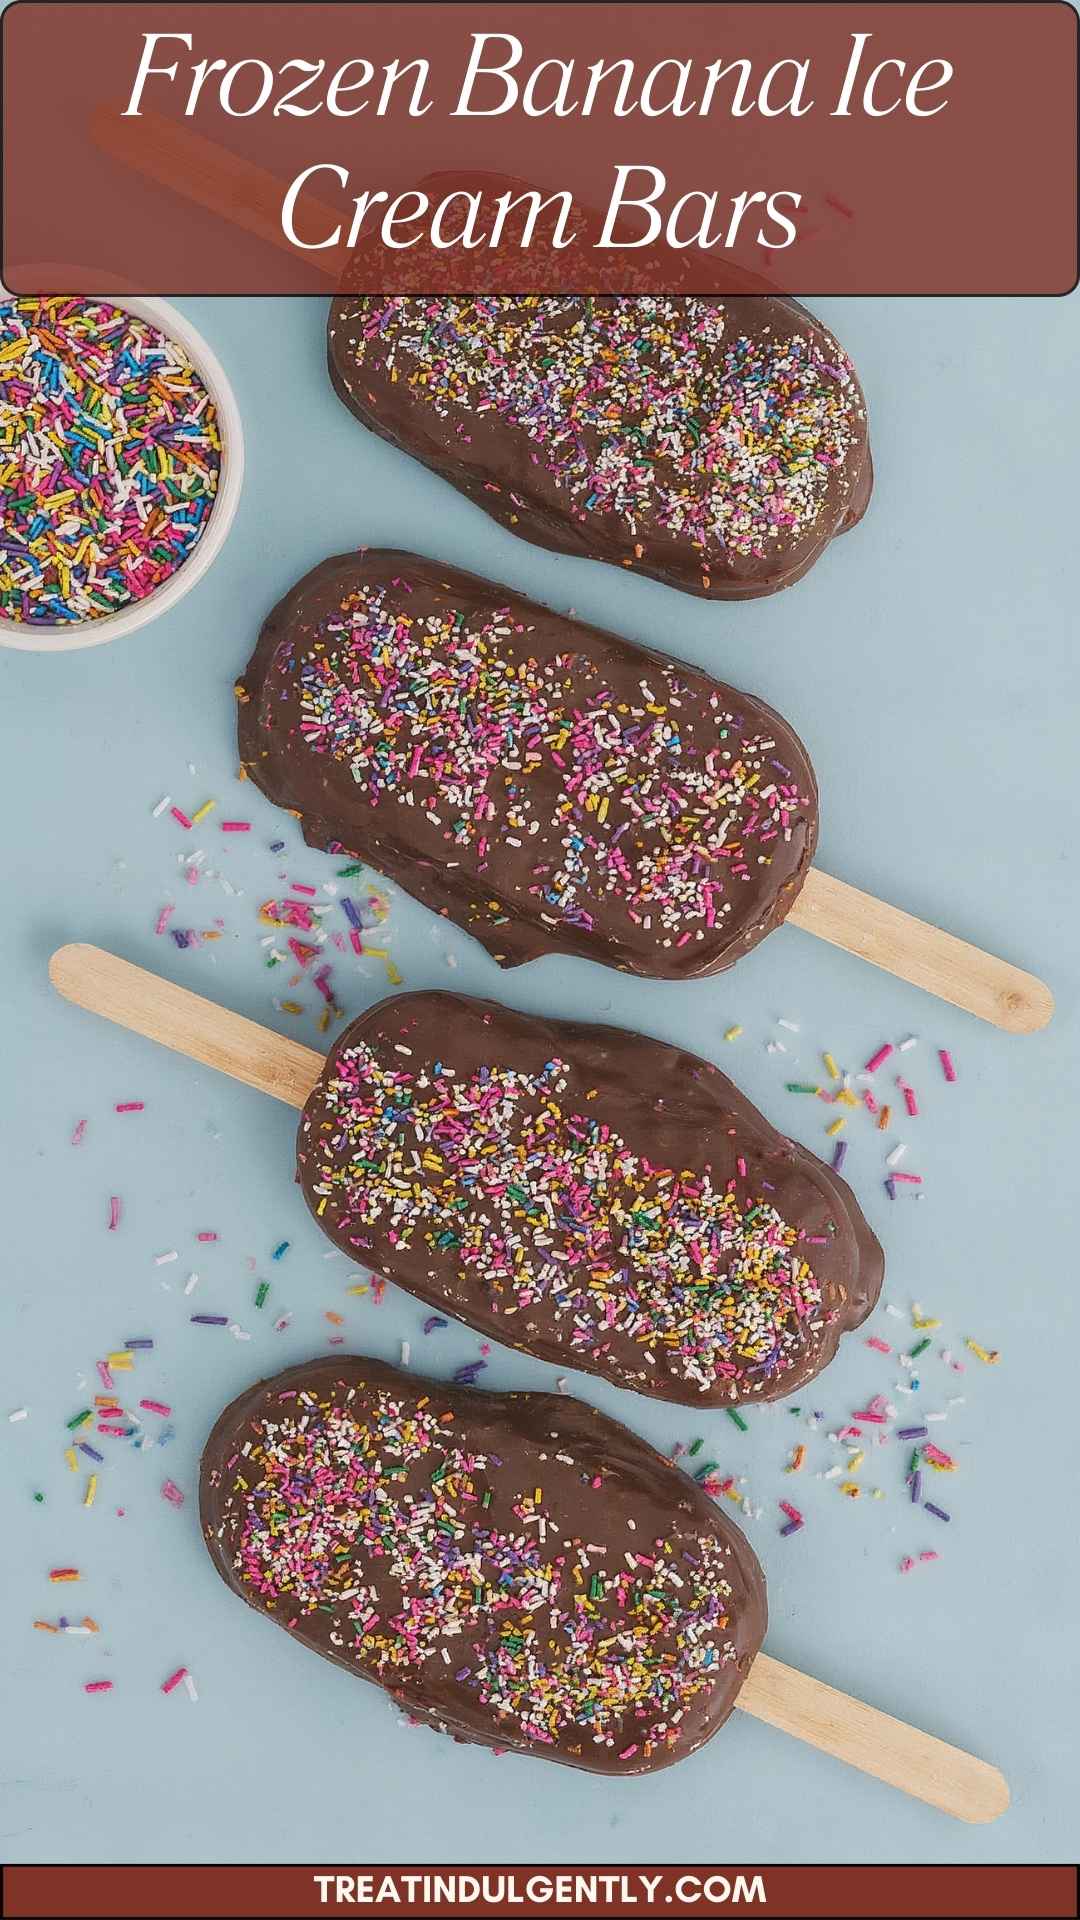
Why Frozen Banana Ice Cream Bars Are a Game Changer
Picture this: it’s a scorching summer day, and you’re craving something refreshing and sweet. But you also want to keep it healthy. Enter frozen banana ice cream bars. Not only do they satisfy that sweet tooth, ensuring you enjoy every bite, but they also incorporate wholesome ingredients that make you feel good.
What makes this recipe so appealing? First, bananas are a wonderful natural sweetener. They bring creaminess while being low in calories. Plus, they’re rich in potassium and vitamins, which is a lovely boost for your health. Using simple ingredients, I can create something indulgent that doesn’t compromise on nutrition.
In a few moments, you’ll learn to whip up these delightful bars yourself. You’ll impress your friends and family, guaranteed!
My Journey with Frozen Banana Ice Cream Bars
Let me take you back to the first time I made these frozen banana ice cream bars. I was standing in my kitchen, staring at a bunch of overripe bananas. They were a bit too mushy for my taste in smoothies. That’s when inspiration struck! I had seen frozen banana ice cream floating around social media and thought, “Why not turn them into bars?” After a few tries and taste tests, I landed on the perfect combination.
Incorporating creamy chocolate, a hint of cinnamon, and crunchy almonds was my personal twist. And trust me, once you make them yourself, you’ll have that satisfied grin that short-circuits any summer heat.
Ingredients
Here’s what you’ll need to create these fantastic frozen banana ice cream bars:
8 ounces semisweet or dark chocolate, finely chopped
½ cup heavy whipping cream
1 tablespoon sweetened condensed milk
¼ teaspoon pure vanilla extract
Pinch of sea salt
1 ripe banana, mashed (about ½ cup)
1-2 tablespoons coconut oil or neutral vegetable shortening
½ teaspoon ground cinnamon
1 teaspoon finely chopped toasted almonds
Sprinkles or chopped nuts, for decoration
Let’s dive into the magic of making these treats!
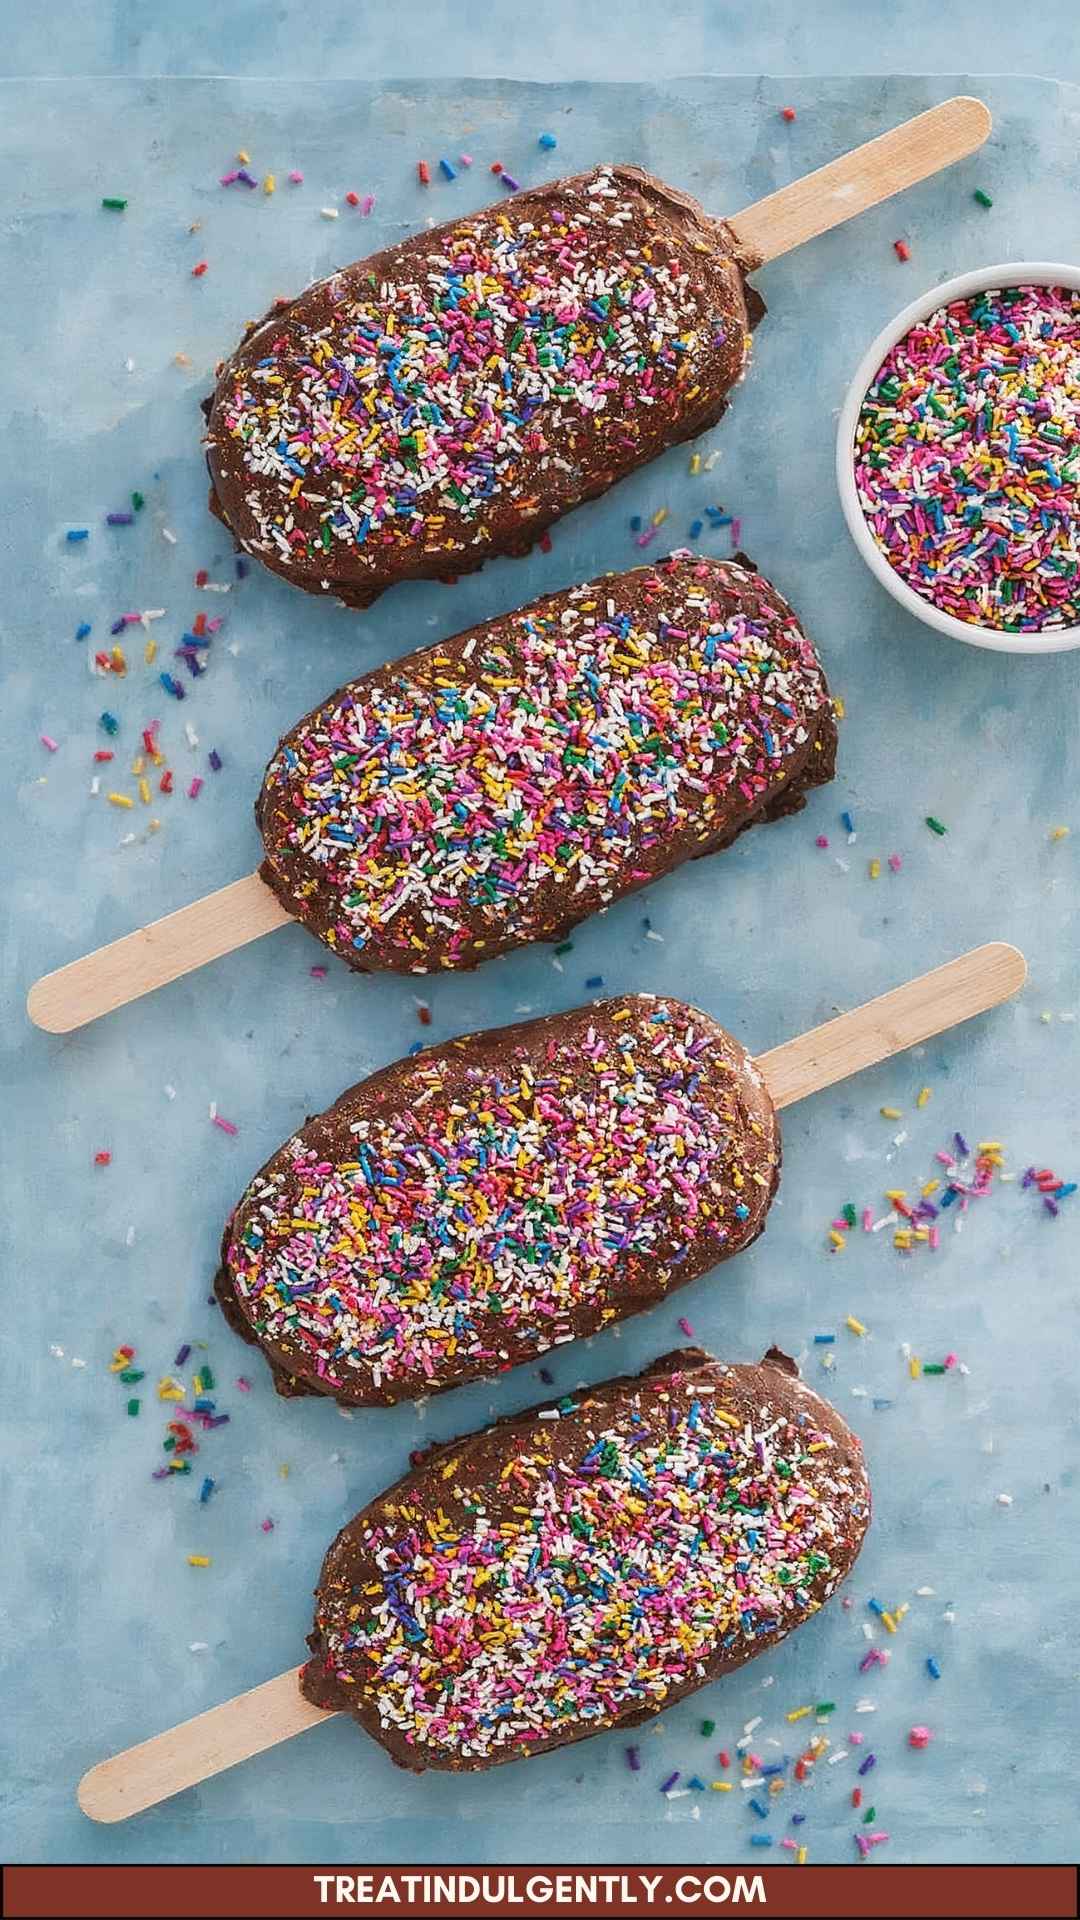
How to Make Frozen Banana Ice Cream Bars
Ready to create a frozen dessert that will knock your socks off? Here’s a detailed step-by-step guide to making your frozen banana ice cream bars.
Step 1: Create Your Banana Base
Start by peeling your ripe banana and placing it in a mixing bowl. Use a fork to mash it until smooth. The riper the banana, the sweeter the taste! I love to get my littles involved in this process; it’s a fun way for them to feel included in the kitchen.
Step 2: Whip the Cream
In another bowl, whip your heavy cream until it forms soft peaks. This might sound fancy, but all it means is that your cream should hold its shape without being too stiff. The fluffy cream will give your bars an indulgent texture!
Step 3: Combine the Ingredients
Add the mashed banana, sweetened condensed milk, pure vanilla extract, and a pinch of sea salt to the whipped cream. Gently fold these ingredients together. Folding is a simple technique: you want to combine them without deflating the whipped cream. Don’t rush! Enjoy the process.
Step 4: Chocolate Meltdown
In a heatproof bowl, melt your chopped chocolate with the coconut oil (or vegetable shortening). You can use a microwave in short bursts or a double boiler for more control. Stir until completely melted and smooth.
Step 5: Flavor the Chocolate
Stir in your ground cinnamon to infuse the chocolate mixture with warmth and flavor. Honestly, this little step makes a world of difference. It adds that slightly unexpected flavor that keeps everyone guessing about your secret ingredient!
Step 6: Coat and Freeze
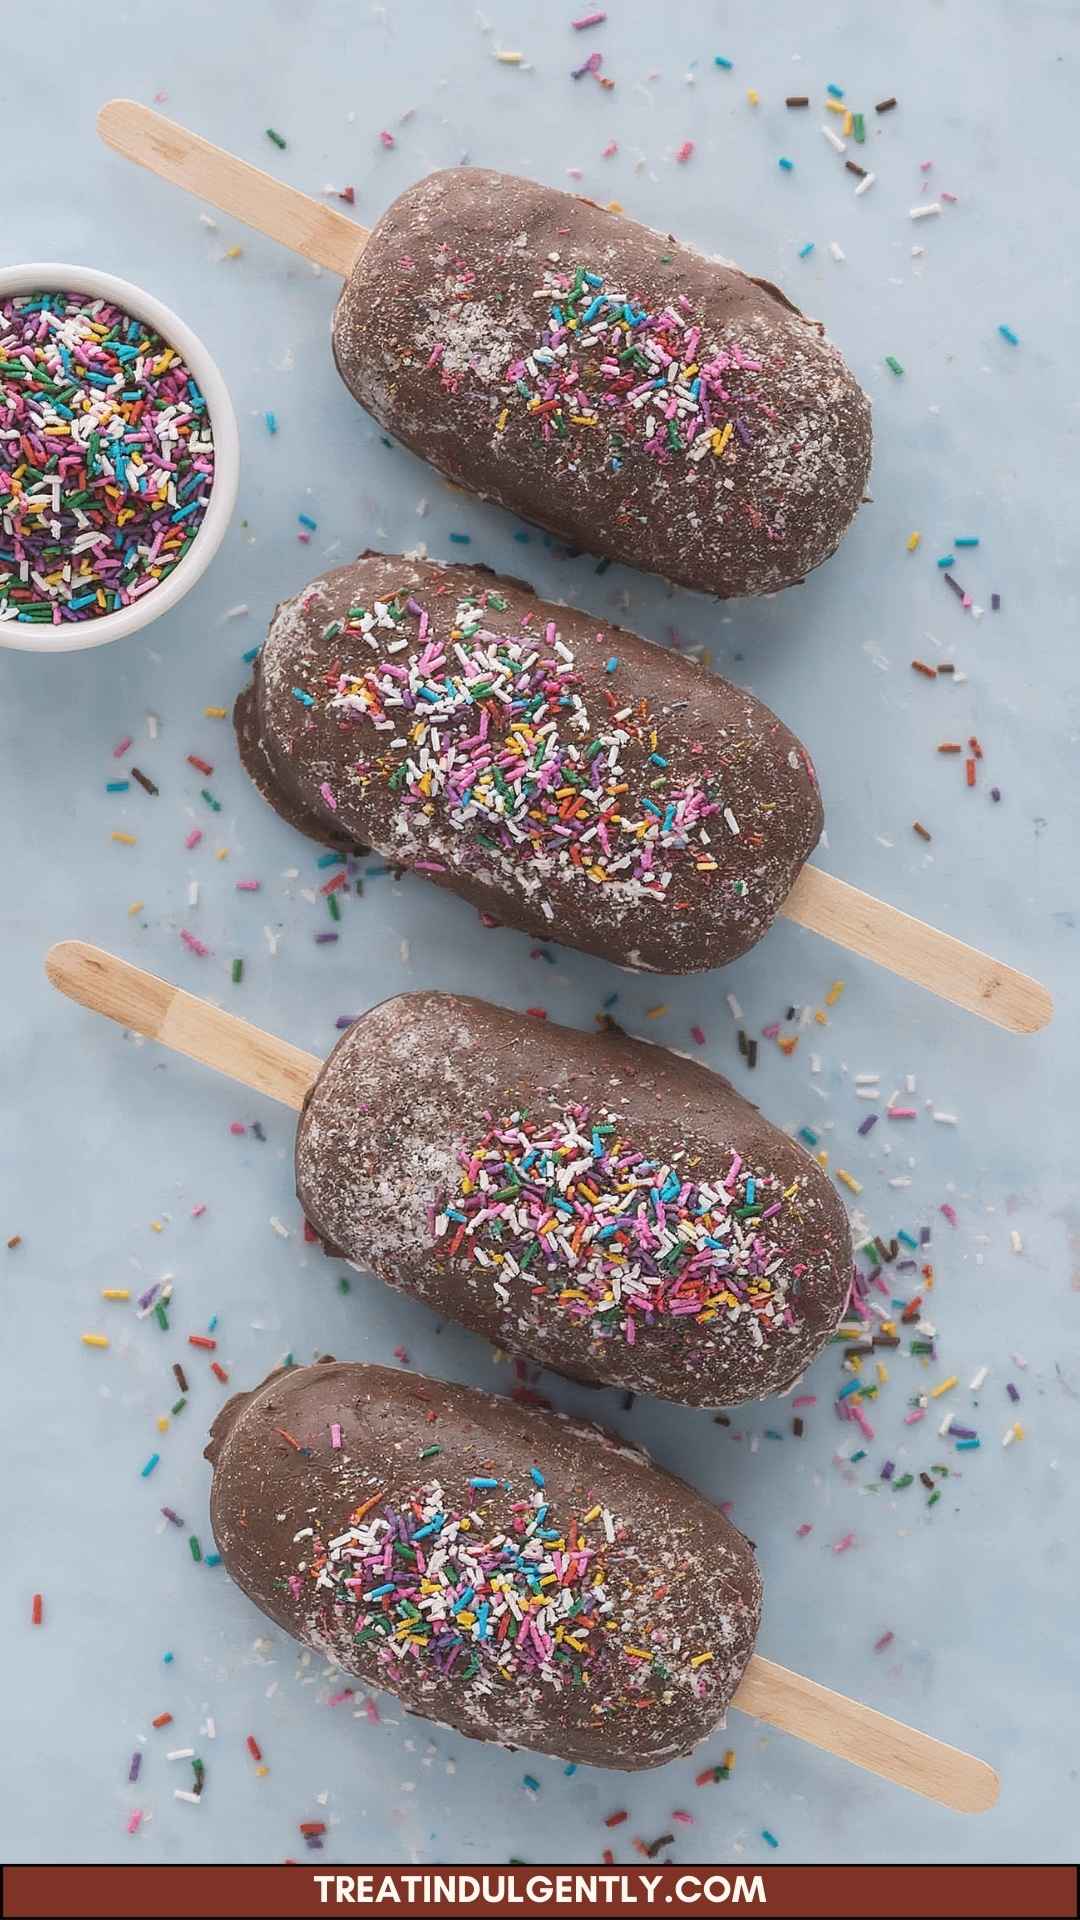
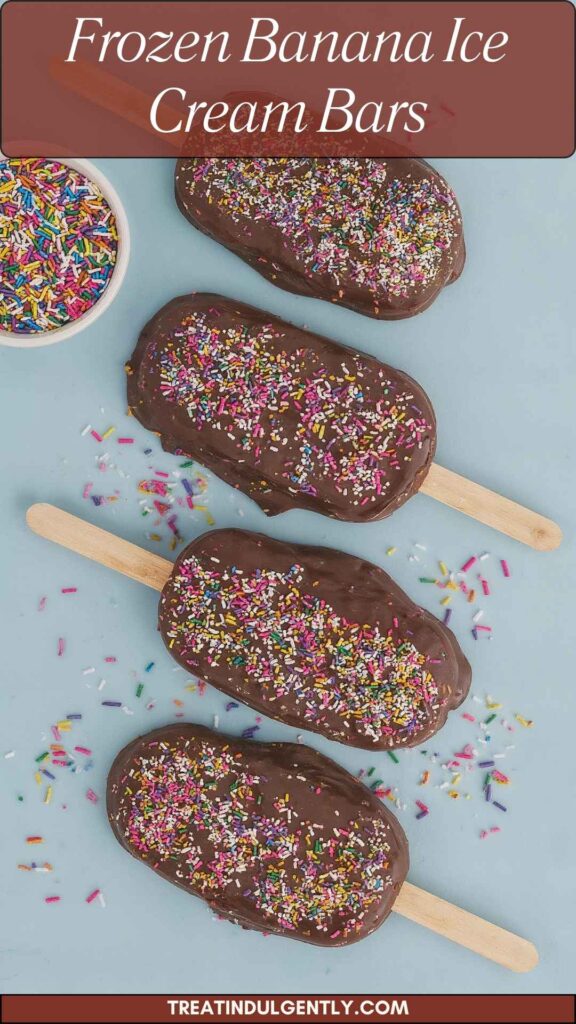
Now, just layer the banana mixture evenly into a baking pan lined with parchment. Afterward, drizzle the melted chocolate mixture on top. Use a spatula to spread it evenly. Sprinkle the chopped toasted almonds and your choice of decorations—sprinkles or chopped nuts—onto the surface for a pop of color and crunch.
Cover the pan with cling wrap and place it in the freezer. Let them freeze for at least 4-6 hours or overnight if you can wait that long!
Step 7: Slice and Enjoy
Once fully frozen, take them out of the freezer, and cut them into bars. Each bar should be a piece of creamy deliciousness. If you have leftover chocolate, feel free to drizzle more on top before serving!
Recipe Notes
Let’s break down each ingredient’s role to give you a better understanding:
Semisweet or Dark Chocolate: This is the star on top. It adds that rich flavor and balances the sweetness of the bananas.
Heavy Whipping Cream: This ingredient provides that luscious texture, making your bars creamy rather than icy.
Sweetened Condensed Milk: A small amount goes a long way; it adds sweetness and creaminess.
Vanilla Extract: Pure vanilla elevates the overall flavor. Avoid imitation for best results.
Sea Salt: Just a pinch enhances sweetness, surprising your taste buds in a good way.
Banana: The base of this treat, a ripe banana ensures maximum sweetness and creamy texture.
Coconut Oil: This helps the chocolate to harden nicely while adding a subtle flavor.
Ground Cinnamon: Just a tiny bit adds warmth, making these bars feel extra special.
Toasted Almonds and Toppings: Adds crunch and visual appeal, making your bars as fun to look at as they are to eat.
Recipe Variations
Feel like mixing things up? Here are a few variations to try:
Peanut Butter Fudge Bars: Swirl in some peanut butter for that classic banana and peanut combo.
Berry Blast: Add some crushed berries to the banana mixture. Think strawberries or blueberries for a refreshing twist.
Nut-Free Version: Swap out the nuts for seeds like sunflower or pumpkin seeds if someone has allergies.
Yogurt Layers: Use Greek yogurt mixed with honey instead of the banana for a tangy, creamy version.
Tropical Delight: Toss in some diced pineapple for a tropical flavor explosion.
Minty Fresh: Add mint extract for a fresh take and some greenery.
Conclusion
There you have it! Homemade frozen banana ice cream bars that are not only easy to make but also incredibly satisfying. They’re a guilt-free treat that will impress the most discerning dessert lovers. Whether you serve them at a summer gathering or keep them as your personal secret stash, these bars are sure to become a staple in your kitchen repertoire.
So, grab those ripe bananas and get going! You won’t regret it. Happy creating!
You’ll also like the following Recipes!
- Triple Ginger Snap Cookies
- Raspberry Russian Cocktail
- Creamy Sun-Dried Tomato and Italian Sausage Pasta
Frozen Banana Ice Cream Bars – Treat Indulgently
Description
Before we dive into the deliciousness of frozen banana ice cream bars, let’s talk about what they pair exceptionally well with. Imagine yourself sitting on a sun-drenched patio, a plate of these bars in hand, and a refreshing drink at your side. You could whip up a tangy lemonade or perhaps an iced herbal tea. Both options are light, complementary, and enhance the creamy sweetness of the banana bars.
Ingredients
Instructions
Step 1: Create Your Banana Base
-
Start by peeling your ripe banana and placing it in a mixing bowl. Use a fork to mash it until smooth. The riper the banana, the sweeter the taste! I love to get my littles involved in this process; it’s a fun way for them to feel included in the kitchen.
Step 2: Whip the Cream
-
In another bowl, whip your heavy cream until it forms soft peaks. This might sound fancy, but all it means is that your cream should hold its shape without being too stiff. The fluffy cream will give your bars an indulgent texture!
Step 3: Combine the Ingredients
-
Add the mashed banana, sweetened condensed milk, pure vanilla extract, and a pinch of sea salt to the whipped cream. Gently fold these ingredients together. Folding is a simple technique: you want to combine them without deflating the whipped cream. Don’t rush! Enjoy the process.
Step 4: Chocolate Meltdown
-
In a heatproof bowl, melt your chopped chocolate with the coconut oil (or vegetable shortening). You can use a microwave in short bursts or a double boiler for more control. Stir until completely melted and smooth.
Step 5: Flavor the Chocolate
-
Stir in your ground cinnamon to infuse the chocolate mixture with warmth and flavor. Honestly, this little step makes a world of difference. It adds that slightly unexpected flavor that keeps everyone guessing about your secret ingredient!
Step 6: Coat and Freeze
-
Now, just layer the banana mixture evenly into a baking pan lined with parchment. Afterward, drizzle the melted chocolate mixture on top. Use a spatula to spread it evenly. Sprinkle the chopped toasted almonds and your choice of decorations—sprinkles or chopped nuts—onto the surface for a pop of color and crunch.
-
Cover the pan with cling wrap and place it in the freezer. Let them freeze for at least 4-6 hours or overnight if you can wait that long!
Step 7: Slice and Enjoy
-
Once fully frozen, take them out of the freezer, and cut them into bars. Each bar should be a piece of creamy deliciousness. If you have leftover chocolate, feel free to drizzle more on top before serving!
Nutrition Facts
Servings 4
- Amount Per Serving
- Calories 440kcal
- % Daily Value *
- Total Fat 34.8g54%
- Saturated Fat 19.4g97%
- Cholesterol 25mg9%
- Sodium 19mg1%
- Total Carbohydrate 27g9%
- Dietary Fiber 6g24%
- Sugars 14g
- Protein 5g10%
* Percent Daily Values are based on a 2,000 calorie diet. Your daily value may be higher or lower depending on your calorie needs.
Note
- Semisweet or Dark Chocolate: This is the star on top. It adds that rich flavor and balances the sweetness of the bananas.
- Heavy Whipping Cream: This ingredient provides that luscious texture, making your bars creamy rather than icy.
- Sweetened Condensed Milk: A small amount goes a long way; it adds sweetness and creaminess.
- Vanilla Extract: Pure vanilla elevates the overall flavor. Avoid imitation for best results.
- Sea Salt: Just a pinch enhances sweetness, surprising your taste buds in a good way.
- Banana: The base of this treat, a ripe banana ensures maximum sweetness and creamy texture.
- Coconut Oil: This helps the chocolate to harden nicely while adding a subtle flavor.
- Ground Cinnamon: Just a tiny bit adds warmth, making these bars feel extra special.
- Toasted Almonds and Toppings: Adds crunch and visual appeal, making your bars as fun to look at as they are to eat.


