Before diving into the sweet world of homemade raspberry pectin gummies, it’s essential to consider the perfect pairings that will enhance the flavor and overall experience.
While these chewy delights are wonderful on their own, they truly shine when paired with the right accompaniments. Here are some ideas to elevate your raspberry gummies:
First up, fresh mint tea is a fantastic pairing. The light and refreshing notes of mint beautifully complement the sweet-tart raspberry flavor.
Brew a soothing cup of mint tea to sip alongside your gummies, adding a touch of calmness to your treat.
For a more indulgent twist, try dark chocolate dips. The bitterness of melted dark chocolate offers a lovely contrast to the sweetness of the gummies, creating a balanced and decadent combination.
Alternatively, for a healthier yet equally delicious option, layer your gummies in a Greek yogurt parfait with granola. The combination of creamy yogurt, crunchy granola, and chewy gummies provides a delightful mix of textures and flavors.
Lastly, a fruit salad featuring a variety of berries, citrus fruits, and melons pairs beautifully with raspberry gummies.
The fresh, vibrant fruits enhance the tartness of the gummies, adding a refreshing contrast that elevates the entire snack experience. These pairings will make your raspberry pectin gummies even more irresistible.
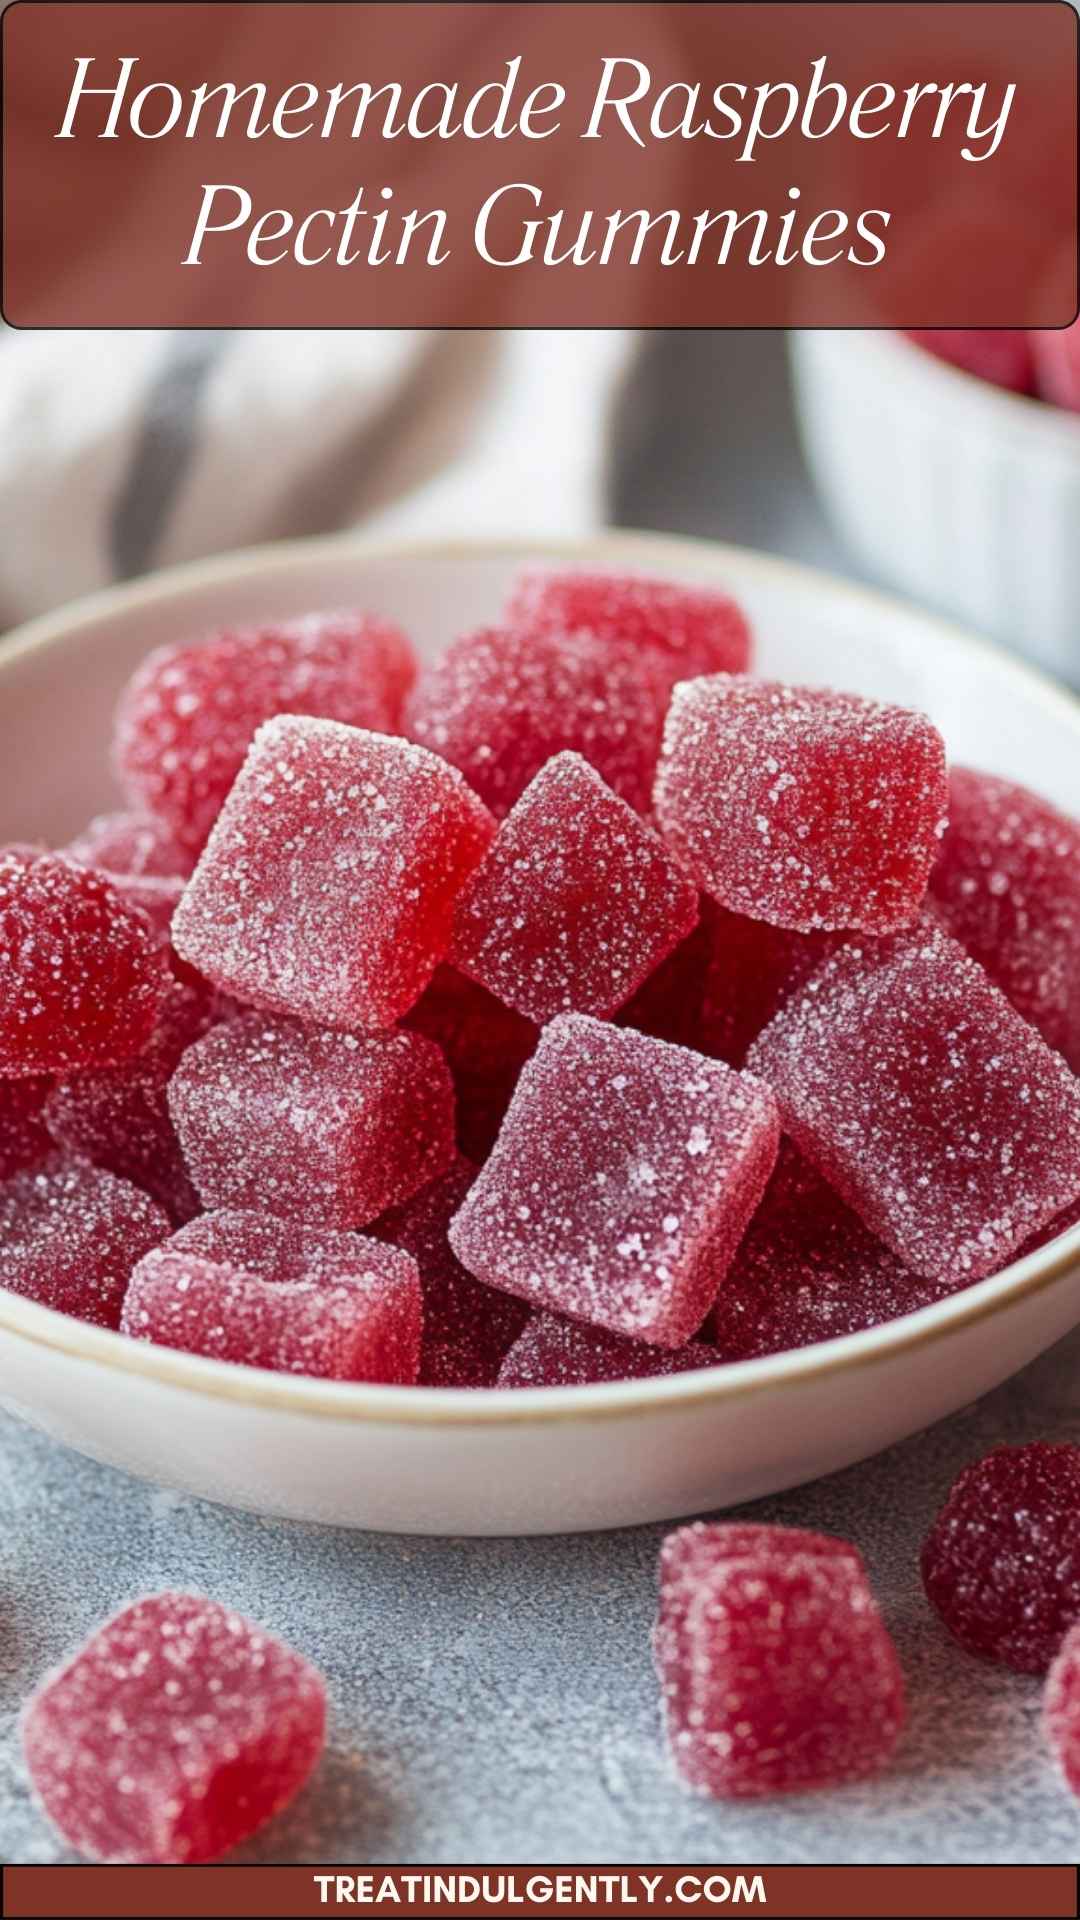
What Are Homemade Raspberry Pectin Gummies?
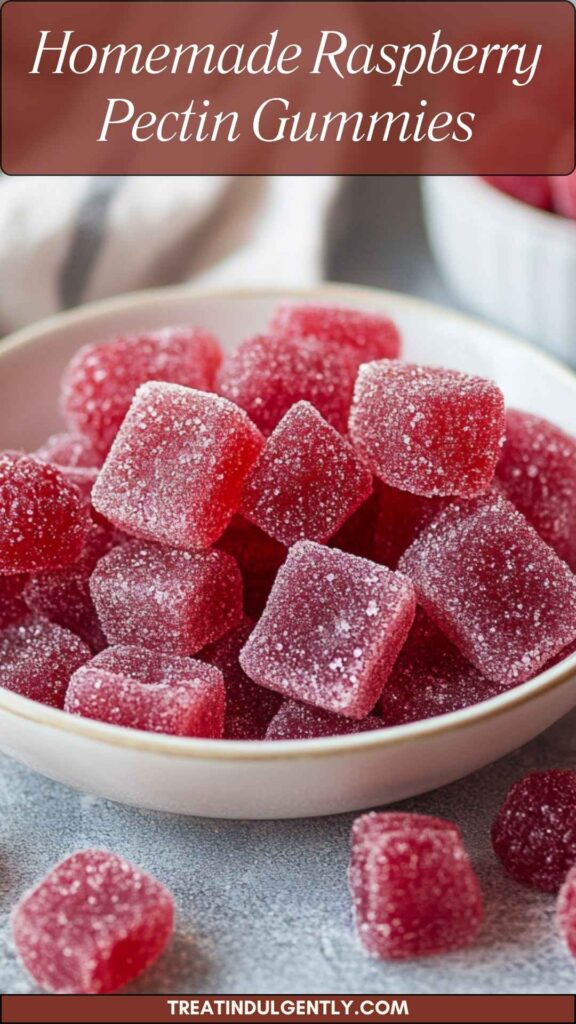
Homemade raspberry pectin gummies are chewy candies made primarily from pureed raspberries mixed with sugar and pectin.
Pectin is a natural substance that helps to thicken and stabilize. It’s found in fruits, which is why this recipe doesn’t need anything artificial to achieve that delightful gummy texture.
With simple ingredients and minimal effort, you can whip up a batch that rivals any candy shop. Plus, you get to experiment with flavors. Think beyond raspberries and add lemon or mint for a zingy twist. The sky’s the limit!
What Do Homemade Raspberry Pectin Gummies Taste Like?
Imagine biting into a burst of fruity goodness. The taste is tangy yet sweet, showcasing the natural flavors of raspberries.
When made right, these gummies have a great balance: chewy, not overly sticky, and a delightful pop of tartness. They are perfect for a snack or a sweet treat after dinner.
Why This Recipe Works
Let’s get into why this recipe stands out among others.
1. Fresh Ingredients
Using fresh or frozen raspberries ensures that the flavor is vibrant and natural. The taste of real fruit in these gummies cannot be replicated with artificial flavors. Moreover, you can control the sweetness to your liking by adjusting the sugar.
2. Easy Preparation
Preparation is straightforward. No complicated processes here. You mix, heat, and pour. It’s a terrific project for kids too, allowing for family bonding time while making sweets.
3. Customization Options
With this recipe, customization is possible. Wanna try mango? How about a hint of mint? The base remains the same; however, you can experiment with various fruits and flavors.
4. Healthier Choice
These gummies contain no artificial colors, flavors, or preservatives. You know exactly what you’re eating. Even better, you can substitute sugars or other ingredients to suit dietary needs.
Ingredients for Homemade Raspberry Pectin Gummies
Before you jump into action, let’s see what you need:
- 1¾ cups fine granulated sugar, plus extra for rolling
- 6 tablespoons classic fruit pectin
- ½ cup pure filtered water
- 18–20 ounces juicy fresh raspberries, or 20–22 ounces frozen raspberries, fully thawed
- 3 tablespoons light corn syrup
- 1 teaspoon baking soda
- ¼ cup fresh filtered water
- 1 teaspoon pure vanilla extract
- 1 teaspoon powdered citric acid
- ¼ teaspoon fine sea salt
Gather these ingredients and prepare to create something wonderful!
Step-by-Step Instructions
Let’s break down the process. Follow these steps, and you’ll have your very own batch of raspberry gummies in no time.
Step 1: Prepare the Raspberries
Start by washing fresh raspberries under cool water. If using frozen raspberries, ensure they have fully thawed, as we want to capture all their juicy goodness. Blend them in a food processor or blender until smooth. Strain the mixture through a fine-mesh sieve to remove the seeds. Set the raspberry puree aside.
Step 2: Mix Sugar and Pectin
In a medium saucepan, combine the pectin and ¼ cup of the sugar. It’s essential to blend these two first; it helps to avoid clumping when you heat it. This combo gets the pectin ready for action!
Step 3: Heat the Mixture
Add ½ cup water to the saucepan, whisk the mixture, and bring it to a gentle boil over medium heat. Whisk continuously because no one wants burned sugar! After the mixture reaches a rolling boil, let it cook for one minute.
Step 4: Add Puree and Corn Syrup
Once the mixture has boiled, reduce the heat to low and add in the raspberry puree they blend together. Then, stir in the light corn syrup, which helps prevent crystallization. Keep on stirring until everything is well combined.
Step 5: Incorporate Remaining Ingredients
Next, sprinkle in the baking soda, vanilla extract, citric acid, and sea salt. These ingredients play crucial roles: the baking soda helps to balance acidity, the vanilla adds complexity, and the citric acid enhances the tangy flavor.
Step 6: Cool and Set
Pour the mixture into a greased silicone mold or a lined baking dish. Allow it to cool at room temperature for about 20 minutes, then transfer it to the refrigerator for about 2-3 hours or until fully set.
Step 7: Cut and Roll
Once set, remove the gummies from the molds. If you used a baking dish, cut the gummies into bite-sized pieces. Roll each piece in the remaining sugar to coat. This sugar coating adds an exciting crunch and prevents sticking.
Step 8: Let the Gummies Dry
Place the coated gummies on a parchment-lined tray and let them sit at room temperature for a few hours to dry slightly. This helps improve the texture and makes them even more enjoyable.
Notes on Making Raspberry Pectin Gummies
Here are some valuable tips for the best outcomes:
- Use Quality Ingredients: Opt for high-quality raspberries. Fresh ones will yield a better flavor than overly ripe or damaged fruit.
- Avoid Overcooking: Stir while heating, and don’t overboil the mixture, or the gummies may turn out hard.
- Experiment With Shapes: Use different molds for varied shapes. Fun molds can get the kids excited about snacking!
- Sugar Alternatives: If you’re looking for a healthier version, consider using agave syrup or honey instead of sugar. Just adjust the quantities.
- Storage: Keep your gummies in an airtight container to avoid drying out.
How to Store the Leftovers?
To keep your gummies fresh, store them in an airtight container in a cool, dry place. If you live in a humid climate, refrigerating them might be a better option. Properly stored, they should last for up to two weeks, but you’ll likely eat them long before then!
Sides for Homemade Raspberry Pectin Gummies
If you want to serve these gummies as part of a larger snack spread, consider these pairings:
1. Cheese Plate:
A selection of cheeses complements the sweetness of the gummies well. Goat cheese or mild brie can be fantastic partners.
2. Nuts and Seeds:
A crunchy mix of roasted nuts or seeds adds texture. The saltiness contrasts nicely with the sweet.
3. Fruit Platter:
Pair them with other fruits to create a vibrant snack board. Include strawberries, blueberries, or even citrus fruits.
4. Whipped Cream:
Top a dollop of whipped cream with a few raspberry gummies for a simple yet delightful dessert.
Alternative Choices for Ingredients
If you don’t have certain ingredients in your pantry, don’t worry! Here are some alternatives that you can consider:
1. Different Fruits:
Canned peaches or strawberries can be substituted for raspberries. Just ensure to blend them until smooth.
2. Gelatin Instead of Pectin:
If you don’t have pectin, gelatin can be a good substitute. Use the same quantity but note that the gummies may have a different texture.
3. Alternative Sweeteners:
Honey, agave, or maple syrup can replace granulated sugar, though adjustments in quantity will be necessary.
4. Liquid Flavor Enhancers:
If you want to kick it up a notch, add a few drops of lemon or lime juice. It can elevate the flavor profile!
Conclusion
Making homemade raspberry pectin gummies is not just a recipe; it’s an experience. From selecting quality ingredients to enjoying the chewy treat, each step brings joy. You’ll appreciate the taste of real fruit, the fun of creating, and the satisfaction of making something from scratch.
Plus, it’s exciting to get creative and experiment with flavors. As a registered dietitian and foodie enthusiast, I wholeheartedly endorse this treat.
Don’t hesitate; gather your ingredients and start this delicious adventure today! You might just be a gummy-making guru before you know it. Enjoy!
You’ll also like the following recipes!
Homemade Raspberry Pectin Gummies – Treat Indulgently
Description
When I first went down the rabbit hole of making my own sweets, I stumbled upon raspberry pectin gummies. I knew I had struck gold. Homemade gummies capture the joyous essence of summer raspberries.
Their vibrant color and lively flavor are irresistible. But it’s not just about taste. It’s about knowing what goes into them. With clear ingredients and no unnecessary additives, these gummies can be a healthier alternative to store-bought options. They offer a delightful treat for both kids and adults, bringing back memories of childhood snacks while being a fun project in the kitchen.
So, what exactly is a homemade raspberry pectin gummy?
Well, it’s essentially a sweet gelatin-like candy made from fresh raspberries, sugar, and pectin, which is a natural thickening agent found in fruits. Let’s dive deeper into what makes these little bites of joy so appealing.
Ingredients
Instructions
Step 1: Prepare the Raspberries
-
Start by washing fresh raspberries under cool water. If using frozen raspberries, ensure they have fully thawed, as we want to capture all their juicy goodness. Blend them in a food processor or blender until smooth. Strain the mixture through a fine-mesh sieve to remove the seeds. Set the raspberry puree aside.
Step 2: Mix Sugar and Pectin
-
In a medium saucepan, combine the pectin and ¼ cup of the sugar. It’s essential to blend these two first; it helps to avoid clumping when you heat it. This combo gets the pectin ready for action!
Step 3: Heat the Mixture
-
Add ½ cup water to the saucepan, whisk the mixture, and bring it to a gentle boil over medium heat. Whisk continuously because no one wants burned sugar! After the mixture reaches a rolling boil, let it cook for one minute.
Step 4: Add Puree and Corn Syrup
-
Once the mixture has boiled, reduce the heat to low and add in the raspberry puree they blend together. Then, stir in the light corn syrup, which helps prevent crystallization. Keep on stirring until everything is well combined.
Step 5: Incorporate Remaining Ingredients
-
Next, sprinkle in the baking soda, vanilla extract, citric acid, and sea salt. These ingredients play crucial roles: the baking soda helps to balance acidity, the vanilla adds complexity, and the citric acid enhances the tangy flavor.
Step 6: Cool and Set
-
Pour the mixture into a greased silicone mold or a lined baking dish. Allow it to cool at room temperature for about 20 minutes, then transfer it to the refrigerator for about 2-3 hours or until fully set.
Step 7: Cut and Roll
-
Once set, remove the gummies from the molds. If you used a baking dish, cut the gummies into bite-sized pieces. Roll each piece in the remaining sugar to coat. This sugar coating adds an exciting crunch and prevents sticking.
Step 8: Let the Gummies Dry
-
Place the coated gummies on a parchment-lined tray and let them sit at room temperature for a few hours to dry slightly. This helps improve the texture and makes them even more enjoyable.
Nutrition Facts
Servings 20
- Amount Per Serving
- Calories 57kcal
- % Daily Value *
- Total Fat 0.2g1%
- Sodium 32mg2%
- Total Carbohydrate 14g5%
- Dietary Fiber 2g8%
- Sugars 12g
* Percent Daily Values are based on a 2,000 calorie diet. Your daily value may be higher or lower depending on your calorie needs.
Note
- Use Quality Ingredients: Opt for high-quality raspberries. Fresh ones will yield a better flavor than overly ripe or damaged fruit.
- Avoid Overcooking: Stir while heating, and don’t overboil the mixture, or the gummies may turn out hard.
- Experiment With Shapes: Use different molds for varied shapes. Fun molds can get the kids excited about snacking!
- Sugar Alternatives: If you’re looking for a healthier version, consider using agave syrup or honey instead of sugar. Just adjust the quantities.
- Storage: Keep your gummies in an airtight container to avoid drying out.


