Before we dive into the deliciousness of Pistachio Crème Brûlée, let’s chat about what pairs well with this luscious dessert. A cup of rich espresso or a light, fruity dessert wine would enhance the flavors beautifully.
You might consider serving it alongside fresh berries, which add a refreshing contrast to the creaminess.
Consider chocolate-dipped biscotti for an added crunch or a sprinkle of crushed pistachios on top for texture. These pairings not only elevate your dessert but also create a dining experience that feels special.
What is Pistachio Crème Brûlée?
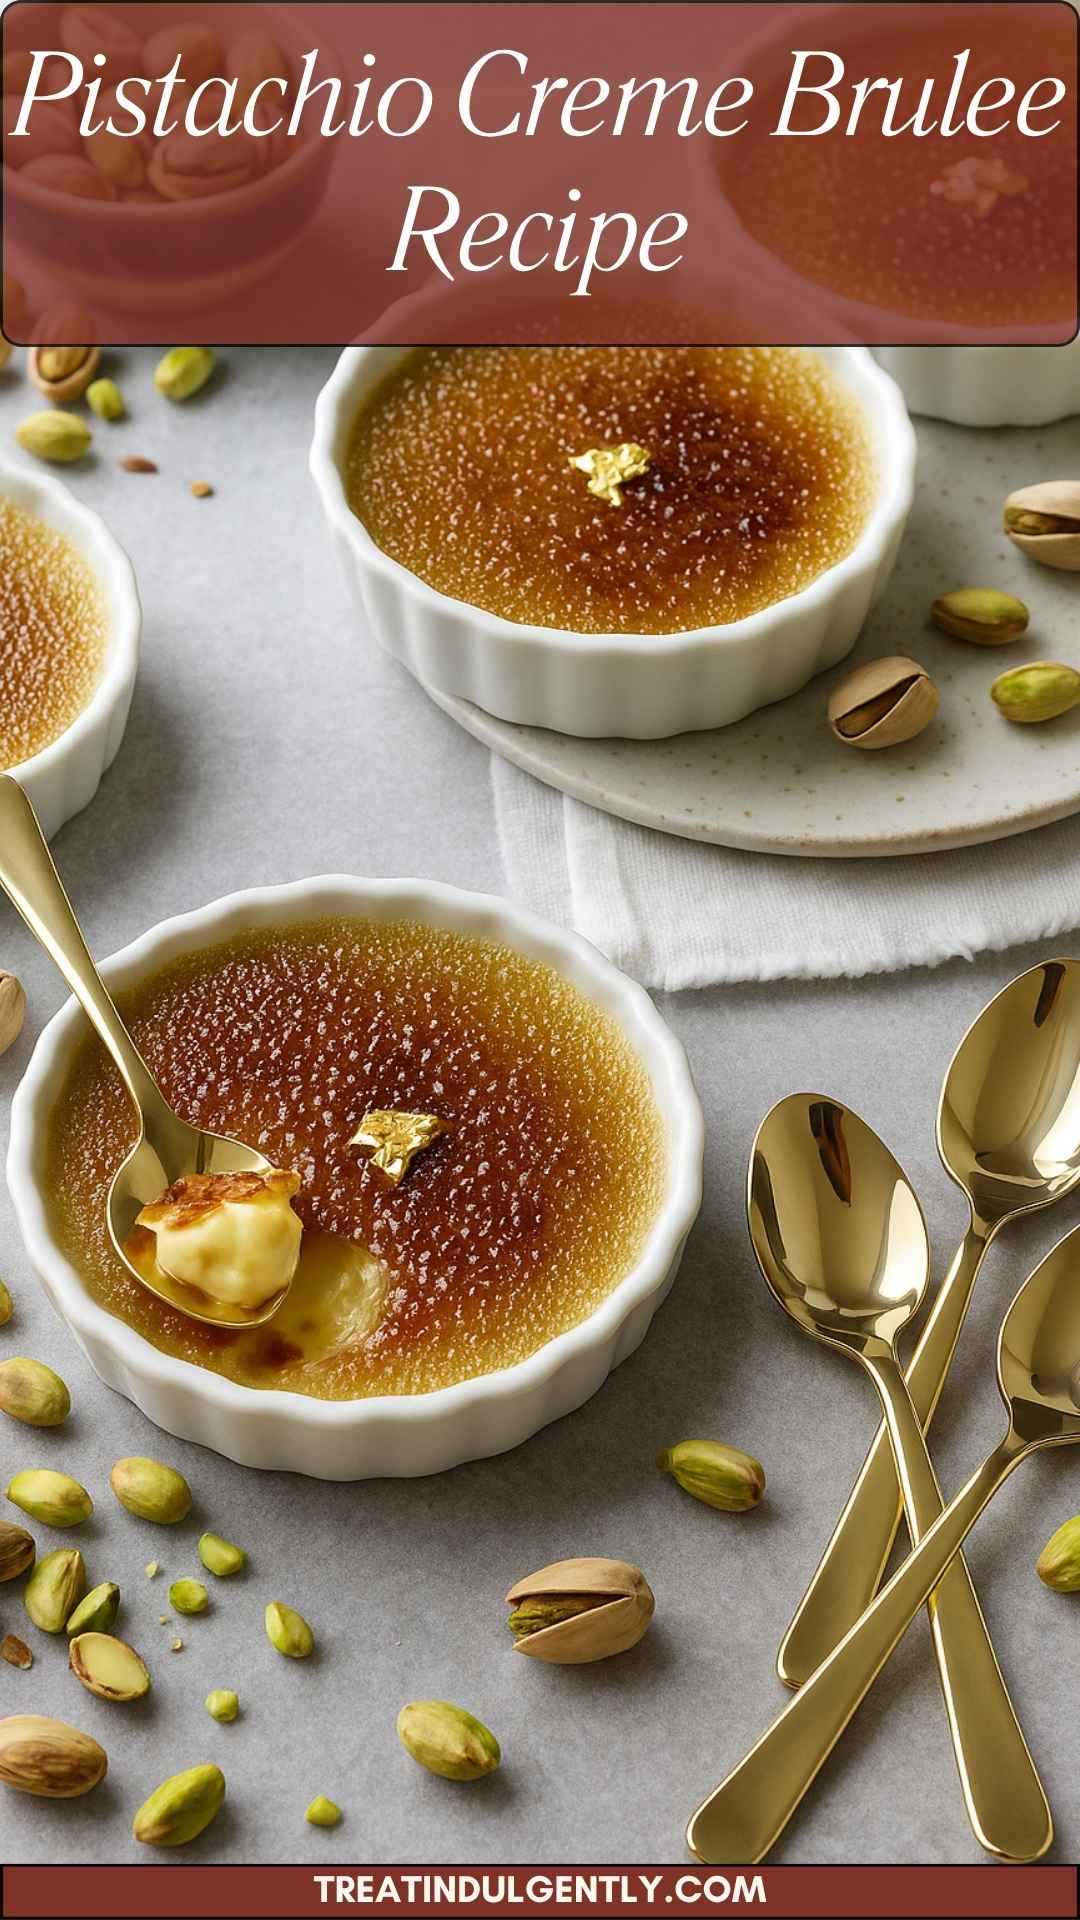
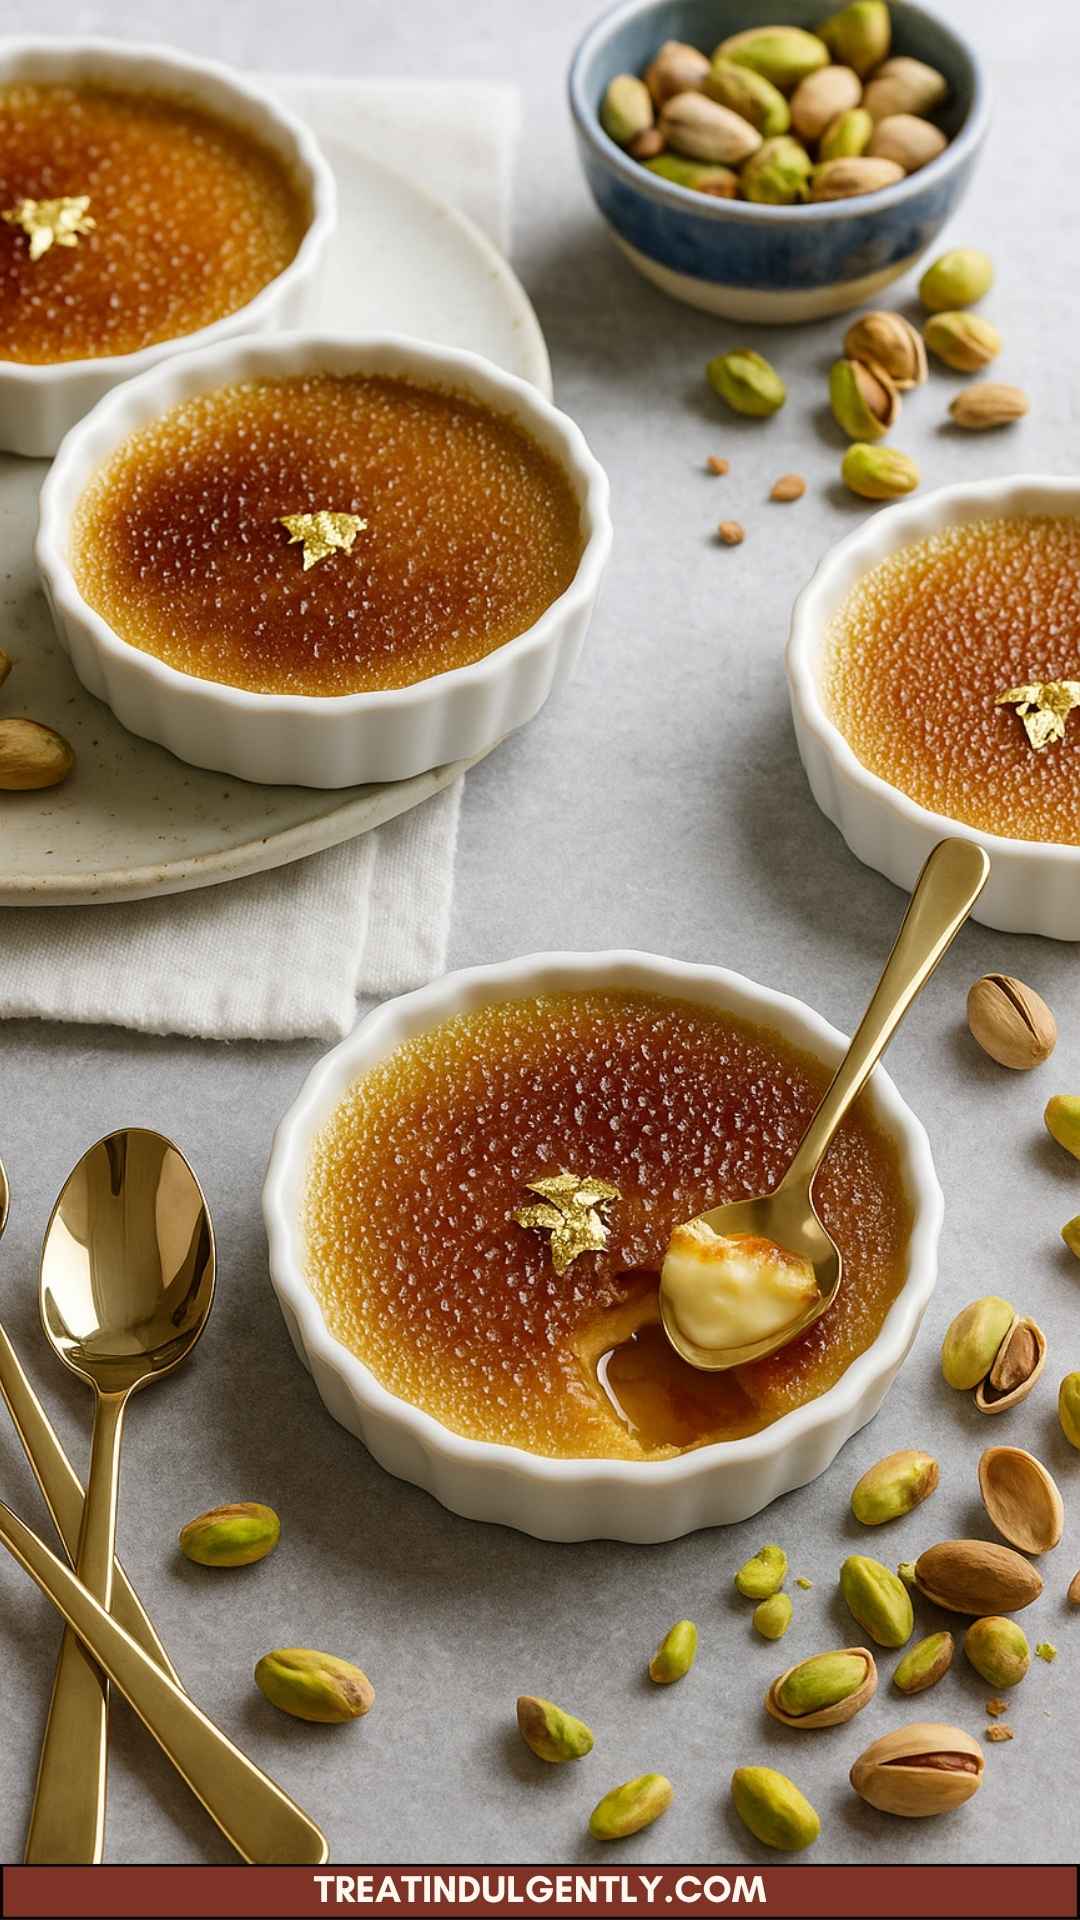
Pistachio Crème Brûlée is a twist on the classic French dessert. Traditionally, crème brûlée features a creamy base flavored with vanilla. In this version, we substitute a rich pistachio-flavored cream spread that enhances the nutty undertones.
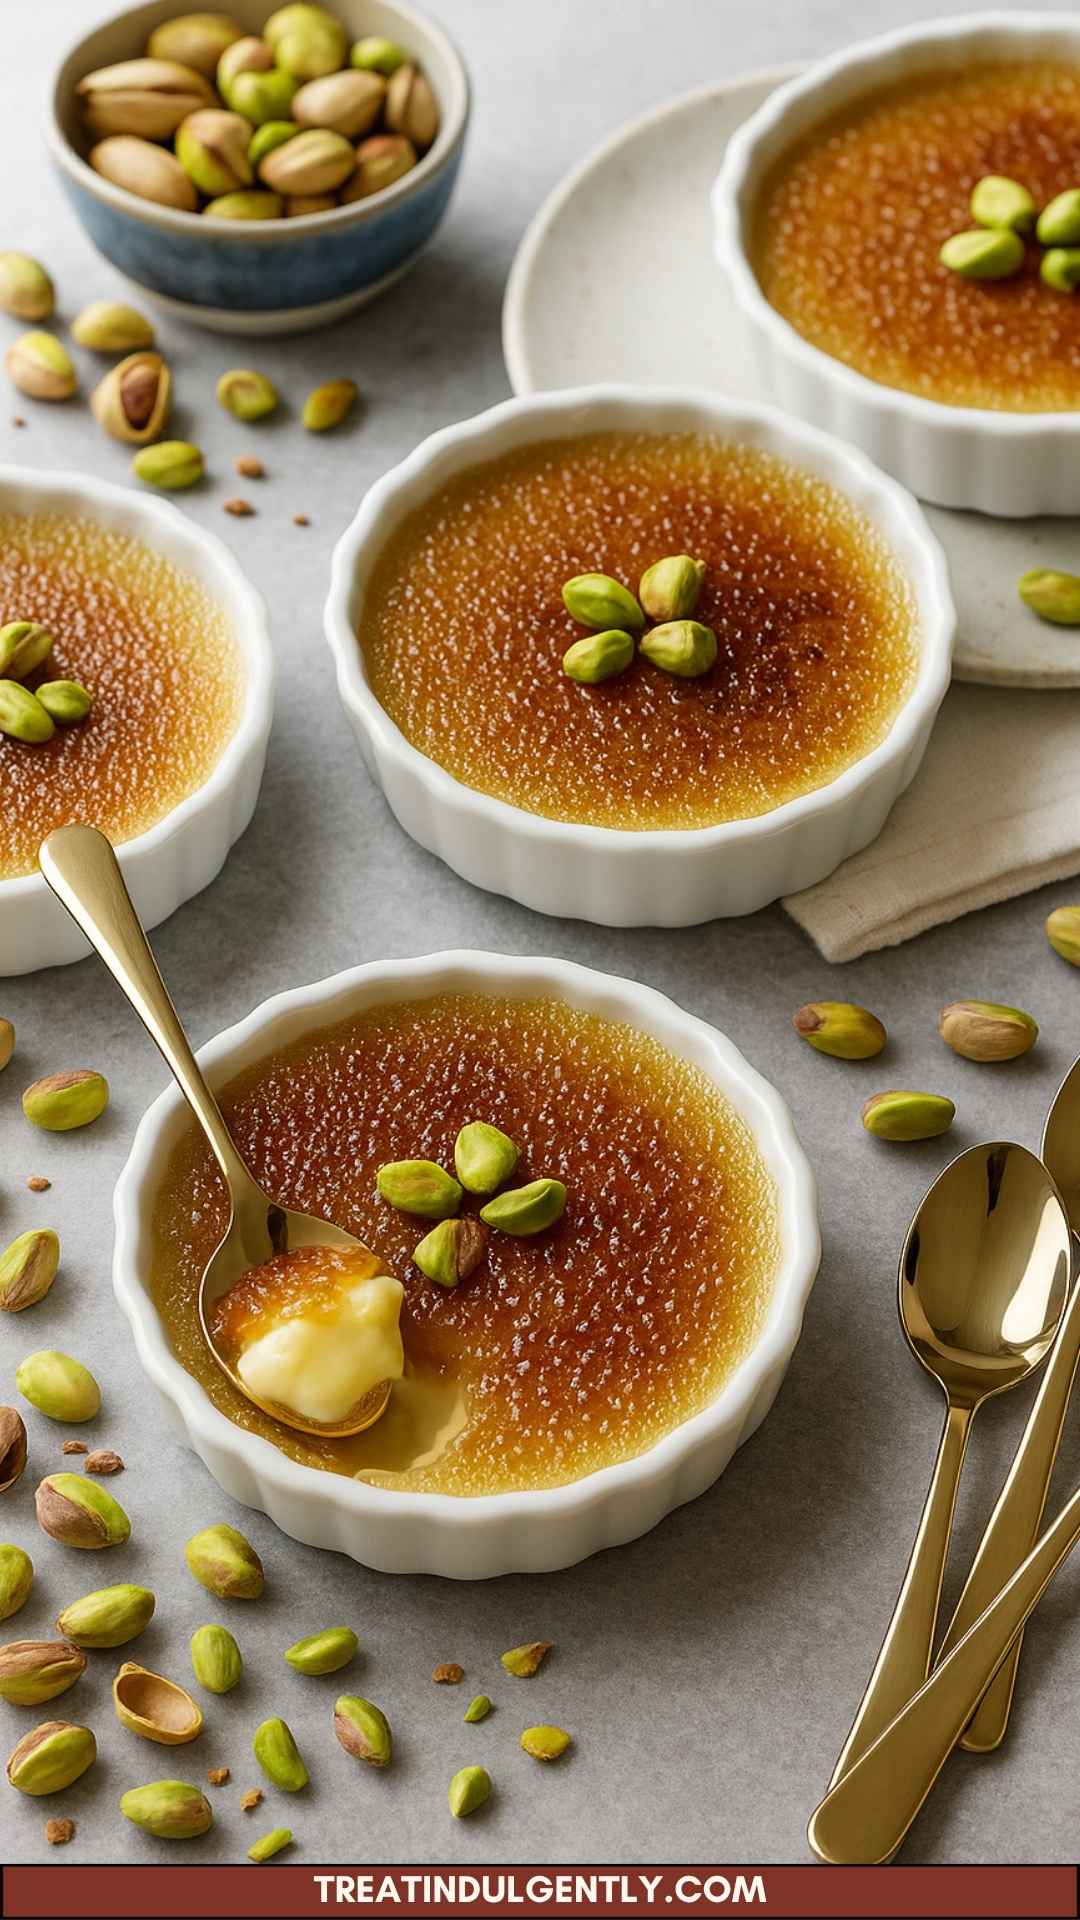
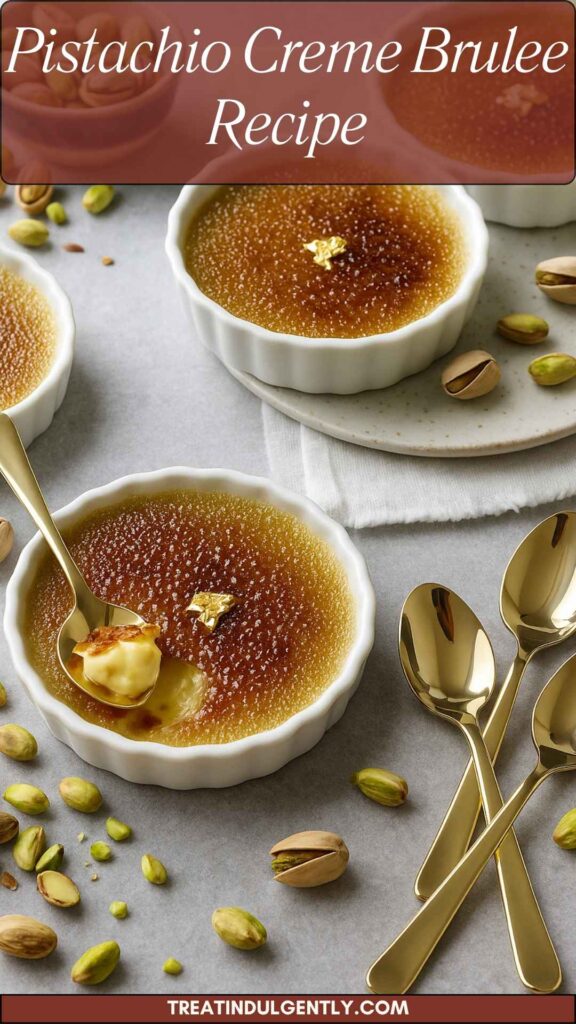
The dessert intrigues with its texture and taste—a silky custard topped with a brittle caramel crust. When you crack into that top layer, the contrasting textures offer a delightful experience.
What is the Flavor Profile of this Dish?
The beauty of Pistachio Crème Brûlée lies in its harmonious flavor profile.
You experience a luscious creaminess complemented by the slightly sweet, nutty essence of pistachios. The vanilla extract adds a warm, fragrant quality, while a pinch of salt elevates the overall taste.
Each spoonful offers a balance of rich and subtle flavors that leaves you wanting more. The caramelized sugar on top brings a crunchy sweetness, creating an exciting interplay between creamy and crispy.
Why You’ll Love This?
There’s something captivating about crafting your own dessert from scratch. The process can seem daunting, but let me assure you that it is straightforward.
You will find joy in the creation of Pistachio Crème Brûlée. It’s elegant, yet approachable. Not to mention, it serves well at any gathering, impressing guests and family members alike. Plus, it’s an opportunity to show off your culinary skills without spending all day in the kitchen.
Ingredients
Gather the following ingredients to make this delightful dessert:
- 3 large egg yolks (room temperature)
- 1½ cups heavy whipping cream
- ¼ cup pistachio-flavored cream spread
- ⅓ cup caster sugar
- 1 teaspoon pure vanilla extract
- ⅛ teaspoon fine sea salt
- Superfine sugar (for sprinkling on top)
Each ingredient plays a pivotal role, combining to form the creamy base and topping.
Step-by-Step Instructions
Step 1: Preheat Your Oven
Before anything else, heat your oven to 325°F (160°C). This gives the oven time to reach the perfect temperature for baking the custards.
Step 2: Prepare the Custard Mixture
In a medium saucepan, combine the heavy cream and pistachio-flavored cream spread. Heat over medium-low until steaming but not boiling. Be attentive not to scorch the cream. While that’s heating, whisk together the egg yolks, sugar, vanilla extract, and salt in a separate bowl.
Step 3: Temper the Egg Yolks
Once the cream is warm, slowly add a small amount to the yolk mixture while whisking. This process, known as tempering, prevents the eggs from curdling. Gradually whisk in the remaining cream until fully combined.
Step 4: Strain the Mixture
To ensure a silky texture, pour the custard mixture through a fine mesh sieve into another bowl or pitcher. Discard any bits that don’t pass through.
Step 5: Fill Your Ramekins
Divide the custard evenly among ramekins. Place these in a baking dish. Add hot water to the pan until halfway up the sides of the ramekins. This water bath will help the custards cook evenly.
Step 6: Bake
Transfer the baking dish to your preheated oven. Bake for about 30-35 minutes or until the edges are set but the centers still jiggle slightly. Keep an eye on them!
Step 7: Chill the Custards
Remove the ramekins from the water bath. Let them cool at room temperature for a bit, then refrigerate for at least 2 hours or overnight.
Step 8: Caramelize the Top
Once your custards are fully chilled, it’s time to create that signature crunchy top. Sprinkle a thin layer of superfine sugar across each custard.
Using a kitchen torch, caramelize the sugar until golden brown. If you don’t have a torch, you can place them under a broiler for just a few moments, watching closely so they don’t burn.
Step 9: Serve
Let the sugar cool and harden for a moment, and your Pistachio Crème Brûlée is ready to serve. Crack that sugary top and enjoy.
Tips & Tricks
- Room Temperature Eggs: Ensure your eggs are at room temperature for the best emulsification. Cold eggs can be tougher to whisk and mix evenly.
- Don’t Overheat the Cream: Keep a close watch on the cream. If it boils, it can change the texture of your custard. Aim for steaming, not bubbling.
- Finishing Touch: For extra flavor, you might add a sprinkle of crushed pistachios on top before serving. It adds crunch and a pop of color.
- Storing: If you’re making this dessert ahead of time, do not caramelize the sugar until just before serving. This ensures it remains fresh and crunchy.
- Experiment with Flavors: Don’t hesitate to mix flavors. Combining different nut spreads with the cream can lead to exciting variations.
How Can You Store This Pistachio Crème Brûlée?
Storing Pistachio Crème Brûlée requires a bit of care. Keep the custards in the fridge for up to 3 days. Just remember not to add the sugar layer until you’re ready to serve.
Cover the ramekins with plastic wrap or a lid to prevent them from absorbing any odors from your fridge. If you need to freeze leftovers, wrap them tightly and consume them within a month. However, freezing can affect the texture, so it’s best enjoyed fresh.
Alternative Choices for Ingredients
If you find yourself lacking some ingredients, don’t worry! Here are a few alternatives:
- Egg Yolks Substitution: If you’re out of eggs, egg substitutes can work, but the texture might differ. Make sure to use an egg alternative that suits your dietary needs.
- Heavy Cream Alternatives: To reduce fat, you can opt for coconut cream or cashew cream. Keep in mind, these will alter the flavor slightly.
- Caster Sugar Replacement: You can use granulated sugar if you don’t have caster sugar on hand. Just remember to grind it a bit to create a finer texture.
Conclusion
Pistachio Crème Brûlée is more than just a dessert—it’s an experience. From the creamy custard to the gratifying crack of the caramelized sugar, every step is delightful.
With simple ingredients and straightforward instructions, you will find this recipe accessible and enjoyable.
Serve it at your next gathering or save it for a special weekday treat. Either way, it’s bound to impress. I encourage you to try this dessert and share your culinary journey. Your taste buds will thank you. Enjoy!
You’ll also like the following recipes!
- Mini Blueberry Mousse Cakes With Mirror Glaze Recipe
- Flourless Pistachio Cake With Chocolate Ganache Recipe
- Creamy Garlic Chicken Pasta
Pistachio Creme Brulee Recipe – Treat Indulgently
Description
Picture this: It’s Friday evening, and you want to impress your friends with a dish that says “I care.” You whip out your bowls and a whisk, excited to create something truly delightful. The recipe I’m about to share with you is Pistachio Crème Brûlée.
This dessert turns out creamy and smooth, with a perfect caramelized layer that adds a satisfying crunch. It’s a treat that dazzles at dinner parties and charms family gatherings alike. And trust me, once you’ve tried your hand at making this, you’ll want to share it with everyone.
Ingredients
Instructions
Step 1: Preheat Your Oven
-
Before anything else, heat your oven to 325°F (160°C). This gives the oven time to reach the perfect temperature for baking the custards.
Step 2: Prepare the Custard Mixture
-
In a medium saucepan, combine the heavy cream and pistachio-flavored cream spread. Heat over medium-low until steaming but not boiling. Be attentive not to scorch the cream. While that's heating, whisk together the egg yolks, sugar, vanilla extract, and salt in a separate bowl.
Step 3: Temper the Egg Yolks
-
Once the cream is warm, slowly add a small amount to the yolk mixture while whisking. This process, known as tempering, prevents the eggs from curdling. Gradually whisk in the remaining cream until fully combined.
Step 4: Strain the Mixture
-
To ensure a silky texture, pour the custard mixture through a fine mesh sieve into another bowl or pitcher. Discard any bits that don't pass through.
Step 5: Fill Your Ramekins
-
Divide the custard evenly among ramekins. Place these in a baking dish. Add hot water to the pan until halfway up the sides of the ramekins. This water bath will help the custards cook evenly.
Step 6: Bake
-
Transfer the baking dish to your preheated oven. Bake for about 30-35 minutes or until the edges are set but the centers still jiggle slightly. Keep an eye on them!
Step 7: Chill the Custards
-
Remove the ramekins from the water bath. Let them cool at room temperature for a bit, then refrigerate for at least 2 hours or overnight.
Step 8: Caramelize the Top
-
Once your custards are fully chilled, it’s time to create that signature crunchy top. Sprinkle a thin layer of superfine sugar across each custard.
Using a kitchen torch, caramelize the sugar until golden brown. If you don’t have a torch, you can place them under a broiler for just a few moments, watching closely so they don’t burn.
Step 9: Serve
-
Let the sugar cool and harden for a moment, and your Pistachio Crème Brûlée is ready to serve. Crack that sugary top and enjoy.
Nutrition Facts
Servings 5
- Amount Per Serving
- Calories 185kcal
- % Daily Value *
- Total Fat 16g25%
- Saturated Fat 9.3g47%
- Cholesterol 160mg54%
- Sodium 81mg4%
- Total Carbohydrate 8g3%
- Sugars 8g
- Protein 2g4%
* Percent Daily Values are based on a 2,000 calorie diet. Your daily value may be higher or lower depending on your calorie needs.
Note
- Room Temperature Eggs: Ensure your eggs are at room temperature for the best emulsification. Cold eggs can be tougher to whisk and mix evenly.
- Don’t Overheat the Cream: Keep a close watch on the cream. If it boils, it can change the texture of your custard. Aim for steaming, not bubbling.
- Finishing Touch: For extra flavor, you might add a sprinkle of crushed pistachios on top before serving. It adds crunch and a pop of color.
- Storing: If you’re making this dessert ahead of time, do not caramelize the sugar until just before serving. This ensures it remains fresh and crunchy.
- Experiment with Flavors: Don’t hesitate to mix flavors. Combining different nut spreads with the cream can lead to exciting variations.


