When summer rolls around, there’s nothing quite like enjoying a barbecue or picnic with friends and family. Picture this: a sunlit garden, laughter echoing, and the aromatic scent of grilled meats wafting through the air.
Whether you’re grilling chicken, burgers, or veggie skewers, there’s one side dish that never fails to steal the show—crunchy, sweet, and tangy bread and butter pickles. As a food enthusiast, I’ve always been enchanted by their delightful crunch and bold flavors.
Today, I’m thrilled to share my recipe for Bread Butter Refrigerator Pickles. Trust me, once you try these, you might just find them irresistible!
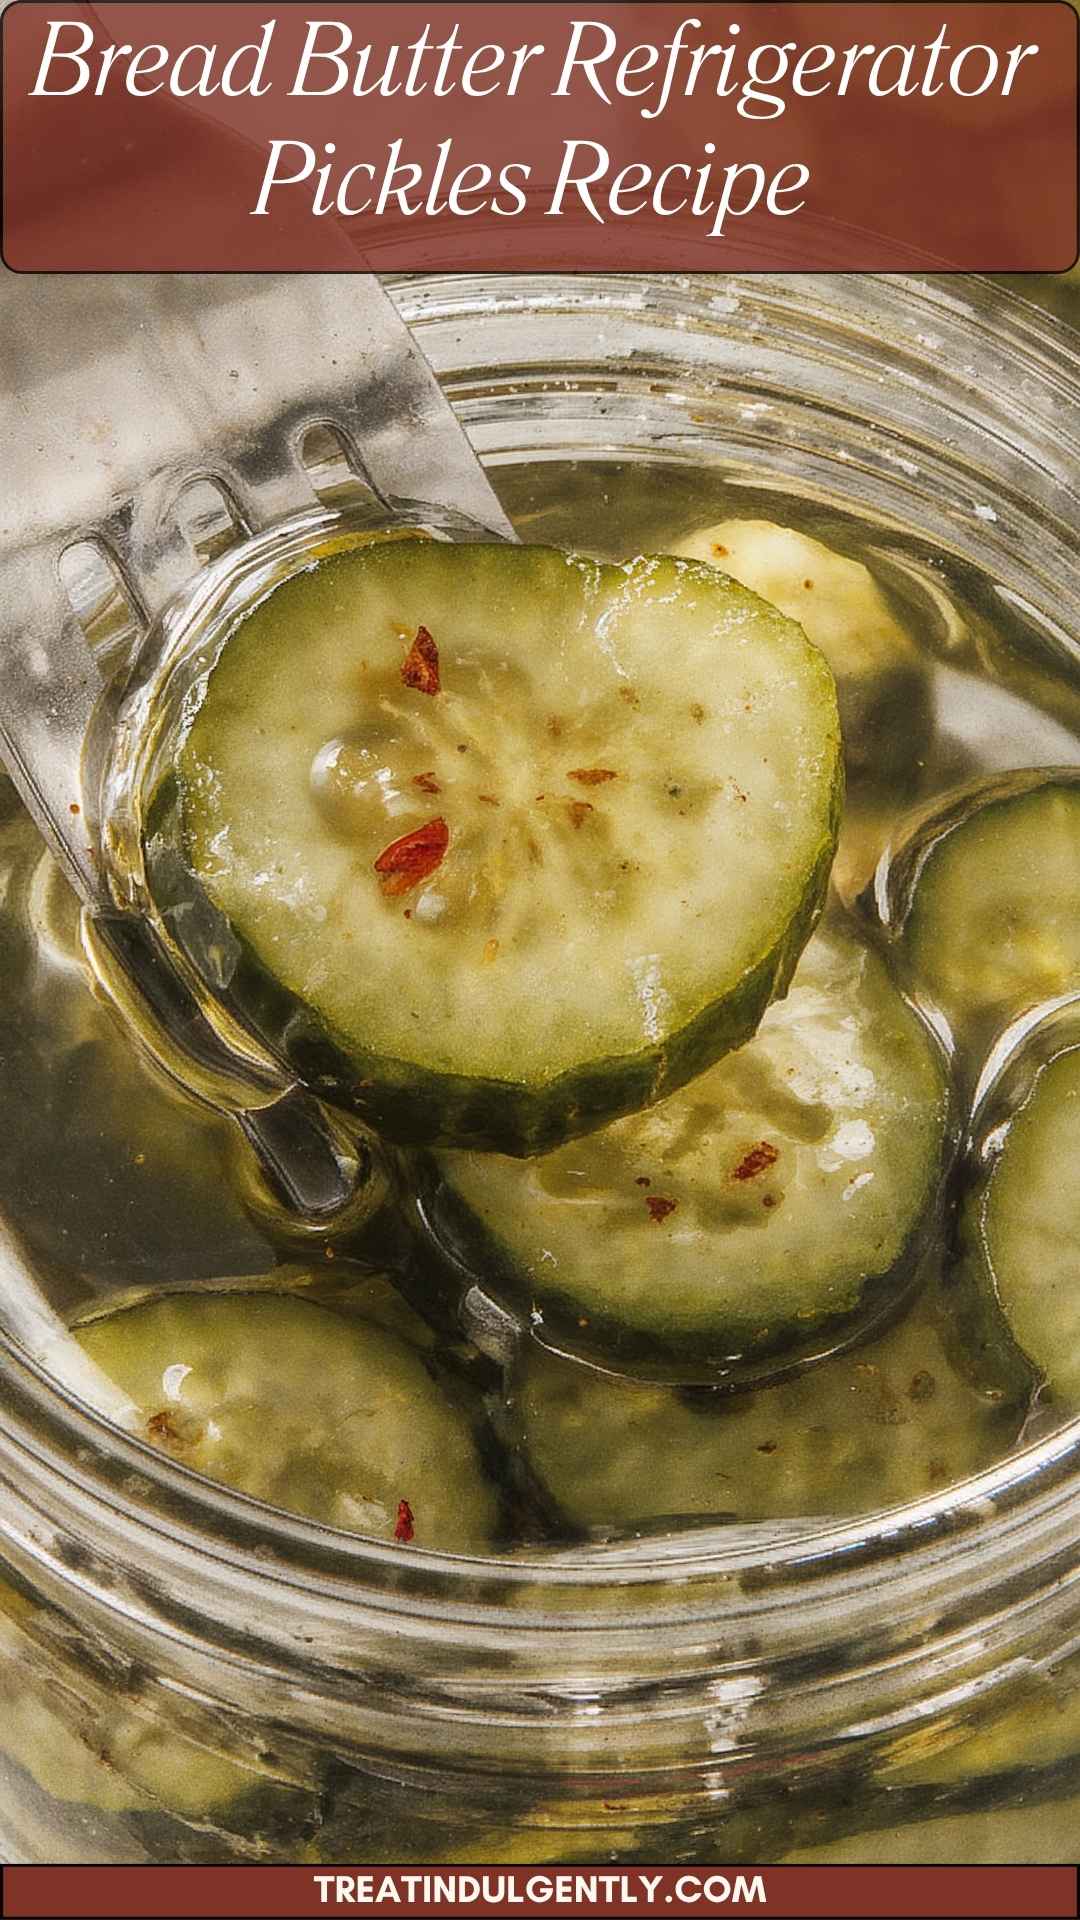
What Are Bread Butter Refrigerator Pickles?
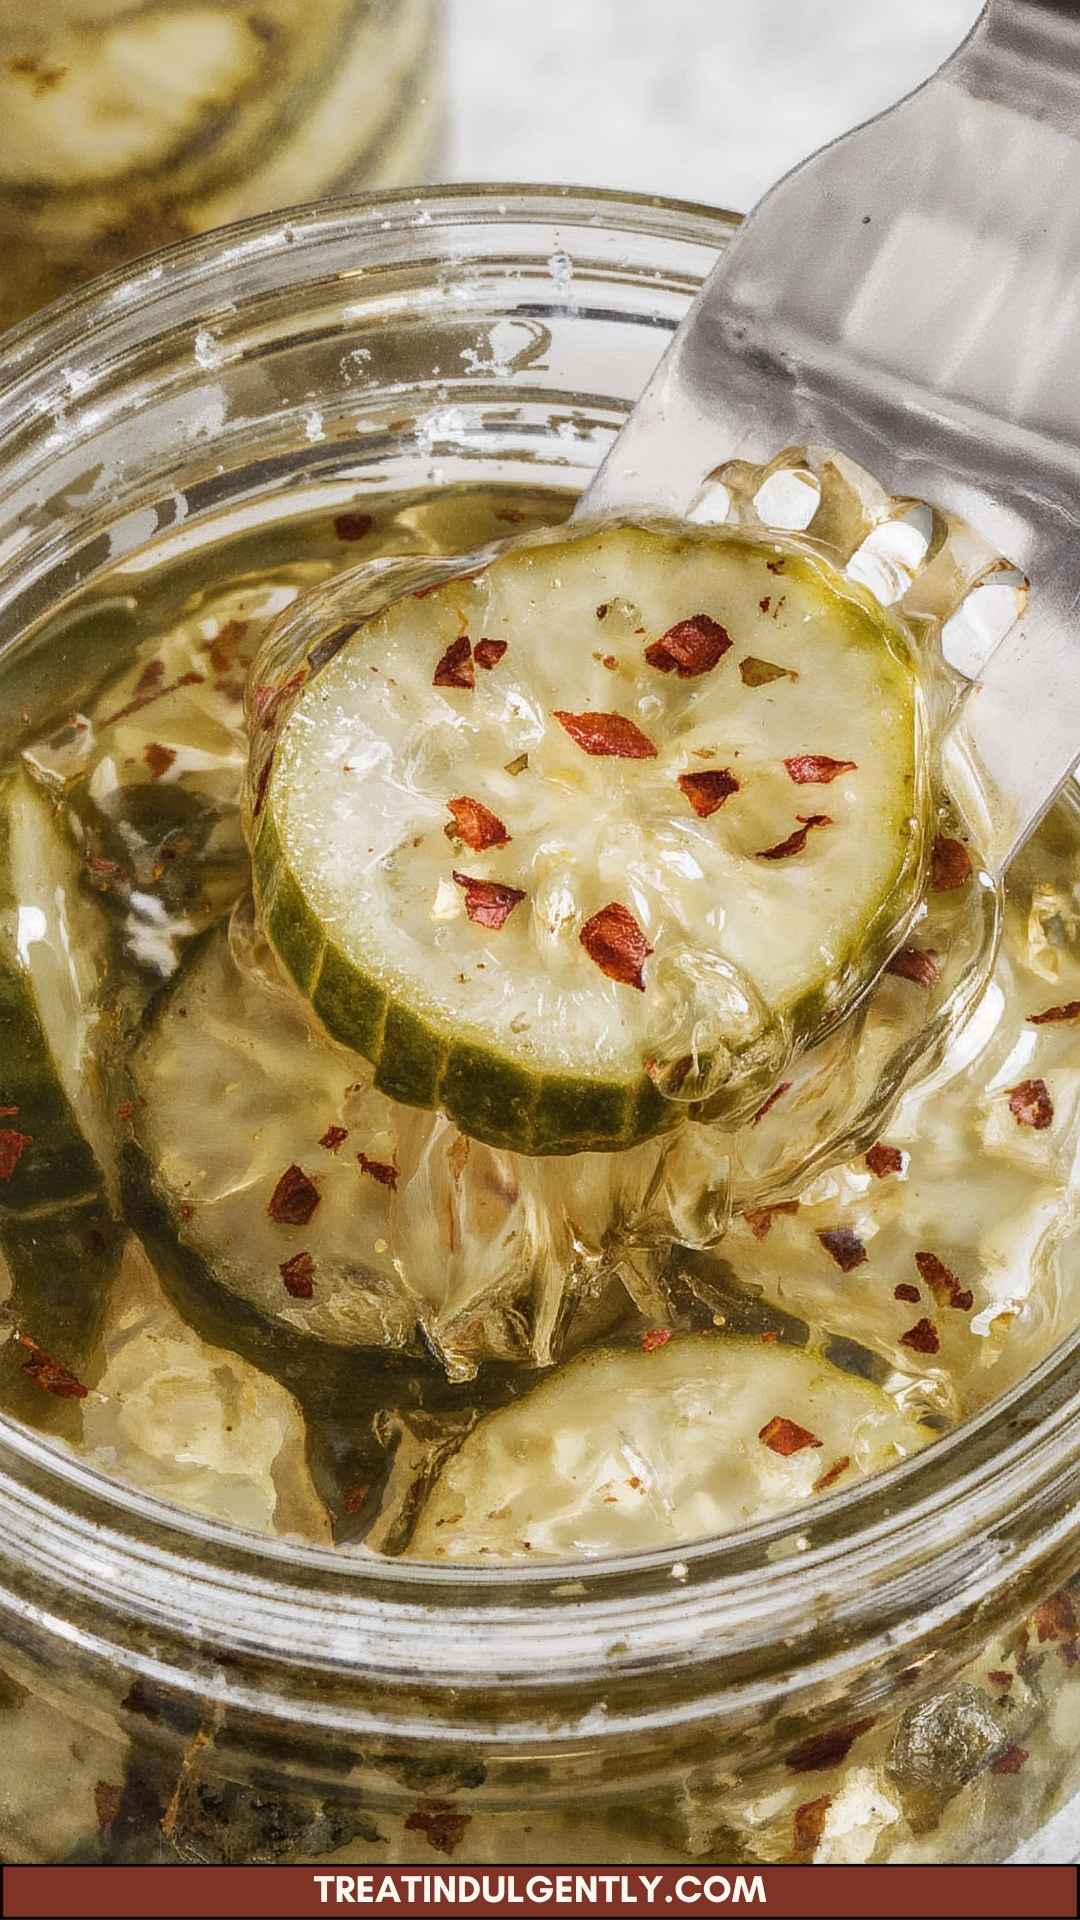
Bread and butter pickles are a sweet and tangy pickle variety, typically made from cucumbers and onions. Named for the original usage as a sandwich garnish, these pickles will have you yearning for a second helping.
Unlike traditional canned pickles, refrigerator pickles are quick to make and don’t require long processing times, allowing you to enjoy their crunch right away. Plus, they’re refreshingly versatile; these pickles can elevate any sandwich, bring joy to salads, or simply be enjoyed straight from the jar!
The Ingredients
Creating your own bread and butter refrigerator pickles is straightforward. You’ll need a handful of fresh ingredients that you probably already have on hand. Here’s what you’ll require:
- 2 1/4 cups granulated cane sugar
- 1 small stick (1 inch) of cinnamon bark
- 1/2 teaspoon ground turmeric (for color and earthiness)
- 6 whole allspice berries
- 3/4 teaspoon celery seeds
- 2 cloves fresh garlic, thinly sliced
- 1 cup apple cider vinegar (raw or filtered, 5% acidity)
- 6 whole cloves
- 1 dried bay leaf
- 1/4 cup coarse-grain pickling salt (non-iodized, for clear brine)
- 1 tablespoon whole mustard seeds
- 2 1/2 pounds crisp pickling cucumbers, freshly harvested
- 1 pound sweet or yellow onions, thinly sliced into half-moons
- 1 teaspoon crushed red chili flakes
- 1 1/4 cups white vinegar (distilled, 5% acidity)
With these ingredients, you’re set to dive into a pickle-making adventure.
How to Make Bread Butter Refrigerator Pickles?
The process is clearly laid out. First, you’ll need to prepare your ingredients, which makes this journey so much smoother. Then, follow the steps I’ve provided for perfect results every time. Let’s dive into the details.
Step 1: Prepare the Cucumbers and Onions
Start by washing your cucumbers thoroughly under running water. Slice them into rounds, about a quarter-inch thick. The crunchiness of your pickles starts here! Now, slice your sweet or yellow onions into half-moons.
In my experience, the sweet onions add a delightful flavor balance that pairs beautifully with the tangy brine.
Step 2: Create Your Brine
In a large pot over medium heat, combine the apple cider vinegar, white vinegar, sugar, pickling salt, turmeric, cinnamon, allspice, celery seeds, garlic, whole cloves, bay leaf, mustard seeds, and crushed red chili flakes.
Stir until the sugar is dissolved. The aroma is something you won’t forget; it’s that perfect balance of sweet and spicy. Bring your brine to a gentle boil, and then remove it from heat. Let it cool slightly while you prepare your jars.
Step 3: Pack the Ingredients
Take a clean glass jar (or several small jars if you want to share) and layer the sliced cucumbers and onions. Depending on your personal preference, you can alternate layers for a more colorful look or group them together.
Make sure to fill the jar generously; these pickles are meant to be enjoyed!
Step 4: Pour the Brine
Now comes the fun part. Carefully pour the hot brine over your packed cucumbers and onions, ensuring they are fully submerged.
Leaving about half an inch of headspace is a good practice. You don’t want any overflow or mess in your fridge.
Step 5: Seal and Chill
Screw on the jars’ lids tightly and let them cool to room temperature. Once cooled, pop them in the refrigerator.
The beauty of refrigerator pickles is that they need only about 24 hours to pickle before they’re ready to dive into!
Notes
Here are some handy tips to ensure your pickles turn out perfectly:
- Choose fresher produce: Fresh, well-picked cucumbers make all the difference. Farmer’s markets are ideal sources.
- Use non-iodized salt: This prevents cloudiness in the brine, ensuring a perfectly clear pickle.
- Adjust sweetness: Feel free to modify the sugar quantity based on your personal taste. Some prefer a sweeter option, while others might like it a bit less sweet.
- Experiment with spices: Add or substitute spices to suit your taste. Dill, for example, can give a unique twist.
- Sterilize your jars: Ensuring your jars are sterilized prevents unwanted bacteria growth.
Storage Tips
These refrigerator pickles can last about 1 to 2 months when stored in the fridge. Keep them sealed tightly, and make sure to always use clean utensils when serving to avoid contamination.
Nutrition Information
Knowing what you’re putting into your body is always important. Here’s a rough breakdown of the nutritional information per serving (2-3 slices):
- Calories: Approximately 50
- Carbohydrates: 12g
- Fat: 0g
- Protein: 0g
- Fiber: 0g
- Sodium: 200mg
These are delightful low-calorie snacks or sandwich companions!
Serving Suggestions
Now, the real fun begins—how do you enjoy these delightful pickles? Here are a few ideas:
- On a Sandwich or Burger: These pickles add a delightful crunch and sweetness to any sandwich or burger. Picture a classic hamburger adorned with these zesty bread and butter pickles. It’s a taste sensation!
- In a Potato Salad: Chop them into small pieces and toss them with a creamy potato salad for an unexpected flavor twist. They bring a mouth-popping crunch and tang that can make your side dish a star!
- Charcuterie Boards: Add them to your next charcuterie board. Their vibrant color and enticing flavor will entice guests to munch and enjoy. They create a delightful contrast when paired with cheeses and cured meats. Just an ideal pairing!
- With Fish Tacos: Slice and sprinkle them onto fish tacos for an added layer of texture and flavor. They cut the richness of the fish, making for an incredibly balanced bite.
- Straight from the Jar: Never underestimate the joy of eating them straight from the jar! Sometimes with pickles, less is more. Nothing can beat the classic experience of savoring a pickle right out of its briny abode!
What Other Substitutes Can I Use in Bread Butter Refrigerator Pickles Recipe?
You might wonder—what if I don’t have something on hand? Here are some great substitutes to consider:
- White Sugar: If you’re out of granulated cane sugar, white sugar works equally well. It will give you the sweetness you crave without altering the brine’s color.
- Rice Vinegar: In place of apple cider vinegar, rice vinegar is a fantastic option. It’s milder and adds a slightly different flavor profile. Great for those looking for a gentler taste!
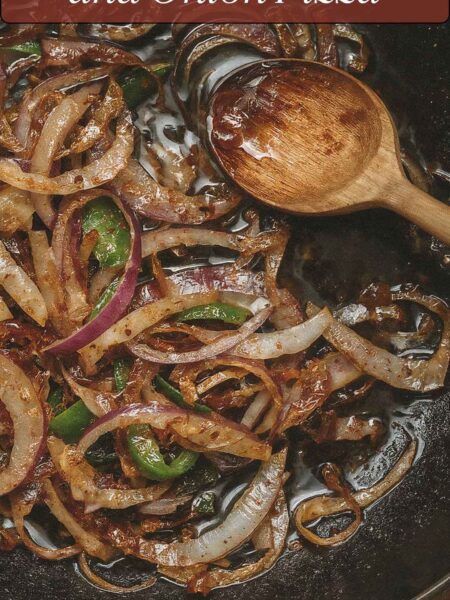
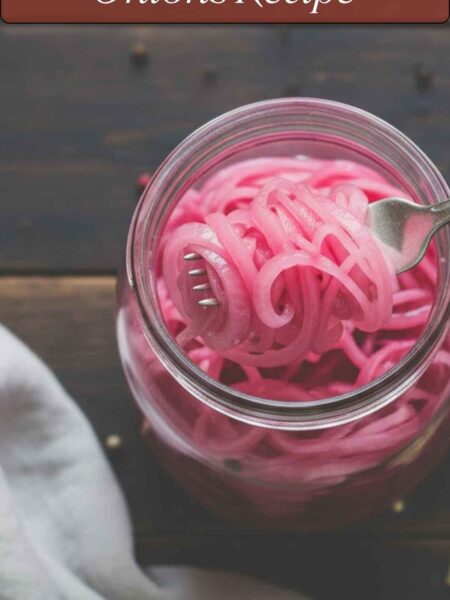
- Red Onion: Instead of sweet or yellow onions, red onions add a colorful twist. Their slightly sharper taste can enhance the overall depth of flavor.
- Summer Squash: If you want variety, consider adding summer squash or zucchini alongside your cucumbers. It’s a delightful way to mix it up!
- Herbs: Feeling adventurous? Fresh dill or basil can transform your pickle experience. Adding herbs changes the profile entirely and gives you a new flavor exploration!
Conclusion
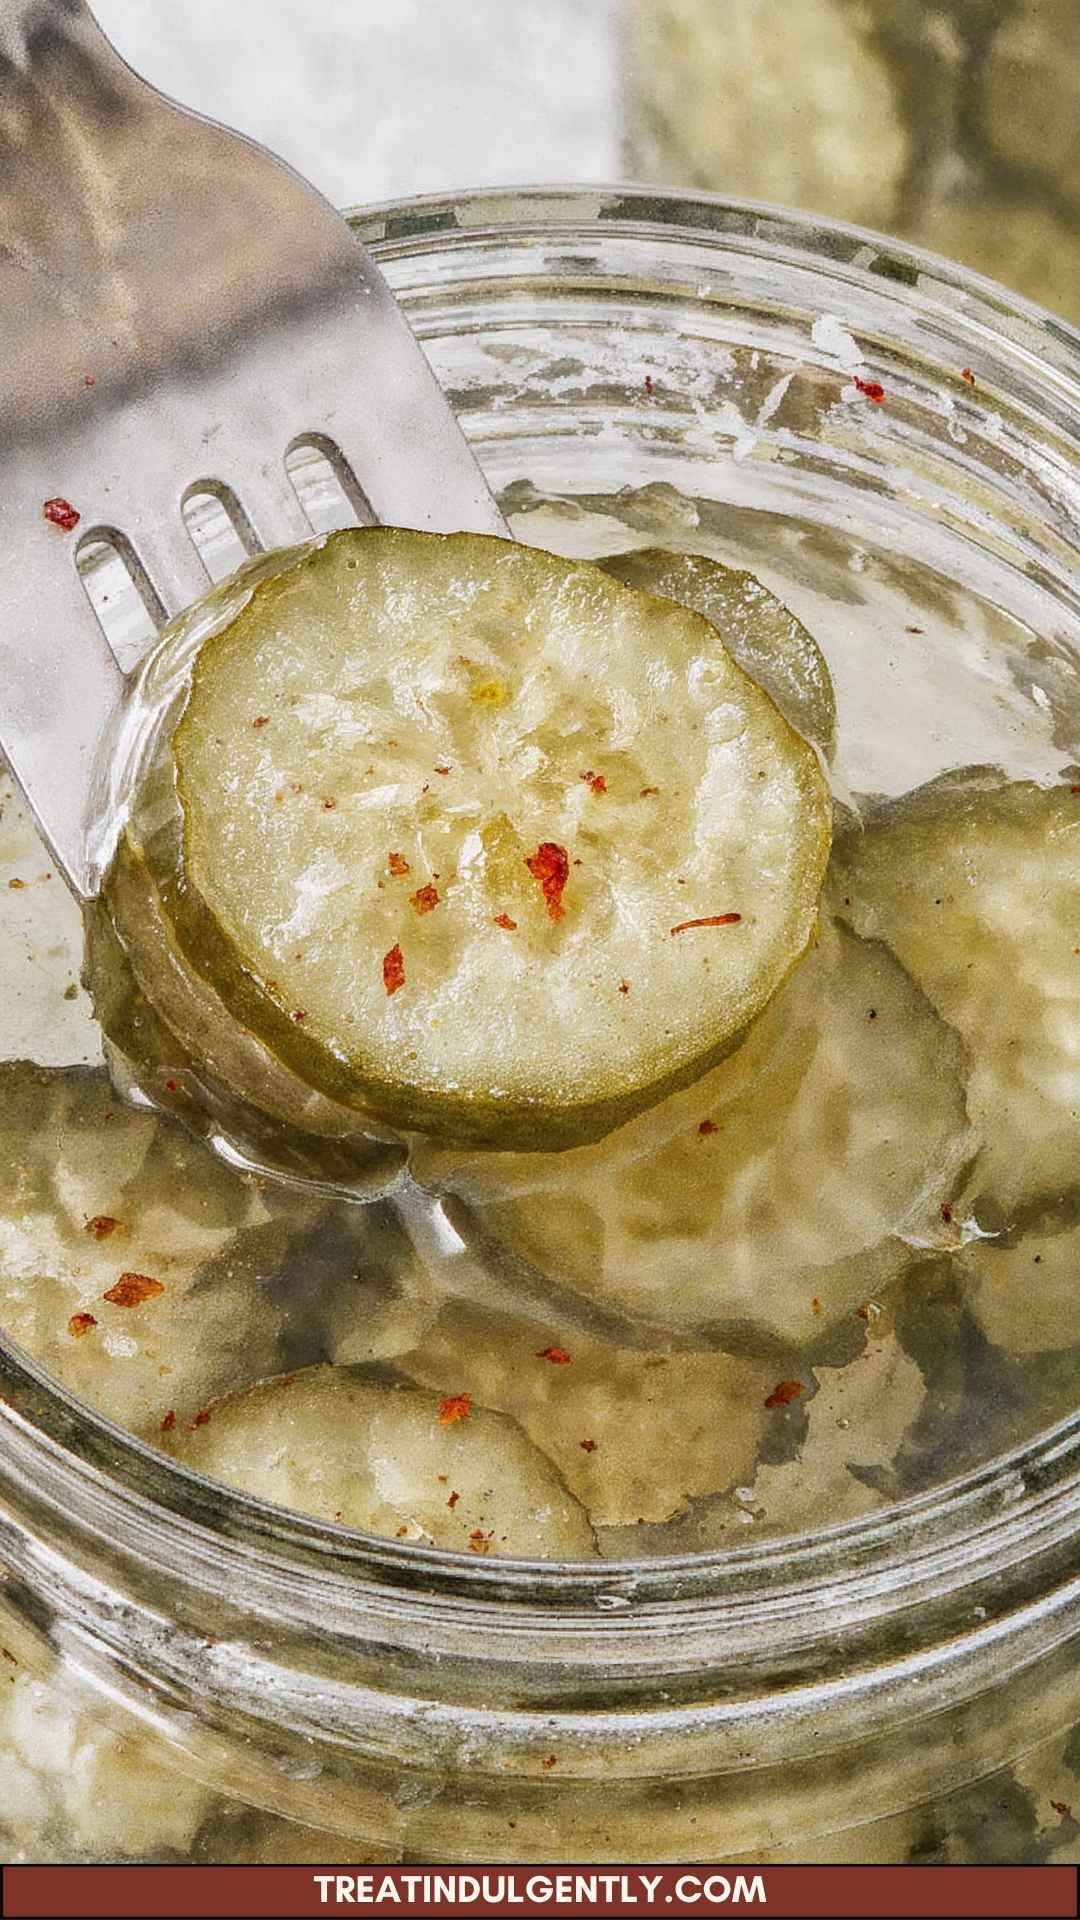
Bread butter refrigerator pickles are truly a joy to make and consume. They add an irresistible crunch and a sweet-tangy boost to various dishes. With just a few simple steps, you can whip up a batch that will wow your family and friends.
I hope you give this recipe a try; it might just become a staple in your summer repertoire. So, fire up your grills, pack those coolers, and don’t forget to add these delightful pickles to your table. Enjoy the journey of flavors this season brings, one pickle at a time!
You’ll also like the following recipes!

Bread Butter Refrigerator Pickles Recipe – Treat Indulgently
Description
When summer rolls around, there’s nothing quite like enjoying a barbecue or picnic with friends and family. Picture this: a sunlit garden, laughter echoing, and the aromatic scent of grilled meats wafting through the air.
Whether you’re grilling chicken, burgers, or veggie skewers, there’s one side dish that never fails to steal the show—crunchy, sweet, and tangy bread and butter pickles. As a food enthusiast, I’ve always been enchanted by their delightful crunch and bold flavors.
Ingredients
Instructions
Step 1: Prepare the Cucumbers and Onions
-
Start by washing your cucumbers thoroughly under running water. Slice them into rounds, about a quarter-inch thick. The crunchiness of your pickles starts here! Now, slice your sweet or yellow onions into half-moons.
In my experience, the sweet onions add a delightful flavor balance that pairs beautifully with the tangy brine.
Step 2: Create Your Brine
-
In a large pot over medium heat, combine the apple cider vinegar, white vinegar, sugar, pickling salt, turmeric, cinnamon, allspice, celery seeds, garlic, whole cloves, bay leaf, mustard seeds, and crushed red chili flakes.
Stir until the sugar is dissolved. The aroma is something you won't forget; it’s that perfect balance of sweet and spicy. Bring your brine to a gentle boil, and then remove it from heat. Let it cool slightly while you prepare your jars.
Step 3: Pack the Ingredients
-
Take a clean glass jar (or several small jars if you want to share) and layer the sliced cucumbers and onions. Depending on your personal preference, you can alternate layers for a more colorful look or group them together.
Make sure to fill the jar generously; these pickles are meant to be enjoyed!
Step 4: Pour the Brine
-
Now comes the fun part. Carefully pour the hot brine over your packed cucumbers and onions, ensuring they are fully submerged.
Leaving about half an inch of headspace is a good practice. You don’t want any overflow or mess in your fridge.
Step 5: Seal and Chill
-
Screw on the jars’ lids tightly and let them cool to room temperature. Once cooled, pop them in the refrigerator.
The beauty of refrigerator pickles is that they need only about 24 hours to pickle before they’re ready to dive into!
Nutrition Facts
Servings 24
- Amount Per Serving
- Calories 50kcal
- % Daily Value *
- Sodium 200mg9%
- Total Carbohydrate 12g4%
* Percent Daily Values are based on a 2,000 calorie diet. Your daily value may be higher or lower depending on your calorie needs.
Note
- Choose fresher produce: Fresh, well-picked cucumbers make all the difference. Farmer's markets are ideal sources.
- Use non-iodized salt: This prevents cloudiness in the brine, ensuring a perfectly clear pickle.
- Adjust sweetness: Feel free to modify the sugar quantity based on your personal taste. Some prefer a sweeter option, while others might like it a bit less sweet.
- Experiment with spices: Add or substitute spices to suit your taste. Dill, for example, can give a unique twist.
- Sterilize your jars: Ensuring your jars are sterilized prevents unwanted bacteria growth.


