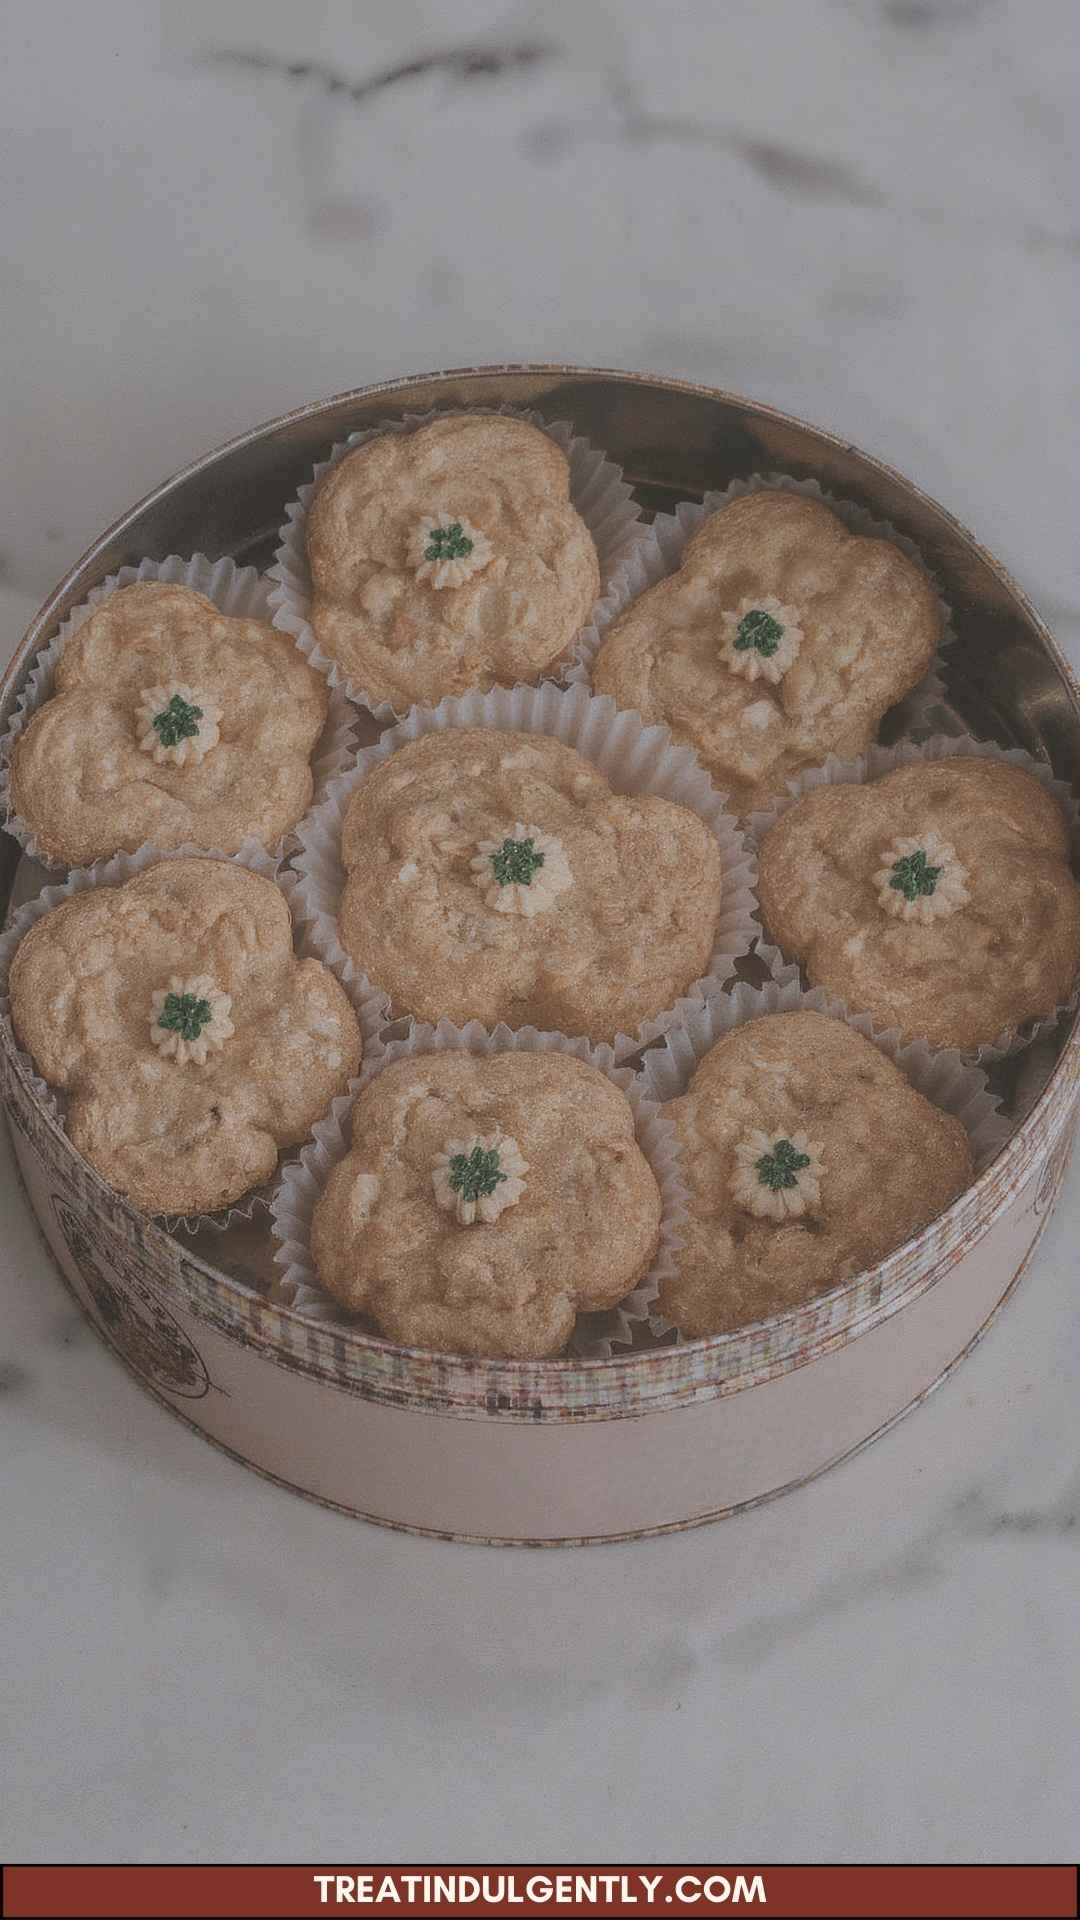
Before we dive into the delightful realm of Chocolate Pistachio Cream Thumbprints, let’s set the stage. Picture this: you pull a tray of warm, freshly baked cookies from the oven. The enticing aroma fills the kitchen, drawing everyone in. What’s on the side? A steaming cup of coffee? Perhaps a rich cup of hot chocolate? You can bet your bottom dollar that these cookies will blend seamlessly with any afternoon gathering.
But hold on! What about serving them at a picnic with a refreshing iced tea? Or maybe paired with a scoop of creamy gelato for dessert? The possibilities are endless, and all roads lead to deliciousness.

What are Chocolate Pistachio Cream Thumbprints?
Chocolate Pistachio Cream Thumbprints are a unique spin on the classic thumbprint cookie. Traditionally, thumbprints feature a little indentation or “thumbprint” in the center filled with jam or frosting. This version takes it up a notch. Imagine a cookie made from a soft, buttery dough that crumbles just right upon biting, then is crowned with a velvety pistachio cream and chocolate drizzle. Sounds indulgent? It absolutely is. But it also comes with a delightful crunch and a nutty undertone from roasted pistachios.
Pistachios bring a subtle sweetness and a unique flavor that distinguishes these cookies from their more common cousins. Plus, they’re packed with nutrients! When you incorporate them into baking, you’re not just indulging; you’re also treating yourself to a culinary experience that’s as rewarding as it is delicious.
Why You’ll Love This Chocolate Pistachio Cream Thumbprints
Flavor Explosion: The first bite is pure bliss. The rich chocolate harmonizes perfectly with the nutty, creamy pistachio. It’s a flavor combination that’s both classic and unexpected. One bite is all you need to be hooked.
Easy to Make: Trust me; you don’t have to be a professional baker to whip these up. The steps are straightforward, making they’re perfect for beginners or seasoned bakers looking for a delightful twist on a classic.
Versatile: They are perfect for any occasion! Bake a batch for a holiday gathering, an afternoon snack, or simply because you deserve a treat.
Customizable: On that note, you can fill these cookies with whatever suits your fancy. Prefer raspberry preserves? Go for it! Prefer almond butter? Yes, please!
Presentable: When laid out on a platter, these cookies look stunning. The vibrant green of the pistachio filling and the drizzles of chocolate are eye-catching; they are sure to impress any guest.
The Ingredients You Will Need to Make Chocolate Pistachio Cream Thumbprints
227 g (1 cup) unsalted butter: Softened to room temperature for easy mixing.
120 g (1 cup) confectioners’ sugar: For that sweet touch.
240 g (2 cups) plain all-purpose flour: The foundation of your cookie.
¾ teaspoon fine sea salt: To balance the sweetness.
60 g (5 tablespoons) roasted pistachios: Unsalted and finely chopped; they add texture and flavor.
1 teaspoon pure vanilla extract: To enhance the overall taste.
½ teaspoon lemon zest: For a bright note that cuts through the sweetness.
¾ cup filling of your choice: Think jam, nut butter, pistachio cream, or fruit preserves. The choice is entirely yours!

Directions
Making Chocolate Pistachio Cream Thumbprints involves a few straightforward steps. Let’s walk through the process.
Step 1: Prepare Your Kitchen
Start by preheating your oven to 350°F (175°C). Line two baking sheets with parchment paper. This serves two purposes: it prevents sticking and makes cleanup a breeze.
Step 2: Mix the Ingredients
In a large bowl, cream together the softened butter and confectioners’ sugar. Use a hand mixer or a stand mixer to get a smooth, fluffy mixture. You want it to be airy—this is what creates the tender texture of the cookies.
Add the flour, salt, pistachios, vanilla extract, and lemon zest. Mix gently until the dough comes together. Avoid overmixing; we want our cookies to have a delicate texture.
Step 3: Form the Cookies
Using a cookie scoop or your hands, form round balls of dough (about 1 inch in size) and place them on the prepared baking sheets. Leave some space between each ball; they will spread out a bit while baking.
Once they are all on the sheet, use your thumb (or the back of a measuring spoon) to press an indentation into each cookie. This is the “thumbprint” part of the process—and it’s also where the fun begins!
Step 4: Bake
Pop those cookie sheets into the preheated oven. Bake for about 10-12 minutes or until the edges are lightly golden. Keep an eye on them so they don’t overbake; we still want that soft center.
Step 5: Cool and Fill
Once baked, remove the cookies from the oven and let them cool on the baking sheets for a few minutes before transferring them to wire racks to cool completely.
Once cooled, fill each thumbprint with your desired filling—be it nut butter, jam, or that luxurious pistachio cream—and watch your cookies transform!
Step 6: Drizzle with Chocolate
For a fancy finish, melt some chocolate in a microwave-safe container. Drizzle it over the filled cookies for that extra touch. Allow the chocolate to set before serving.
Notes
Room Temperature Ingredients: Never underestimate the importance of using ingredients at room temperature. It allows for a better blend.
Chill the Dough: If your dough seems soft, chill it for about 30 minutes before forming balls. This will help them hold their shape in the oven.
Roasting Pistachios: If you can find raw pistachios, roast them lightly in the oven for about 5-7 minutes to enhance their flavor.
Experiment with Fillings: Feel free to mix and match fillings. You might discover an unexpected combination that you love.
Don’t Skip the Salt: The pinch of salt is crucial. It elevates the sweetness and rounds out the flavors.
Storage Tips
Store your Chocolate Pistachio Cream Thumbprints in an airtight container at room temperature. They should stay fresh for about a week. If you want to keep them longer, consider freezing the unbaked dough. Roll it into balls, freeze them, and then bake straight from the freezer when the mood strikes.
Nutrition Information
While indulging in a delightful cookie, it’s always helpful to know a bit about what’s inside. Each cookie (based on standard ingredients and filling) contains roughly:
Calories: 150
Total Fat: 8 g
Saturated Fat: 5 g
Carbohydrates: 19 g
Sugar: 6 g
Protein: 2 g
Of course, these numbers can vary based on the specific ingredients and fillings you choose.
Serving Suggestions
Present these cookies in a fun, enticing way. Here are some suggestions:
Pair with Coffee: Your afternoon espresso will be even better alongside these delicious cookies. The nutty flavors enhance the coffee experience.
Dessert Tray: Include a mix of thumbprints and other cookies for a delightful dessert table. Variety is always a hit.
Ice Cream Sandwich: Use the cookies as a base for a homemade ice cream sandwich. Add a scoop of your favorite ice cream in between two cookies for an indulgent treat.
Picnic Treats: Perfect for outdoor gatherings, pack these cookies along with some fresh fruit and beverages.
Gift Giving: Present them in a decorative box or jar as a homemade gift. Who wouldn’t love that?
What Other Substitutes Can I Use in Chocolate Pistachio Cream Thumbprints?
Exploring substitutes can open a new world of flavor possibilities. Here are a few ideas to consider when making your Chocolate Pistachio Cream Thumbprints:
Almond Flour: If you want a gluten-free option, substitute some of the regular flour with almond flour. It will add a slightly nutty flavor and change the texture to be more tender.
Maple Syrup: Replace sugar with maple syrup for a less refined option. Keep in mind it may change the moisture content, so adjust the flour as needed.
Nut Butters: Swap regular fillings for nut butters like almond or cashew butter. It adds creaminess and a different flavor profile.
Fruit Preserves: If you desire a more pronounced fruit flavor, use apricot or peach preserves instead of traditional selections.
Dark Chocolate: Instead of regular chocolate for drizzling, try dark chocolate. It’ll bring more depth and richness to the cookies.

Conclusion
Chocolate Pistachio Cream Thumbprints are more than just cookies—they’re an experience. Whether you are looking for a sweet treat to accompany your coffee or an impressive addition to a dessert table, these cookies deliver on all fronts.
The combination of smooth chocolate and nutty pistachios creates a flavor profile that keeps people coming back for more. The detailed steps and tips provided can ease you into making a batch, whether you are a novice or a seasoned baker.
Take a chance on this recipe. Allow these cookies to bring a little joy to your day or become the highlight of your next gathering. The smiles at the table will say it all, and you’ll find yourself cherishing the moments made sweeter by your delicious creations. Enjoy baking, and remember – there are no mistakes in the kitchen, only delicious experiments!
You’ll also like the following Recipes!
- Spinach and Garlic Spaghetti with Pecorino
- Strawberry Funfetti Ice Cream Cake
- Shakshouka Poached Eggs in Spicy Tomato Sauce

Chocolate Pistachio Cream Thumbprints – Treat Indulgently
Description
Ah, chocolate and pistachios. A match made in culinary heaven. We're about to embark on a flavorful journey exploring Chocolate Pistachio Cream Thumbprints—those delightful, delicate cookies that are as pleasing to the eye as they are to the palate.
As a food enthusiast who has played with countless combinations in the kitchen, I’ve discovered that thumbprint cookies are not merely desserts; they're tiny portals to joy. Each cookie offers a soft, buttery bite, complemented by silky chocolate, rich pistachio cream, and a core that likely has its own exciting personality, whether it’s your favorite jam or nut butter.
So, why should you consider adding these beauties to your kitchen repertoire? Let me tell you why you’re going to love them.
Ingredients
Instructions
Step 1: Prepare Your Kitchen
-
Start by preheating your oven to 350°F (175°C). Line two baking sheets with parchment paper. This serves two purposes: it prevents sticking and makes cleanup a breeze.
Step 2: Mix the Ingredients
-
In a large bowl, cream together the softened butter and confectioners’ sugar. Use a hand mixer or a stand mixer to get a smooth, fluffy mixture. You want it to be airy—this is what creates the tender texture of the cookies.
Add the flour, salt, pistachios, vanilla extract, and lemon zest. Mix gently until the dough comes together. Avoid overmixing; we want our cookies to have a delicate texture.
Step 3: Form the Cookies
-
Using a cookie scoop or your hands, form round balls of dough (about 1 inch in size) and place them on the prepared baking sheets. Leave some space between each ball; they will spread out a bit while baking.
Once they are all on the sheet, use your thumb (or the back of a measuring spoon) to press an indentation into each cookie. This is the "thumbprint" part of the process—and it’s also where the fun begins!
Step 4: Bake
-
Pop those cookie sheets into the preheated oven. Bake for about 10-12 minutes or until the edges are lightly golden. Keep an eye on them so they don’t overbake; we still want that soft center.
Step 5: Cool and Fill
-
Once baked, remove the cookies from the oven and let them cool on the baking sheets for a few minutes before transferring them to wire racks to cool completely.
Once cooled, fill each thumbprint with your desired filling—be it nut butter, jam, or that luxurious pistachio cream—and watch your cookies transform!
Step 6: Drizzle with Chocolate
-
For a fancy finish, melt some chocolate in a microwave-safe container. Drizzle it over the filled cookies for that extra touch. Allow the chocolate to set before serving.
Nutrition Facts
Servings 40
- Amount Per Serving
- Calories 150kcal
- % Daily Value *
- Total Fat 8g13%
- Saturated Fat 5g25%
- Total Carbohydrate 19g7%
- Sugars 6g
- Protein 2g4%
* Percent Daily Values are based on a 2,000 calorie diet. Your daily value may be higher or lower depending on your calorie needs.
Note
- Room Temperature Ingredients: Never underestimate the importance of using ingredients at room temperature. It allows for a better blend.
- Chill the Dough: If your dough seems soft, chill it for about 30 minutes before forming balls. This will help them hold their shape in the oven.
- Roasting Pistachios: If you can find raw pistachios, roast them lightly in the oven for about 5-7 minutes to enhance their flavor.
- Experiment with Fillings: Feel free to mix and match fillings. You might discover an unexpected combination that you love.
- Don’t Skip the Salt: The pinch of salt is crucial. It elevates the sweetness and rounds out the flavors.


