Now, let’s get into why this molten lava cake is a true gem. For many, the idea of baking a restaurant-quality dessert at home can feel daunting. However, this recipe takes that fear and tosses it out the window. With simple ingredients and straightforward steps, it transforms your kitchen into a professional bakery.
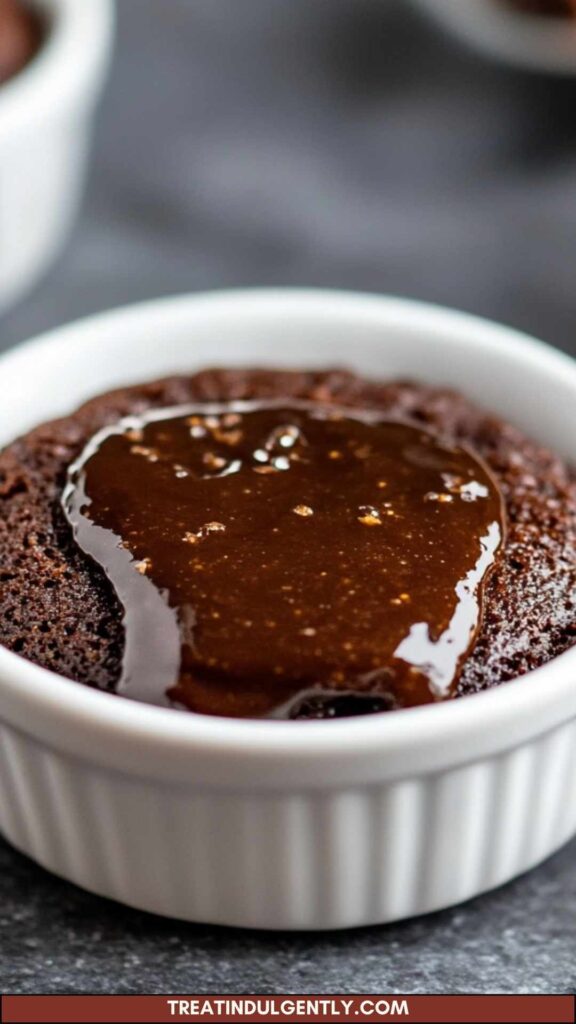
Trust me; the first time you gently tap into that cake, watching the molten chocolate flow out, is an unforgettable moment.
I first stumbled upon this recipe while seeking something grand to impress friends during a dinner party. I wanted to serve a dessert that would create a lasting impression, and boy, did this one deliver!
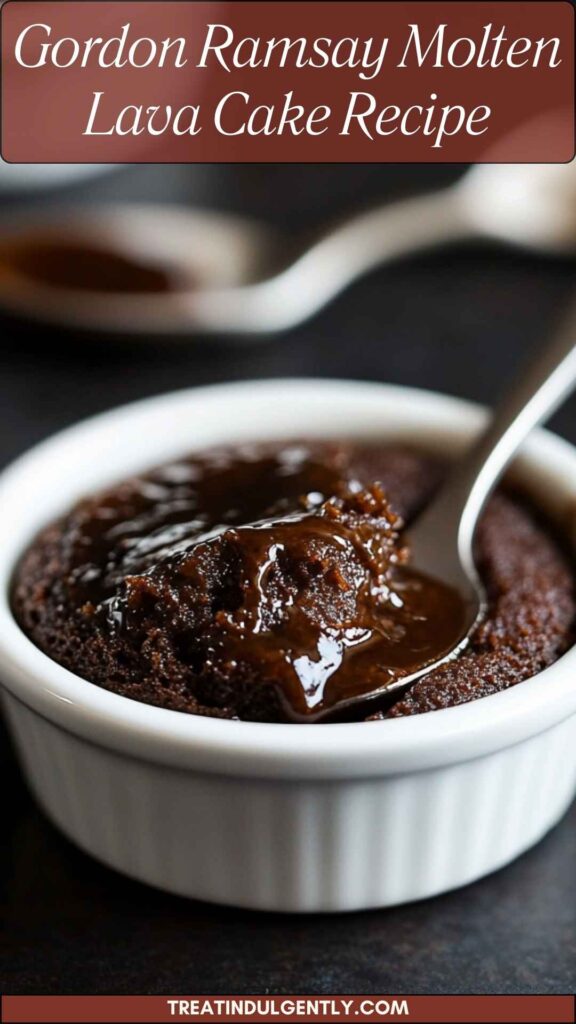
The fusion of rich chocolate and a gooey center made everyone’s eyes light up. I found the ingredients straightforward and accessible—no need for obscure items.
Let’s just say this cake isn’t just a dessert; it’s a ticket to applause.
Ingredients
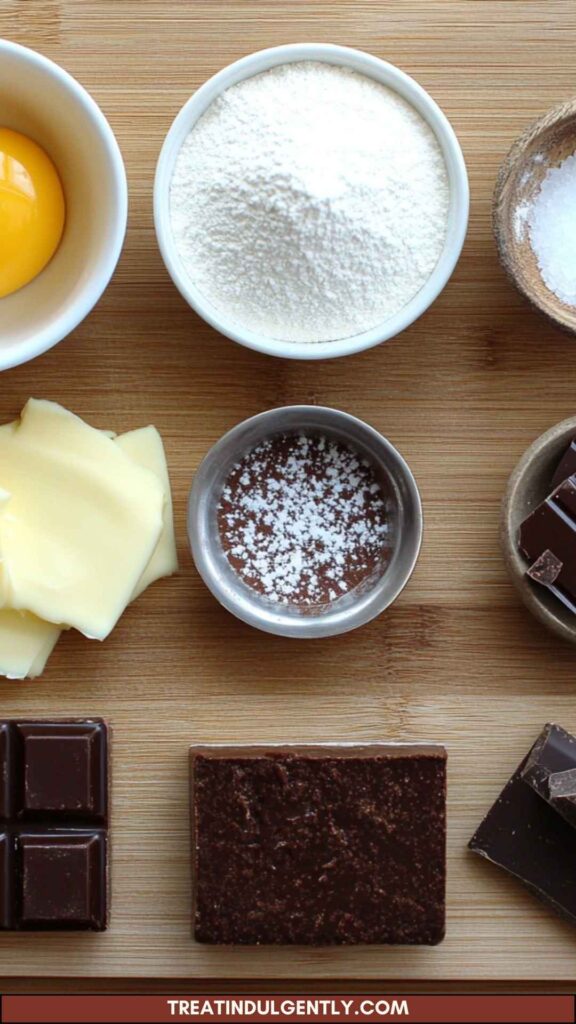
Let’s gather our treasures for this lava cake magic:
- 1 large egg
- 1 egg yolk
- 3 tablespoons all-purpose flour
- 1 tablespoon unsweetened cocoa powder
- ½ cup confectioners’ sugar
- 1 teaspoon vanilla extract
- 2 ounces semi-sweet chocolate (I used baking chocolate)
- 4 tablespoons unsalted butter
- A pinch of sea salt
These ingredients are relatively standard in most pantries. They come together to create something extraordinary.
How to Make Gordon Ramsay’s Molten Lava Cake
Step 1: Prepare Your Ramekins
Before any whisking and melting, preheat your oven to 425°F (220°C). This temperature is essential to achieve that perfectly baked exterior. Next, prepare four ramekins by greasing them with butter and dusting them with cocoa powder.
This second step ensures that your cakes release easily after baking. Trust me; the last thing you want is a lava cake that refuses to leave its cozy home.
Step 2: Melt the Chocolate and Butter
In a heatproof bowl, combine the semi-sweet chocolate and the unsalted butter. Place this bowl over a saucepan of simmering water (often called a double boiler). Stir occasionally until the mixture is smooth and glossy. Remember, patience is key here.
This process offers a chance to inhale the delightful aroma as it melts—pure bliss.
Step 3: Mix the Egg Mixture
In a separate bowl, whisk together the large egg, egg yolk, and confectioners’ sugar until the mixture is pale and fluffy. This step is crucial for incorporating air into your mix, leading to a light and tender cake.
Add the vanilla extract and whisk a bit more.
Step 4: Combine It All
Once your chocolate mixture has cooled slightly, it’s time to combine the two mixtures. Slowly pour the melted chocolate into the egg mixture, constantly whisking. This could be one of the more therapeutic moments of the process. It’s like a dance, bringing different elements together.
Next, sift in the all-purpose flour, cocoa powder, and a pinch of sea salt. Fold the mixture gently until no dry flour remains.
Step 5: Pour and Bake
Divide the batter evenly among the prepared ramekins. Place them on a baking tray and bake for 12-14 minutes. You want the edges to be firm, but the center should still jiggle slightly.
Make a note: overcooking means that gooey center turns into just chocolate cake (delicious, but not the same).
Step 6: Serve Immediately
Once out of the oven, let them cool for about one minute. Then, run a knife around the edges, flip them onto individual plates, and voilà! Serve them topped with ice cream, fresh berries, or a dusting of powdered sugar.
The excitement in the air when your guests cut into their cake is priceless.
Recipe Notes
- Eggs: They provide structure and stability. The combination of whole eggs and yolk adds richness.
- Chocolate: The heart of this dish. Using high-quality semi-sweet baking chocolate enhances flavor.
- Butter: Adds moisture and richness. Unsalted butter gives you better control over the flavor.
- Flour: Provides the base for the cake. Just enough to maintain that molten texture.
- Cocoa Powder: Deepens the chocolate flavor without adding additional liquid.
- Vanilla Extract: A little goes a long way. It enhances the overall flavor profile.
Recipe Variations
This recipe is incredibly flexible:
- Mint Lava Cake: Add mint extract to the chocolate mix for a refreshing twist.
- Spicy Lava Cake: Incorporate a pinch of cayenne pepper to really elevate the chocolate sensation.
- Nutty Chocolate Lava Cake: Toss in chopped nuts like hazelnuts or almonds for crunchy textures.
- Fruit-Filled Lava Cake: Place a few pieces of your favorite fruit at the bottom of the ramekins; the juice will mix into the molten center as it cooks.
Conclusion
Gordon Ramsay’s molten lava cake is a delightful dessert that combines simplicity and elegance. It impresses every time, whether it’s a cozy dinner or a festive gathering. I’ve made it countless times, and it never fails to wow my guests. With straightforward steps, minimal ingredients, and plenty of versatility, it’s accessible for both beginners and seasoned bakers.
The moment you cut into that warm cake and see the flowing chocolate, the effort feels entirely worth it. So, go ahead, give it a try, and enjoy the praises that come your way!
You’ll also like the following recipes!
- Oreo Lava Cake Copycat Recipe
- How to Make Ghirardelli Chocolate Lava Cake
- Best Pampered Chef Lava Cake Recipe

Gordon Ramsay Molten Lava Cake Recipe – Treat Indulgently
Description
Before we dive into the magic of Gordon Ramsay's molten lava cake, let's talk about what can complement this exquisite dessert. After all, there's nothing quite like a perfectly balanced meal, right?
A rich lava cake calls for refreshing companions that beautifully contrast its intensity. Think about a scoop of vanilla bean ice cream that melts into the warm cake, providing a creamy contrast.
You could also serve it with a tart raspberry coulis, adding a fruity brightness that elevates the entire experience.
A sprinkle of crushed pistachios on top can contribute a delightful crunch, too.
Ingredients
Instructions
Step 1: Prepare Your Ramekins
-
Before any whisking and melting, preheat your oven to 425°F (220°C). This temperature is essential to achieve that perfectly baked exterior. Next, prepare four ramekins by greasing them with butter and dusting them with cocoa powder.
This second step ensures that your cakes release easily after baking. Trust me; the last thing you want is a lava cake that refuses to leave its cozy home.
Step 2: Melt the Chocolate and Butter
-
In a heatproof bowl, combine the semi-sweet chocolate and the unsalted butter. Place this bowl over a saucepan of simmering water (often called a double boiler). Stir occasionally until the mixture is smooth and glossy. Remember, patience is key here.
This process offers a chance to inhale the delightful aroma as it melts—pure bliss.
Step 3: Mix the Egg Mixture
-
In a separate bowl, whisk together the large egg, egg yolk, and confectioners' sugar until the mixture is pale and fluffy. This step is crucial for incorporating air into your mix, leading to a light and tender cake.
Add the vanilla extract and whisk a bit more.
Step 4: Combine It All
-
Once your chocolate mixture has cooled slightly, it’s time to combine the two mixtures. Slowly pour the melted chocolate into the egg mixture, constantly whisking. This could be one of the more therapeutic moments of the process. It’s like a dance, bringing different elements together.
Next, sift in the all-purpose flour, cocoa powder, and a pinch of sea salt. Fold the mixture gently until no dry flour remains.
Step 5: Pour and Bake
-
Divide the batter evenly among the prepared ramekins. Place them on a baking tray and bake for 12-14 minutes. You want the edges to be firm, but the center should still jiggle slightly.
Make a note: overcooking means that gooey center turns into just chocolate cake (delicious, but not the same).
Step 6: Serve Immediately
-
Once out of the oven, let them cool for about one minute. Then, run a knife around the edges, flip them onto individual plates, and voilà! Serve them topped with ice cream, fresh berries, or a dusting of powdered sugar.
The excitement in the air when your guests cut into their cake is priceless.
Nutrition Facts
Servings 2
- Amount Per Serving
- Calories 490kcal
- % Daily Value *
- Total Fat 30.1g47%
- Saturated Fat 17.2g86%
- Cholesterol 214mg72%
- Sodium 24mg1%
- Total Carbohydrate 53g18%
- Dietary Fiber 3g12%
- Sugars 40g
- Protein 6g12%
* Percent Daily Values are based on a 2,000 calorie diet. Your daily value may be higher or lower depending on your calorie needs.
Note
- Eggs: They provide structure and stability. The combination of whole eggs and yolk adds richness.
- Chocolate: The heart of this dish. Using high-quality semi-sweet baking chocolate enhances flavor.
- Butter: Adds moisture and richness. Unsalted butter gives you better control over the flavor.
- Flour: Provides the base for the cake. Just enough to maintain that molten texture.
- Cocoa Powder: Deepens the chocolate flavor without adding additional liquid.
- Vanilla Extract: A little goes a long way. It enhances the overall flavor profile.


