Let’s talk about chocolate. Why does it hold such a magical place in our hearts and minds? Maybe it’s the rich aroma or the way it melts on your tongue. For me, it goes deeper. Chocolate is a time machine; it can whisk you back to childhood birthdays, cozy nights with friends, and the simple joy of indulging.
Enter the microwave lava cake—my go-to when I need something sweet, fast, and delicious. Have you ever craved cake but wanted it ready in under 10 minutes? This dessert is your answer, and I’m excited to share how you can make it at home!
What is Microwave Lava Cake?
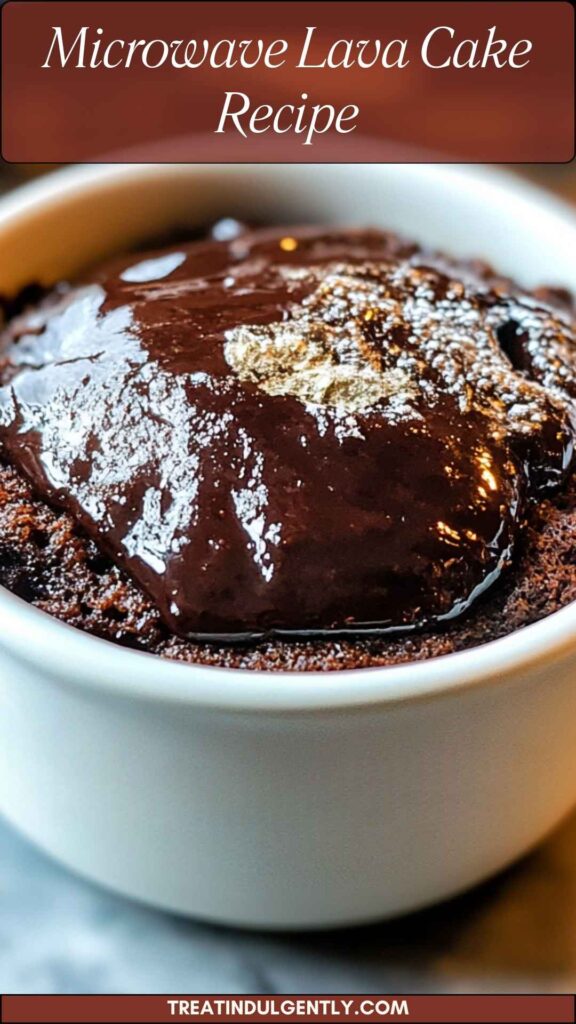
Microwave lava cake is a dessert that boasts a gooey chocolate center while having a light, fluffy exterior. It’s essentially a single serving of chocolate cake that you can whip up in a mug using your microwave.
The beauty lies in the instant gratification; you mix the ingredients, pop it in the microwave, and voilà! You have a cake that’s ready to devour almost immediately. It’s like a magic trick for your taste buds.
What is the Flavor Profile of This Dish?
Imagine biting into a freshly baked cake that’s warm, moist, and bursting with deep chocolate flavor. The outer layer is slightly spongy, with hints of vanilla and cocoa. Then, as your fork pierces through, a river of silky chocolate flows out.
The taste is rich but not overpowering, striking a perfect balance that leaves you wanting more. Add a sprinkle of sea salt, and you’ll experience a delightful contrast of sweet and savory.
What Makes This Recipe Different From Other Microwave Lava Cakes?
What sets my microwave lava cake apart from the rest? It’s not just about quick preparation; it’s the attention to detail. Instead of generic cocoa powder, I use Dutch-process cocoa for a smoother and richer flavor.
I throw in a bit of instant espresso powder to enhance the chocolate, transforming the cake into something extraordinary. Plus, the inclusion of hazelnut spread elevates the gooey center, adding an extra dimension of flavor that’s hard to forget. You won’t find the same depth of taste in a typical microwave cake.
Ingredients You’ll Need
- 1 large egg
- 3 tablespoons whole milk
- 1/4 cup fine white sugar
- 1/4 cup all-purpose flour
- 2 tablespoons Dutch-process cocoa powder
- 1/2 teaspoon baking powder
- A pinch of sea salt
- 3 tablespoons melted unsalted butter
- 1 tablespoon warm water
- 1/2 teaspoon pure vanilla extract
- 1 oz chopped semi-sweet chocolate chunks
- 1/4 teaspoon instant espresso powder
- 1 tablespoon hazelnut spread
Step by Step Directions
Step 1: Gather Your Ingredients
To kick things off, grab your ingredients. This is all about ease, so have everything measured and ready to go. It makes the process smoother and less chaotic. Trust me; you’ll thank yourself later!
Step 2: Prepare Your Mug
Select a microwave-safe mug. A larger one is preferable, as the cake will rise while cooking. Lightly grease the inside with cooking spray or a little melted butter to prevent sticking. This small step keeps your cake intact when it’s time to dig in.
Step 3: Mix Dry Ingredients
In a mixing bowl, combine the flour, sugar, cocoa powder, baking powder, sea salt, and instant espresso powder. Whisk these dry ingredients together until they are well mixed. This ensures even distribution of flavors.
Step 4: Add Wet Ingredients
Now add the egg, milk, melted butter, warm water, and vanilla extract to the dry mix. Whisk until everything is nicely blended. You want a smooth batter without any lumps. This is where the magic starts to happen.
Step 5: Incorporate Chocolate
Fold in the chocolate chunks gently. This step is important because those chunks will melt during cooking, adding that gooey texture that makes lava cake so special. Don’t rush this process; make sure they are evenly distributed.
Step 6: Pour and Add Hazelnut Spread
Pour half of the batter into your prepared mug. Now take a spoonful of hazelnut spread and place it in the center. Cover it with the remaining batter. This creates the magical lava center that we all crave.
Step 7: Microwave
Microwave your mug on high for 30 seconds. Then check to see if the cake is done. If it’s still gooey on the top, continue microwaving in 10-second intervals until it’s set but still soft. Remember, every microwave is different, so stay close and keep an eye on it.
Step 8: Serve and Enjoy!
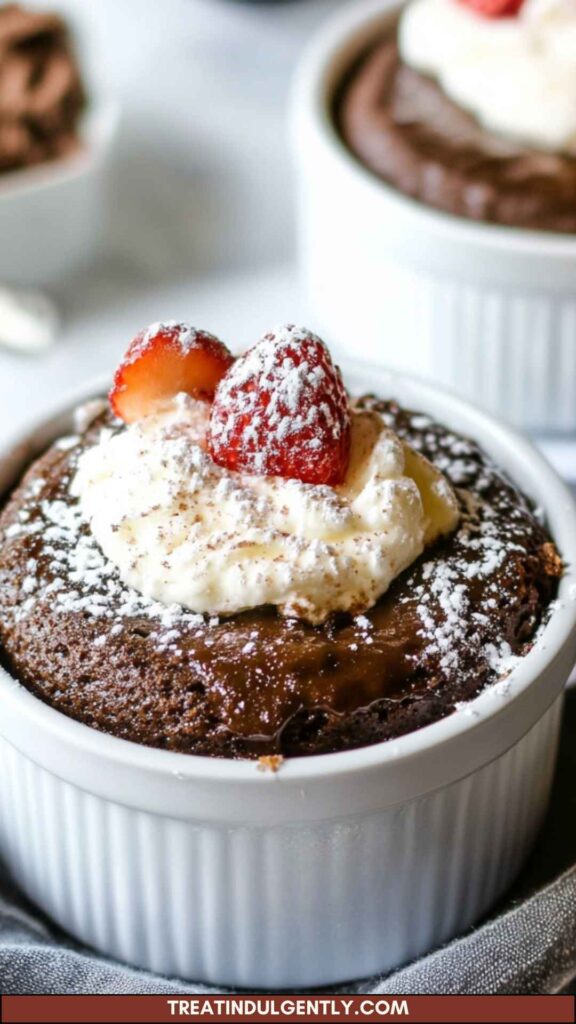
Once done, carefully remove the mug from the microwave. It’s hot! Let it cool for a minute. Then, serve it straight from the mug or turn it out onto a plate. Add your favorite toppings like ice cream, whipped cream, or a dusting of powdered sugar.
Tips on Making Microwave Lava Cake
- Use Quality Ingredients: Opt for high-quality chocolate and cocoa powder. It makes a noticeable difference in flavor.
- Don’t Overcook: Lava cake should be soft and gooey in the center. Keep a close watch while it cooks.
- Adjust for Microwave Power: Every microwave is unique. Know your microwave’s quirks, and adjust cooking times as needed.
- Experiment with Flavors: Try different flavored extracts or a hint of orange zest for a fresh twist.
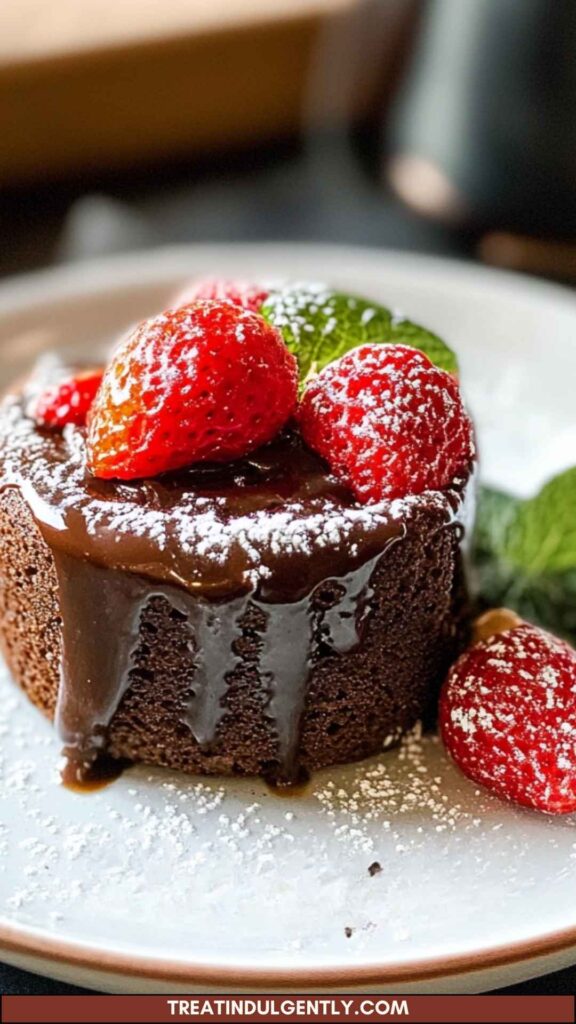
- Top It Off: Don’t skip the toppings! A scoop of ice cream or fresh berries transforms your cake into a complete dessert experience.
How Can I Store This Microwave Lava Cake?
Microwave lava cake is best enjoyed fresh, but you can store it in the refrigerator for up to two days. Just be sure to cover it with plastic wrap or place it in an airtight container. When you’re ready to enjoy again, a quick pop in the microwave for 10-15 seconds will warm it up.
If the Items Are Not Available in Your Kitchen, Here Are Some Substitutes
- Egg: If you lack eggs, use 1/4 cup of unsweetened applesauce or a mashed banana. They will help bind the ingredients together.
- All-Purpose Flour: Try using almond flour or coconut flour to keep it gluten-free. Just be cautious; coconut flour absorbs more liquid, so you may need to adjust the wet ingredients.
- Dutch-Process Cocoa Powder: Regular unsweetened cocoa powder works, though it may not deliver the same depth of flavor.
- Semi-Sweet Chocolate: If you don’t have semi-sweet chocolate on hand, use milk chocolate or dark chocolate as alternatives, depending on your sweetness preference.
Conclusion
Microwave lava cake is a simple yet sophisticated dessert that can be enjoyed any day. It’s perfect for quiet nights at home or as an indulgent treat when friends come over. Don’t let the quick preparation fool you; this dessert packs a punch of flavor that makes it truly special.
Next time you find yourself with a chocolate craving, remember this recipe. Whether you serve it alone or pair it with ice cream or a fruity topping, you’ll have a dessert that brings joy with every bite. Enjoy the sweetness of life, one molten cake at a time!
You’ll also like the following recipes!
- Dominos Lava Cake Copycat Recipe
- How to Make Crock Pot Chocolate Lava Cake
- Best Chocolate Lava Mug Cake Recipe

Microwave Lava Cake Recipe – Treat Indulgently
Description
Before diving into the creation of a microwave lava cake, it’s important to think about what to serve alongside this warm, chocolatey delight. A scoop of vanilla bean ice cream melting into the molten center of your cake, creating a decadent swirl of flavors.
Or perhaps a fresh berry compote would add a bright, tangy contrast. You can never go wrong with a drizzle of rich caramel sauce that seeps into the cracks of the cake. For those who appreciate a touch of warmth, a creamy coffee offers a perfect complement.
These choices not only enhance the overall experience but also elevate the humble lava cake into a show-stopping dessert.
Ingredients
Instructions
Step 1: Gather Your Ingredients
-
To kick things off, grab your ingredients. This is all about ease, so have everything measured and ready to go. It makes the process smoother and less chaotic. Trust me; you’ll thank yourself later!
Step 2: Prepare Your Mug
-
Select a microwave-safe mug. A larger one is preferable, as the cake will rise while cooking. Lightly grease the inside with cooking spray or a little melted butter to prevent sticking. This small step keeps your cake intact when it’s time to dig in.
Step 3: Mix Dry Ingredients
-
In a mixing bowl, combine the flour, sugar, cocoa powder, baking powder, sea salt, and instant espresso powder. Whisk these dry ingredients together until they are well mixed. This ensures even distribution of flavors.
Step 4: Add Wet Ingredients
-
Now add the egg, milk, melted butter, warm water, and vanilla extract to the dry mix. Whisk until everything is nicely blended. You want a smooth batter without any lumps. This is where the magic starts to happen.
Step 5: Incorporate Chocolate
-
Fold in the chocolate chunks gently. This step is important because those chunks will melt during cooking, adding that gooey texture that makes lava cake so special. Don’t rush this process; make sure they are evenly distributed.
Step 6: Pour and Add Hazelnut Spread
-
Pour half of the batter into your prepared mug. Now take a spoonful of hazelnut spread and place it in the center. Cover it with the remaining batter. This creates the magical lava center that we all crave.
Step 7: Microwave
-
Microwave your mug on high for 30 seconds. Then check to see if the cake is done. If it’s still gooey on the top, continue microwaving in 10-second intervals until it’s set but still soft. Remember, every microwave is different, so stay close and keep an eye on it.
Step 8: Serve and Enjoy!
-
Once done, carefully remove the mug from the microwave. It’s hot! Let it cool for a minute. Then, serve it straight from the mug or turn it out onto a plate. Add your favorite toppings like ice cream, whipped cream, or a dusting of powdered sugar.
Nutrition Facts
Servings 1
- Amount Per Serving
- Calories 608kcal
- % Daily Value *
- Total Fat 44.2g68%
- Saturated Fat 21.8g110%
- Cholesterol 45mg15%
- Sodium 26mg2%
- Total Carbohydrate 54g18%
- Dietary Fiber 7g29%
- Sugars 20g
- Protein 9g18%
* Percent Daily Values are based on a 2,000 calorie diet. Your daily value may be higher or lower depending on your calorie needs.
Note
- Use Quality Ingredients: Opt for high-quality chocolate and cocoa powder. It makes a noticeable difference in flavor.
- Don’t Overcook: Lava cake should be soft and gooey in the center. Keep a close watch while it cooks.
- Adjust for Microwave Power: Every microwave is unique. Know your microwave's quirks, and adjust cooking times as needed.
- Experiment with Flavors: Try different flavored extracts or a hint of orange zest for a fresh twist.
- Top It Off: Don’t skip the toppings! A scoop of ice cream or fresh berries transforms your cake into a complete dessert experience.


