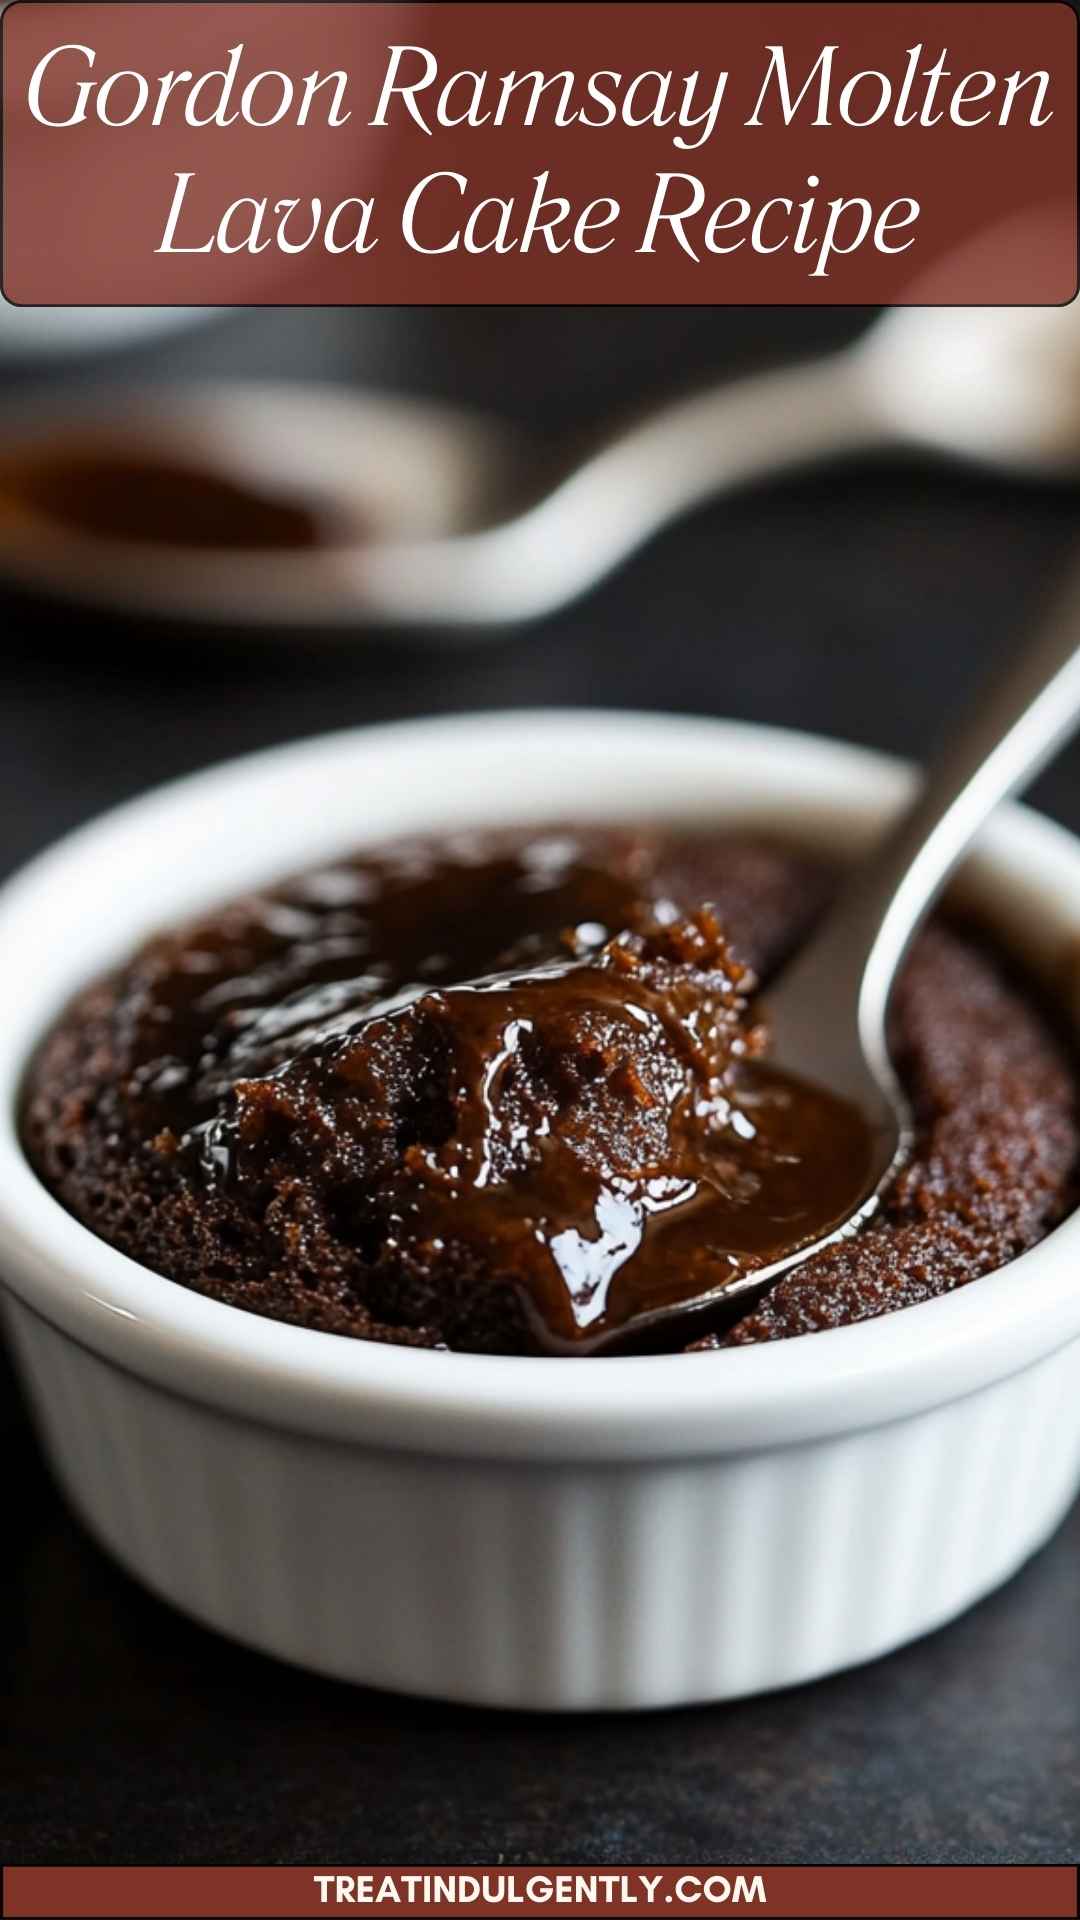
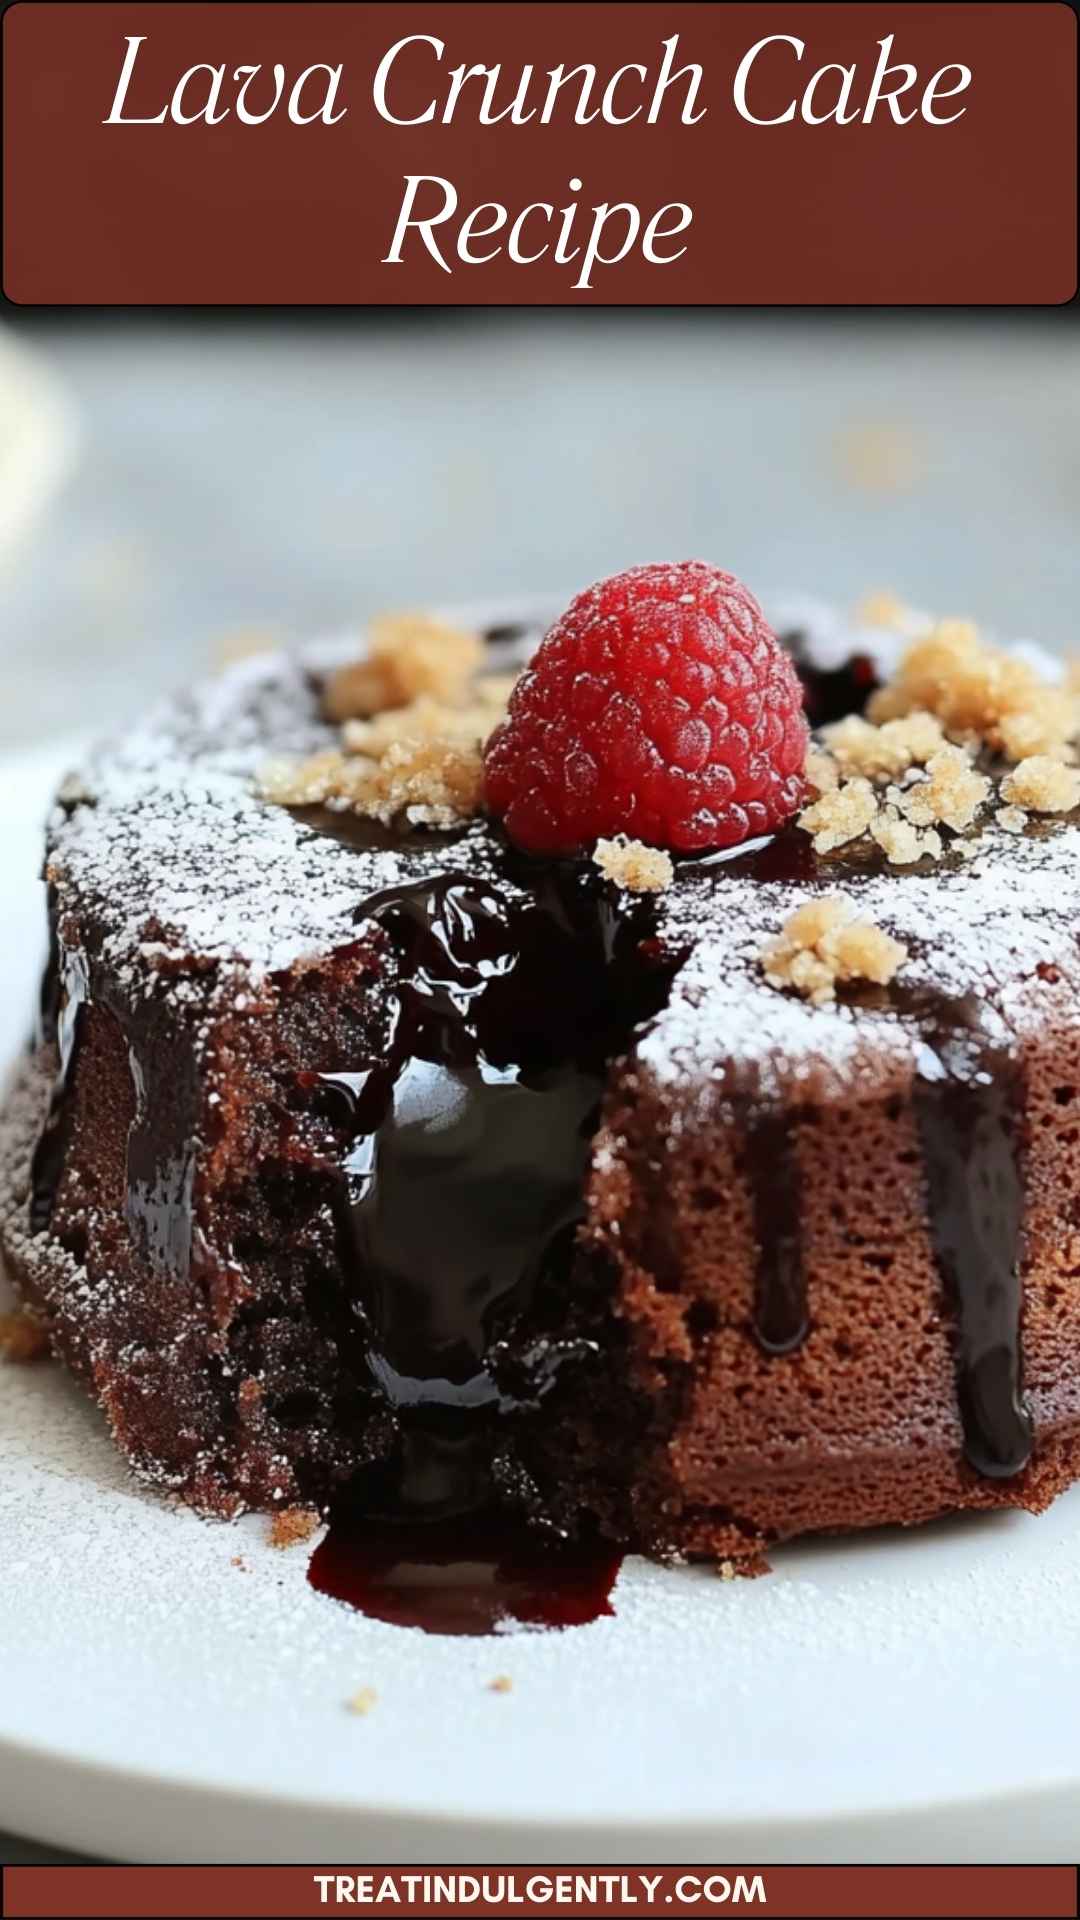
Let me take you back to a moment when I first encountered the mini chocolate lava cake. I was at a small dessert café, reveling in the simple joy of indulging in sweets. The servers brought out this petite cake, its center bubbling with molten chocolate. It was pure magic.
Ever since, this dessert has been a staple in my home. Each time I pull it from the oven, and that rich chocolate begins to ooze out, I am reminded that dessert can be an experience, not just a course.
Chocolate lava cake, in mini form, is not just delicious; it’s a showstopper. Perfect for dinner parties or family gatherings, these little delights serve up a host of flavors and textures. So, let’s dig deeper into the history, flavors, and intricacies of this decadent dessert.
What is Mini Chocolate Lava Cake?
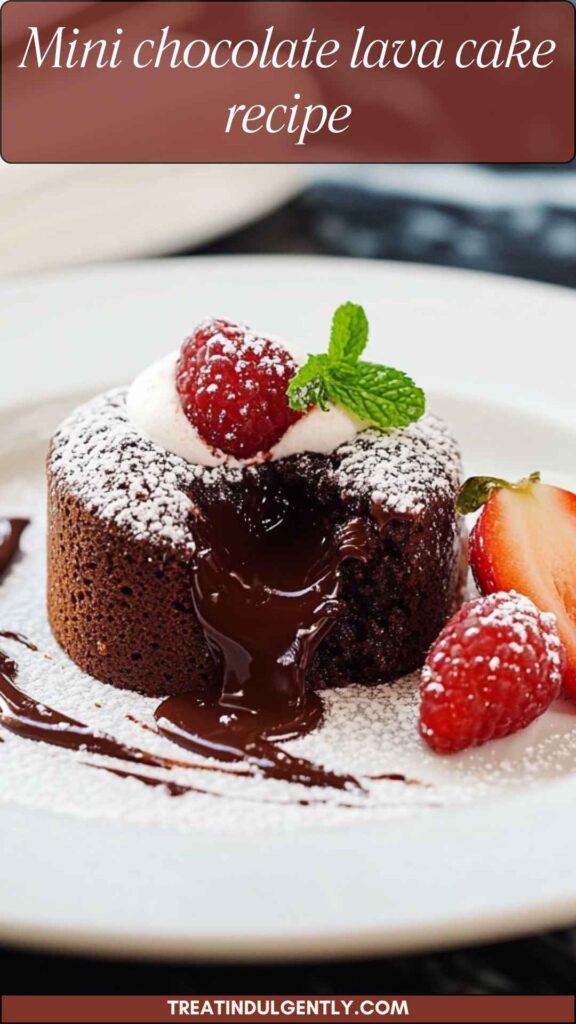
Mini chocolate lava cake, often referred to as molten chocolate cake, has earned its place in the hearts (and stomachs) of chocolate lovers. This dessert consists of a small cake with a gooey center that flows like liquid chocolate. While variations exist, the base typically includes rich chocolate, eggs, and a touch of flour.
Originating from the United States in the late 1980s, this cake has cemented its status in French cuisine by chefs who found inspiration in fondant cakes. However, what sets the mini version apart is its individual shape and quick baking time. These mini cakes pack all the richness into tiny packages, making them perfect for portion control – if you can control yourself around chocolate, that is!
What is the Flavor Profile of This Dish?
The flavor profile of a mini chocolate lava cake is pure bliss. You receive an initial hit of bittersweet chocolate, combined beautifully with the creaminess of butter. The cake’s outer layer offers a slight crust, producing a pleasant contrast to the molten middle. This rich chocolate flavor is enhanced with a hint of espresso, which deepens the chocolate experience without overpowering it.
And let’s not overlook the pinch of sea salt. It might seem minor, but it plays a significant role. A touch of salt balances the sweetness and elevates the flavor to new heights. This dessert is best enjoyed warm, ensuring that molten center remains luscious and inviting.
What Makes This Recipe Different From Other Mini Chocolate Lava Cake Recipes?
There are many recipes available, but I want to share my favorite. It’s a mix of simplicity and flavor, with a couple of tweaks that elevate the standard recipe into something memorable. The key difference lies in a few ingredients and techniques.
Most recipes use only whole eggs, but I’ve found that using one yolk and one egg creates a richer texture. A small amount of espresso powder is added for a deep chocolate flavor without the coffee taste. Finally, I prefer high-quality chocolate chips for that luxurious mouthfeel – they’re the heart and soul of this dessert.
Ingredients You’ll Need
Before starting this delicious adventure, assemble these ingredients:
- 2 large eggs (1 yolk and 1 whole egg)
- 2 tablespoons granulated sugar
- 3 tablespoons unsalted butter, plus extra for greasing the baking pan
- 1 tablespoon espresso powder (this enhances the chocolate flavor)
- ⅓ cup high-quality bittersweet or semisweet chocolate chips (or 2 ounces of finely chopped chocolate)
- ¼ teaspoon pure vanilla extract
- Pinch of sea salt
- 1 teaspoon flour (can be whole wheat, all-purpose, or a gluten-free blend)
- Cocoa powder or additional flour, for dusting the baking pan
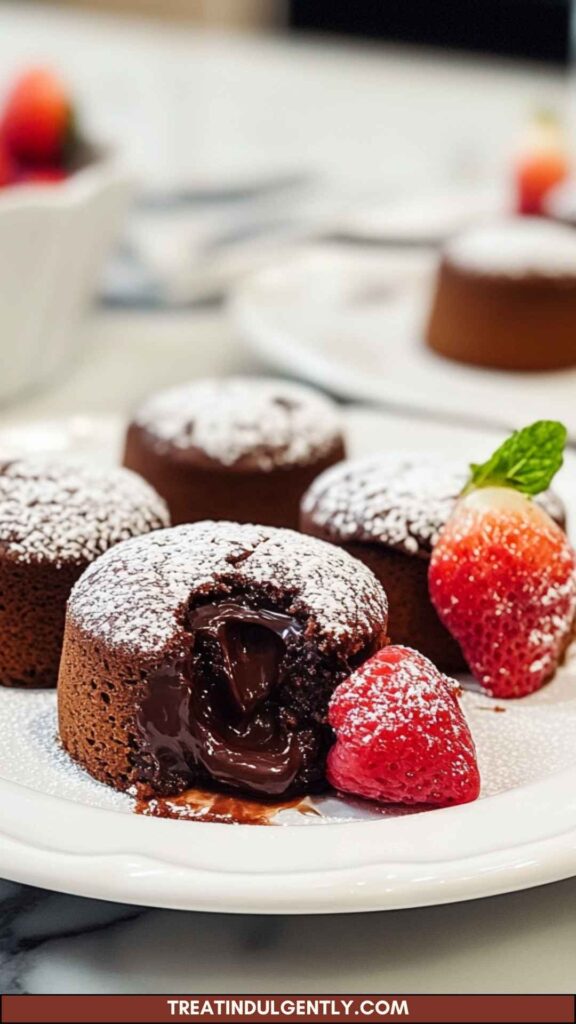
Suggested garnishes: powdered sugar, strawberry or vanilla ice cream, fresh sliced strawberries, or whole raspberries.
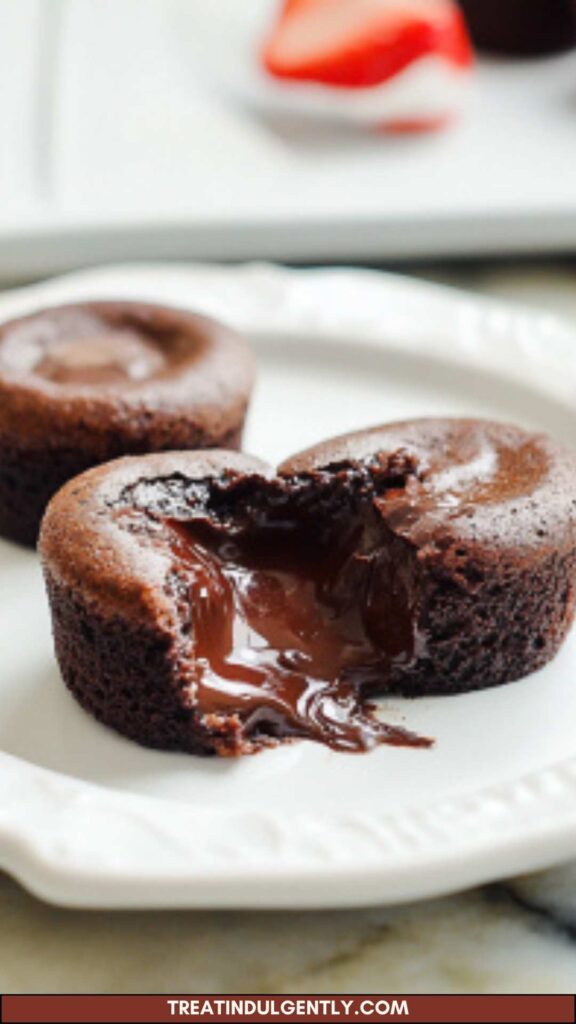
Step-by-Step Directions
Creating mini chocolate lava cakes is straightforward. Follow these steps, and you’ll have delightful treats:
Step 1: Preheat and Prepare
Preheat your oven to 425°F (220°C). Prepare your ramekins by greasing them with butter. Dust the insides with cocoa powder or flour to prevent sticking. This will help ensure your cakes release perfectly after baking.
Step 2: Melt the Chocolate and Butter
In a heatproof bowl, combine the chocolate chips and butter. Set this bowl over a saucepan of simmering water, creating a double boiler. Stir occasionally until melted and smooth.
Alternatively, you can melt the butter and chocolate in the microwave in short bursts, stirring between each burst to ensure it doesn’t burn. This method is quicker and works just as well.
Step 3: Mix Eggs and Sugar
While the chocolate mixture cools, whisk together the eggs and sugar in another bowl until light and slightly frothy. You want to introduce some air, which helps create that desirable texture in your cake.
Step 4: Combine Mixtures
Gently fold the melted chocolate into the egg-sugar mixture. Add vanilla extract, espresso powder, sea salt, and flour. Mix until homogenous, but do not overmix. Overmixing can make the cakes less tender.
Step 5: Pour into Ramekins
Spoon the batter into your prepared ramekins, filling them only about ¾ full to allow for rising. An optional tip: If you want to really impress, reserve a teaspoon of batter to top off each ramekin.
Step 6: Bake the Cakes
Place the ramekins on a baking sheet to catch any potential spills. Bake for about 12-14 minutes, or until the edges are set but the center is still soft. The key is to keep an eye on them. Don’t overbake; the center needs to remain oozy.
Step 7: Cool and Serve
Let the cakes cool for about one minute. Then, carefully invert them onto plates. They should slide out easily. Dust with powdered sugar or serve with your favorite toppings.
Tips On Making Mini Chocolate Lava Cake
Here are a few pointers to elevate your mini chocolate lava cake experience:
- Use High-Quality Chocolate: The better the chocolate, the better the final product. Look for chocolate that you enjoy eating on its own.
- Avoid Overmixing: When combining the chocolate with the eggs, fold gently. Overmixing can create a denser cake.
- Oven Thermometer: Ovens can vary significantly. Using a thermometer ensures your temperature is accurate.
- Experiment with Flavors: Feel free to add a splash of orange liqueur or mint extract for an interesting twist.
- Prep Ahead: You can make the batter in advance and keep it in the fridge. Bake just before serving for a fresh, warm dessert.
Nutrition Information
Although indulgent, mini chocolate lava cakes can fit into a balanced diet. Here’s the average nutrition profile for one serving based on standard ingredients:
- Calories: 250
- Total Fat: 16g
- Saturated Fat: 10g
- Cholesterol: 85mg
- Sodium: 120mg
- Total Carbohydrates: 25g
- Dietary Fiber: 1g
- Sugars: 14g
- Protein: 4g
Of course, this can vary based on your specific ingredients and portion sizes.
How Can I Store This Mini Chocolate Lava Cake?
If you happen to have leftovers (which is rare!), store the cakes in an airtight container. Place them in the refrigerator for up to three days. When you’re ready to enjoy again, reheat gently in the microwave for about 20 seconds, or until the center is soft again.
Substitute Options for Ingredients
Sometimes you may find yourself missing an ingredient. Here are some easy substitutes:
- Eggs: You can use 1/4 cup of unsweetened applesauce per egg for a healthier option. Alternatively, use flaxseed meal mixed with water – 1 tablespoon of flaxseed meal with 2.5 tablespoons of water equals one egg.
- Butter: Replace with coconut oil for a dairy-free alternative. You can also use vegan butter, maintaining the overall taste.
- Chocolate: If you don’t have bittersweet chocolate, use milk chocolate for sweetness, or dark chocolate for a bolder flavor.
- Flour: For gluten-free options, utilize almond flour or a gluten-free all-purpose blend.
Conclusion
Mini chocolate lava cakes offer an indulgent experience that’s surprisingly easy to recreate at home. With rich flavors and a gooey center, they can turn any gathering into a decadent occasion. Remember to pair your cakes with ice cream or fresh fruit for a delightful treat.
As the aroma fills your kitchen and chocolate flows from the center, you’re not just making dessert; you’re creating memories to savor. Enjoy the process, and don’t forget to save yourself a piece or two for personal enjoyment! Your tastebuds will thank you.
You’ll also like the following recipes!
- Microwave Lava Cake Copycat Recipe
- How to Make Dominos Lava Cake
- Best Crock Pot Chocolate Lava Cake Recipe

Mini chocolate lava cake recipe – Treat Indulgently
Description
Before diving into the delightful world of mini chocolate lava cake, it's essential to consider what you can serve alongside this indulgent dessert. Think creamy vanilla ice cream. The cool, smooth texture balances the warm, gooey center of the cake beautifully. Fresh strawberries or raspberries add a bright, juicy burst that enhances the rich chocolate flavor.
Consider pairing it with a drizzle of homemade caramel sauce. The sweetness complements the dessert and adds an elegant flair. For those who appreciate a little crunch, a sprinkle of chopped nuts can provide a nice contrast.
Finally, sipping on a robust espresso while enjoying your mini lava cake creates a chocolate experience that feels complete and satisfying.
Ingredients
Instructions
Step 1: Preheat and Prepare
-
Preheat your oven to 425°F (220°C). Prepare your ramekins by greasing them with butter. Dust the insides with cocoa powder or flour to prevent sticking. This will help ensure your cakes release perfectly after baking.
Step 2: Melt the Chocolate and Butter
-
In a heatproof bowl, combine the chocolate chips and butter. Set this bowl over a saucepan of simmering water, creating a double boiler. Stir occasionally until melted and smooth.
Alternatively, you can melt the butter and chocolate in the microwave in short bursts, stirring between each burst to ensure it doesn’t burn. This method is quicker and works just as well.
Step 3: Mix Eggs and Sugar
-
While the chocolate mixture cools, whisk together the eggs and sugar in another bowl until light and slightly frothy. You want to introduce some air, which helps create that desirable texture in your cake.
Step 4: Combine Mixtures
-
Gently fold the melted chocolate into the egg-sugar mixture. Add vanilla extract, espresso powder, sea salt, and flour. Mix until homogenous, but do not overmix. Overmixing can make the cakes less tender.
Step 5: Pour into Ramekins
-
Spoon the batter into your prepared ramekins, filling them only about ¾ full to allow for rising. An optional tip: If you want to really impress, reserve a teaspoon of batter to top off each ramekin.
Step 6: Bake the Cakes
-
Place the ramekins on a baking sheet to catch any potential spills. Bake for about 12-14 minutes, or until the edges are set but the center is still soft. The key is to keep an eye on them. Don’t overbake; the center needs to remain oozy.
Step 7: Cool and Serve
-
Let the cakes cool for about one minute. Then, carefully invert them onto plates. They should slide out easily. Dust with powdered sugar or serve with your favorite toppings.
Nutrition Facts
Servings 2
- Amount Per Serving
- Calories 250kcal
- % Daily Value *
- Total Fat 16g25%
- Saturated Fat 10g50%
- Cholesterol 85mg29%
- Sodium 120mg5%
- Total Carbohydrate 25g9%
- Dietary Fiber 1g4%
- Sugars 14g
- Protein 4g8%
* Percent Daily Values are based on a 2,000 calorie diet. Your daily value may be higher or lower depending on your calorie needs.
Note
- Use High-Quality Chocolate: The better the chocolate, the better the final product. Look for chocolate that you enjoy eating on its own.
- Avoid Overmixing: When combining the chocolate with the eggs, fold gently. Overmixing can create a denser cake.
- Oven Thermometer: Ovens can vary significantly. Using a thermometer ensures your temperature is accurate.
- Experiment with Flavors: Feel free to add a splash of orange liqueur or mint extract for an interesting twist.
- Prep Ahead: You can make the batter in advance and keep it in the fridge. Bake just before serving for a fresh, warm dessert.


