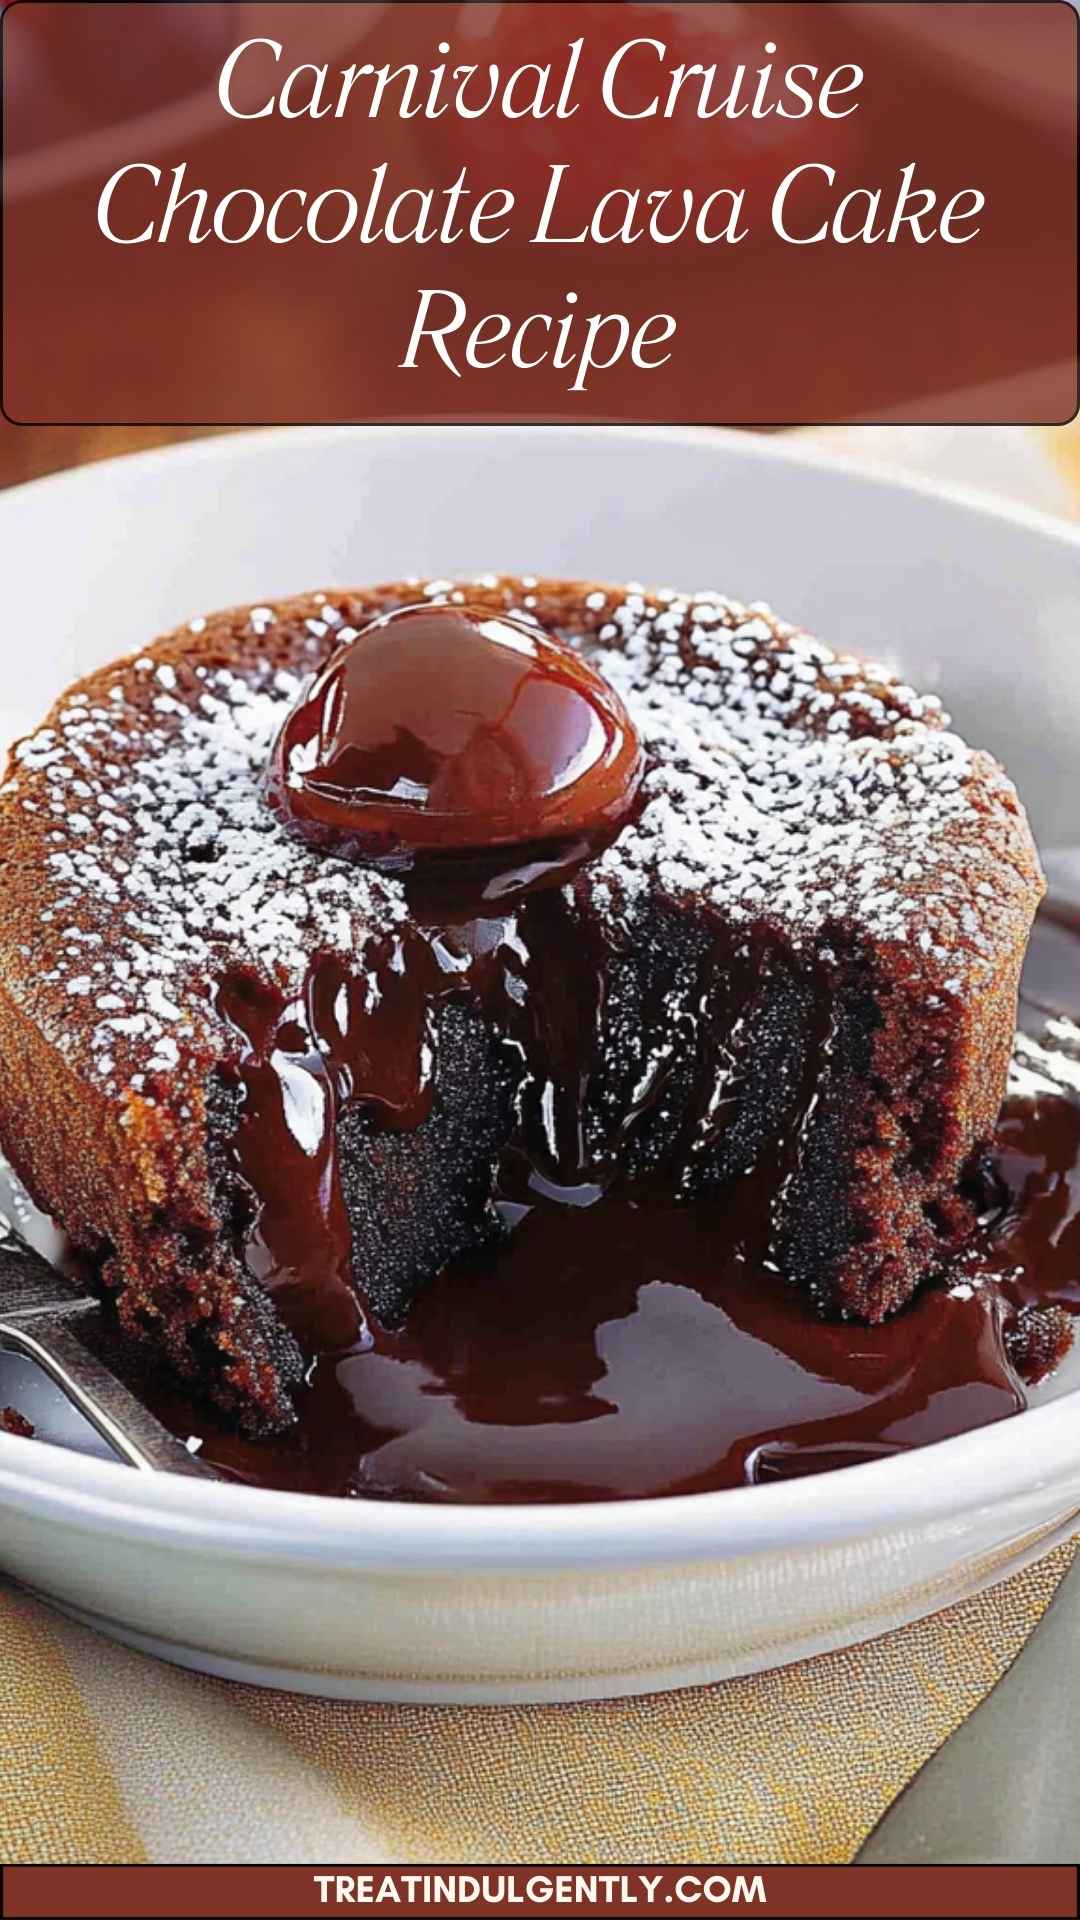
I still remember the first time I encountered the concept of a lava cake. I was at a friend’s birthday party, and someone cut into a warm chocolate cake, only to see molten chocolate flow out. My eyes widened. How could something that delightful exist?
Fast forward to today, and I’ve taken that beloved idea and turned it up a notch with the addition of Oreos. Yes, we’re talking about an Oreo lava cake that’s rich, creamy, and downright indulgent. This dessert has become a staple at gatherings and family dinners, consistently winning over friends with each luscious bite.
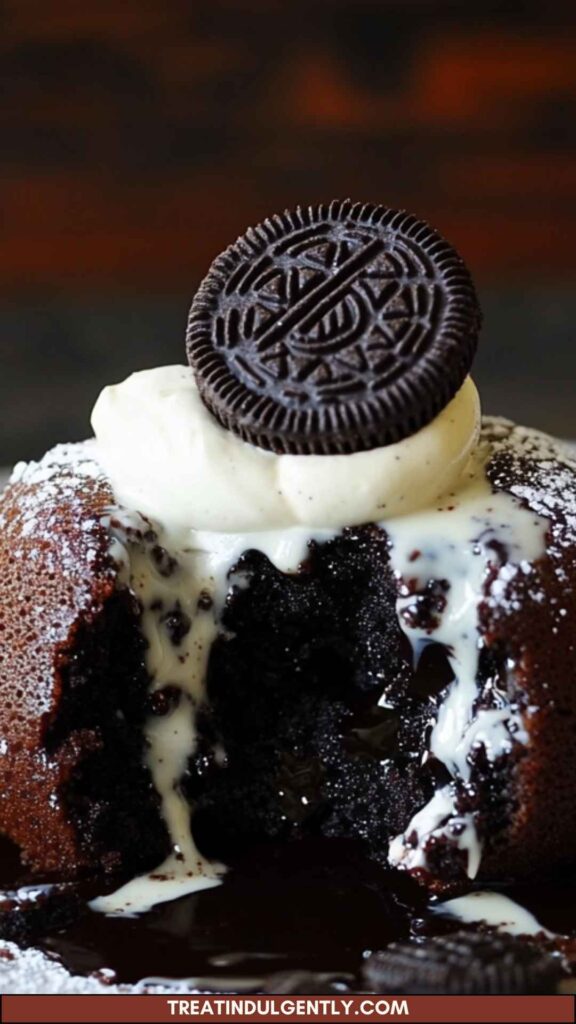
Imagine sinking your spoon into the soft outer layer, only to discover a warm, oozing Oreo filling just waiting to escape. This dessert is not merely a treat; it’s a celebration of flavors that come together in perfect harmony. Join me as we explore this delightful dish, learn how to create it step by step, and share some insider tips to make your Oreo lava cake the star of the table.
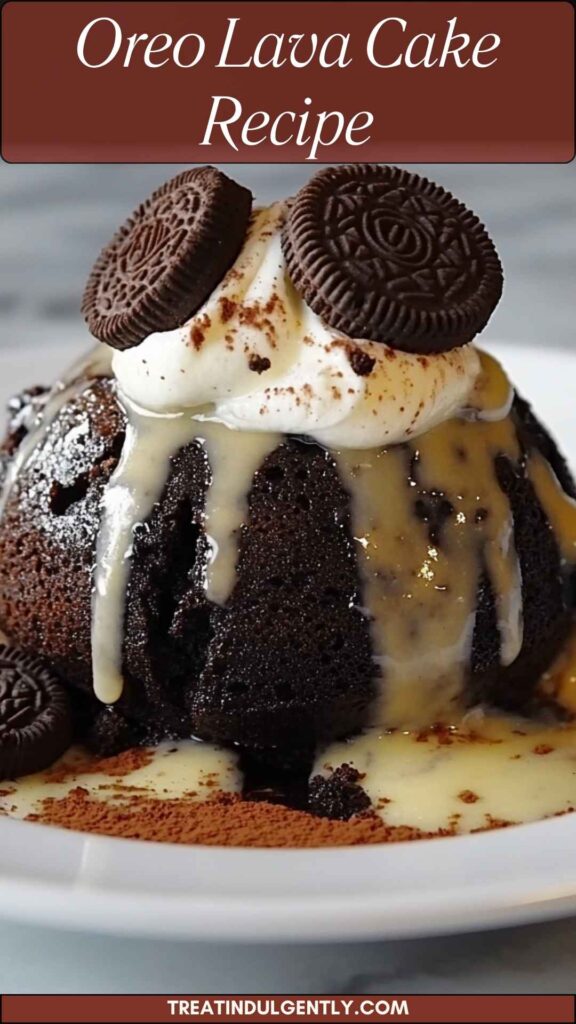
What is Oreo Lava Cake?
At its core, an Oreo lava cake is a chocolate dessert with a twist. Traditionally, a lava cake is characterized by its molten center, which flows out when you cut into it. The addition of Oreos in this version not only adds a distinct flavor but gives it a wonderfully textured filling. It’s like a warm hug in a dessert form, combining smooth dark chocolate with the crunchy, creamy goodness of crushed Oreos.
You might wonder, how did this delightful concoction come to be? Recipes for lava cake date back to the early 1980s, becoming popular in fine dining restaurants. However, the integration of Oreo cookies is a modern twist that has taken the dessert world by storm. It’s a perfect balance of nostalgia and innovation.
And now, thanks to this easy-to-follow recipe, you can create this decadent dessert from the comfort of your home.
Why You’ll Love This Oreo Lava Cake
Decadence: What’s not to love about chocolate and Oreos? This cake combines both elements to give you an unforgettable dessert experience. The flavors are rich, and the texture is divine.
Easy to Make: You don’t need to be a pastry chef to whip this up. The steps are straightforward, making it accessible for bakers of all skill levels.
Impressive: Nothing wows guests quite like a dessert that oozes chocolatey goodness when sliced. It’s the kind of dish that gets everyone talking.
Customizable: Love peanut butter? You can add some to the filling. Not a fan of Oreos? Substitute with your favorite cookie. The possibilities are endless.
Perfect for Any Occasion: Whether it’s a birthday, an anniversary, or just a Tuesday night, this cake fits perfectly into any celebration.
Now, let’s break this down into what you’ll need to make this standout dish.
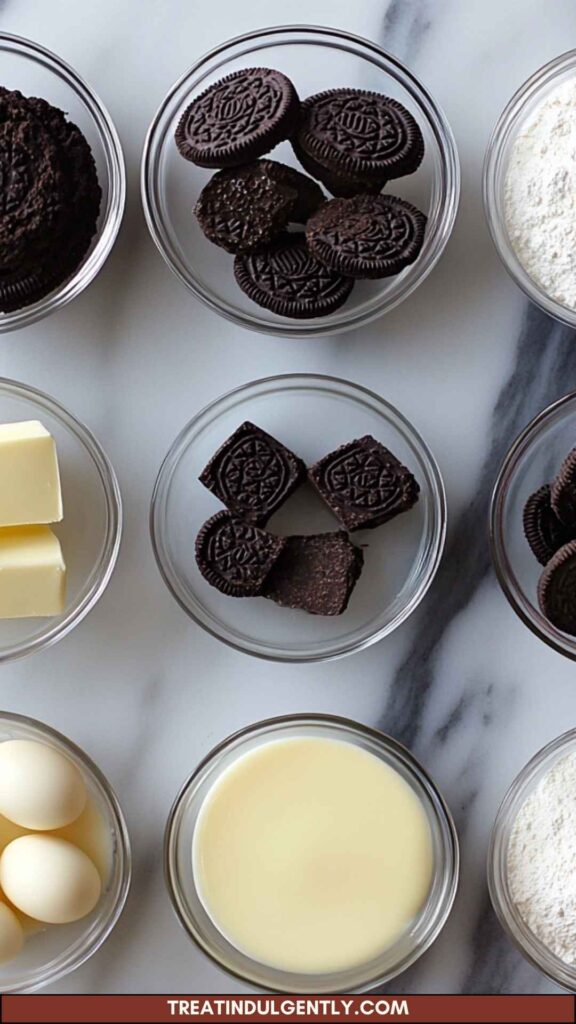
The Ingredients You Will Need to Make Oreo Lava Cake
For the Oreo filling:
- 100ml (1/2 cup) double cream or heavy cream: This adds richness and a silky texture to the filling.
- 100g (1/2 cup) white chocolate: This contrasts nicely with the dark chocolate batter.
- 6-8 crushed Oreos: The star of the filling, providing that signature flavor.
- Optional: A pinch of vanilla extract: A little hint of vanilla can elevate the flavor.
For the brownie batter:
- 200g dark chocolate, chopped: Quality dark chocolate will lead to a richer flavor.
- 100g unsalted butter, chopped: Adds moisture and a luxurious mouthfeel.
- 2 large eggs: These act as a binder and create a lovely structure.
- 2 egg yolks: Extra yolks contribute to a richer taste and texture.
- 1/2 cup (110g) caster (superfine) sugar: Sweetens without grittiness.
- 1/4 cup (35g) plain (all-purpose) flour, sifted: Provides the necessary structure.
- Cocoa powder or butter/cooking spray: For coating, to prevent sticking.
Directions
Creating this delightful dessert is easier than you might think. Let’s roll up our sleeves and get started!
Step 1: Prepare the Oreo Filling
Start by melting the double cream and white chocolate together on low heat. Stir continuously to avoid burning. Once smooth, remove from heat and fold in the crushed Oreos. This luscious mixture will serve as the unexpected treasure at the center of your cake.
Step 2: Prepare the Brownie Batter
In another bowl, melt the dark chocolate and butter together until silky. I recommend doing this step in a heatproof bowl over a pot of simmering water. It’s called a double boiler method, and it ensures even melting without burning the chocolate.
Step 3: Mix the Batter
Once melted, let the chocolate mixture cool slightly. Now, whisk in the eggs and egg yolks until well combined. Gradually add the sugar, mixing until fluffy. Then stir in the sifted flour until just incorporated. Be careful not to overmix; we want that light and gooey texture.
Step 4: Assemble the Cake
Lightly grease ramekins with cocoa powder or butter. Fill each ramekin halfway with brownie batter, then add a generous scoop of your Oreo filling right in the center. Finally, top each with remaining brownie batter to seal the filling inside.
Step 5: Bake
Place the ramekins on a baking tray and bake in a preheated oven at 200°C (390°F) for about 12-14 minutes. The edges will look set, while the center will remain soft and slightly jiggly.
Step 6: Serve
Let the lava cakes cool for a minute before carefully inverting them onto plates. A dusting of powdered sugar or a drizzle of chocolate sauce adds that extra touch.
Notes
Here are some tips to make your Oreo lava cake a resounding success:
- Oven Thermometer: Ensure your oven temperature is accurate. An oven thermometer can help with that.
- Timing is Key: Don’t overbake. The gooey center is what makes this dish special. Keep an eye on the baking time.
- Ramekin Size: Use the right size ramekins for a perfect lava flow. Small is usually best for individual servings.
- Serving Suggestions: Consider serving with ice cream or fresh fruit. It complements the rich chocolate perfectly.
- Chill and Bake: You can prepare these in advance and keep them in the fridge. Just add a few extra minutes of baking time if you’re baking them cold.
Storage Tips
If you find yourself with leftovers, here’s how to store them:
- Refrigerate: Store any uneaten lava cakes in an airtight container in the fridge for up to three days.
- Freeze: You can freeze the unbaked, assembled lava cakes as well. Wrap each in plastic wrap and store them in a freezer-safe container for up to three months. Just increase the baking time a bit when cooking from frozen.
Nutrition Information
Each serving of this delightful dessert has approximately:
- Calories: 450
- Protein: 6g
- Carbohydrates: 45g
- Fat: 28g
- Sugars: 25g
This delightful indulgence is certainly not diet food, but moderation is key!
Serving Suggestions
To elevate your Oreo lava cake experience, consider the following serving suggestions:
- Serve with Vanilla Ice Cream: The cold contrasts beautifully with the warm, oozing center.
- Top with Berries: Fresh raspberries or strawberries add a bright, tangy flavor that cuts through the richness.
- Drizzle Caramel Sauce: A sweet, buttery caramel can add a delightful twist to your cakes.
- Add Whipped Cream: Lighten it up with freshly whipped cream for that creamy texture.
- Sprinkle with Sea Salt: A touch of sea salt can enhance flavors and give a sophisticated touch to your dessert.
What Other Substitutes Can I Use in Oreo Lava Cake?
If you want to put your spin on this recipe or simply don’t have the ingredients on hand, here are some excellent substitutes:
- Nut Butter for White Chocolate: Natural peanut butter or almond butter can provide a nutty richness in place of white chocolate.
- Gluten-Free Flour for All-Purpose Flour: Almond flour or gluten-free all-purpose flour can work if you need a gluten-free option.
- Dark Chocolate Substitutes: Milk chocolate can be a sweeter alternative if you prefer a less intense chocolate flavor.
- Different Cookies: Chocolate sandwich cookies or even homemade cookie crumbles can replace Oreos for a unique twist.
- Greek Yogurt for Heavy Cream: Greek yogurt can serve as a lower-calorie option for your filling but will change the flavor and texture slightly.
Conclusion
Making an unforgettable Oreo lava cake isn’t just about following a recipe; it’s about embracing the indulgence of flavors and the joy of sharing it with others. Whether it’s a special celebration or just an evening treat, this dessert promises to bring smiles and satisfy sweet cravings.
Armed with this guide, you’re set to bake a dessert that both you and your guests will rave about. With the simple steps, fantastically rich ingredients, and a touch of creativity, the sky’s the limit. So why wait? Get baking and revel in the delightful gooeyness of your very own Oreo lava cake! Trust me, your taste buds will thank you.
You’ll also like the following recipes!
- Ghirardelli Chocolate Lava Cake Copycat Recipe
- How to Make Pampered Chef Lava Cake
- Best Golden Corral Chocolate Lava Cake Recipe

Oreo Lava Cake Recipe – Treat Indulgently
Description
What pairs beautifully with a rich, gooey dessert like an Oreo lava cake? You might think of a scoop of vanilla ice cream to balance that sweet, chocolatey goodness, or perhaps a handful of fresh berries for a tart contrast. Both of these options are fantastic choices.
They not only complement the flavors, but they also elevate the entire dining experience. Now, grab a fork, and let’s dive into this delicious journey full of sweet decadence.
Ingredients
For the Oreo Filling:
For the Brownie Batter:
Instructions
Step 1: Prepare the Oreo Filling
-
Start by melting the double cream and white chocolate together on low heat. Stir continuously to avoid burning. Once smooth, remove from heat and fold in the crushed Oreos. This luscious mixture will serve as the unexpected treasure at the center of your cake.
Step 2: Prepare the Brownie Batter
-
In another bowl, melt the dark chocolate and butter together until silky. I recommend doing this step in a heatproof bowl over a pot of simmering water. It’s called a double boiler method, and it ensures even melting without burning the chocolate.
Step 3: Mix the Batter
-
Once melted, let the chocolate mixture cool slightly. Now, whisk in the eggs and egg yolks until well combined. Gradually add the sugar, mixing until fluffy. Then stir in the sifted flour until just incorporated. Be careful not to overmix; we want that light and gooey texture.
Step 4: Assemble the Cake
-
Lightly grease ramekins with cocoa powder or butter. Fill each ramekin halfway with brownie batter, then add a generous scoop of your Oreo filling right in the center. Finally, top each with remaining brownie batter to seal the filling inside.
Step 5: Bake
-
Place the ramekins on a baking tray and bake in a preheated oven at 200°C (390°F) for about 12-14 minutes. The edges will look set, while the center will remain soft and slightly jiggly.
Step 6: Serve
-
Let the lava cakes cool for a minute before carefully inverting them onto plates. A dusting of powdered sugar or a drizzle of chocolate sauce adds that extra touch.
Nutrition Facts
Servings 1
- Amount Per Serving
- Calories 450kcal
- % Daily Value *
- Total Fat 28g44%
- Total Carbohydrate 45g15%
- Sugars 25g
- Protein 6g12%
* Percent Daily Values are based on a 2,000 calorie diet. Your daily value may be higher or lower depending on your calorie needs.
Note
- Oven Thermometer: Ensure your oven temperature is accurate. An oven thermometer can help with that.
- Timing is Key: Don't overbake. The gooey center is what makes this dish special. Keep an eye on the baking time.
- Ramekin Size: Use the right size ramekins for a perfect lava flow. Small is usually best for individual servings.
- Serving Suggestions: Consider serving with ice cream or fresh fruit. It complements the rich chocolate perfectly.
- Chill and Bake: You can prepare these in advance and keep them in the fridge. Just add a few extra minutes of baking time if you're baking them cold.


