Now, let’s dive right into the heart of the matter—pampering your taste buds with a lava cake that’ll have everyone begging for seconds. It’s easy to prepare, yet its presentation will make you shine like a culinary star.
In this article, I’ll share with you what exactly a Pampered Chef lava cake is, what it tastes like, and why this luscious dessert works so well. We’ll walk through every aspect of this project together—from ingredients to step-by-step instructions, tips, nutritional information, and even some sides and substitutions that you might find handy. You’ll walk away not just with a recipe, but with an experience that comes alive in your kitchen.
So, let’s get started.
What is Pampered Chef Lava Cake?
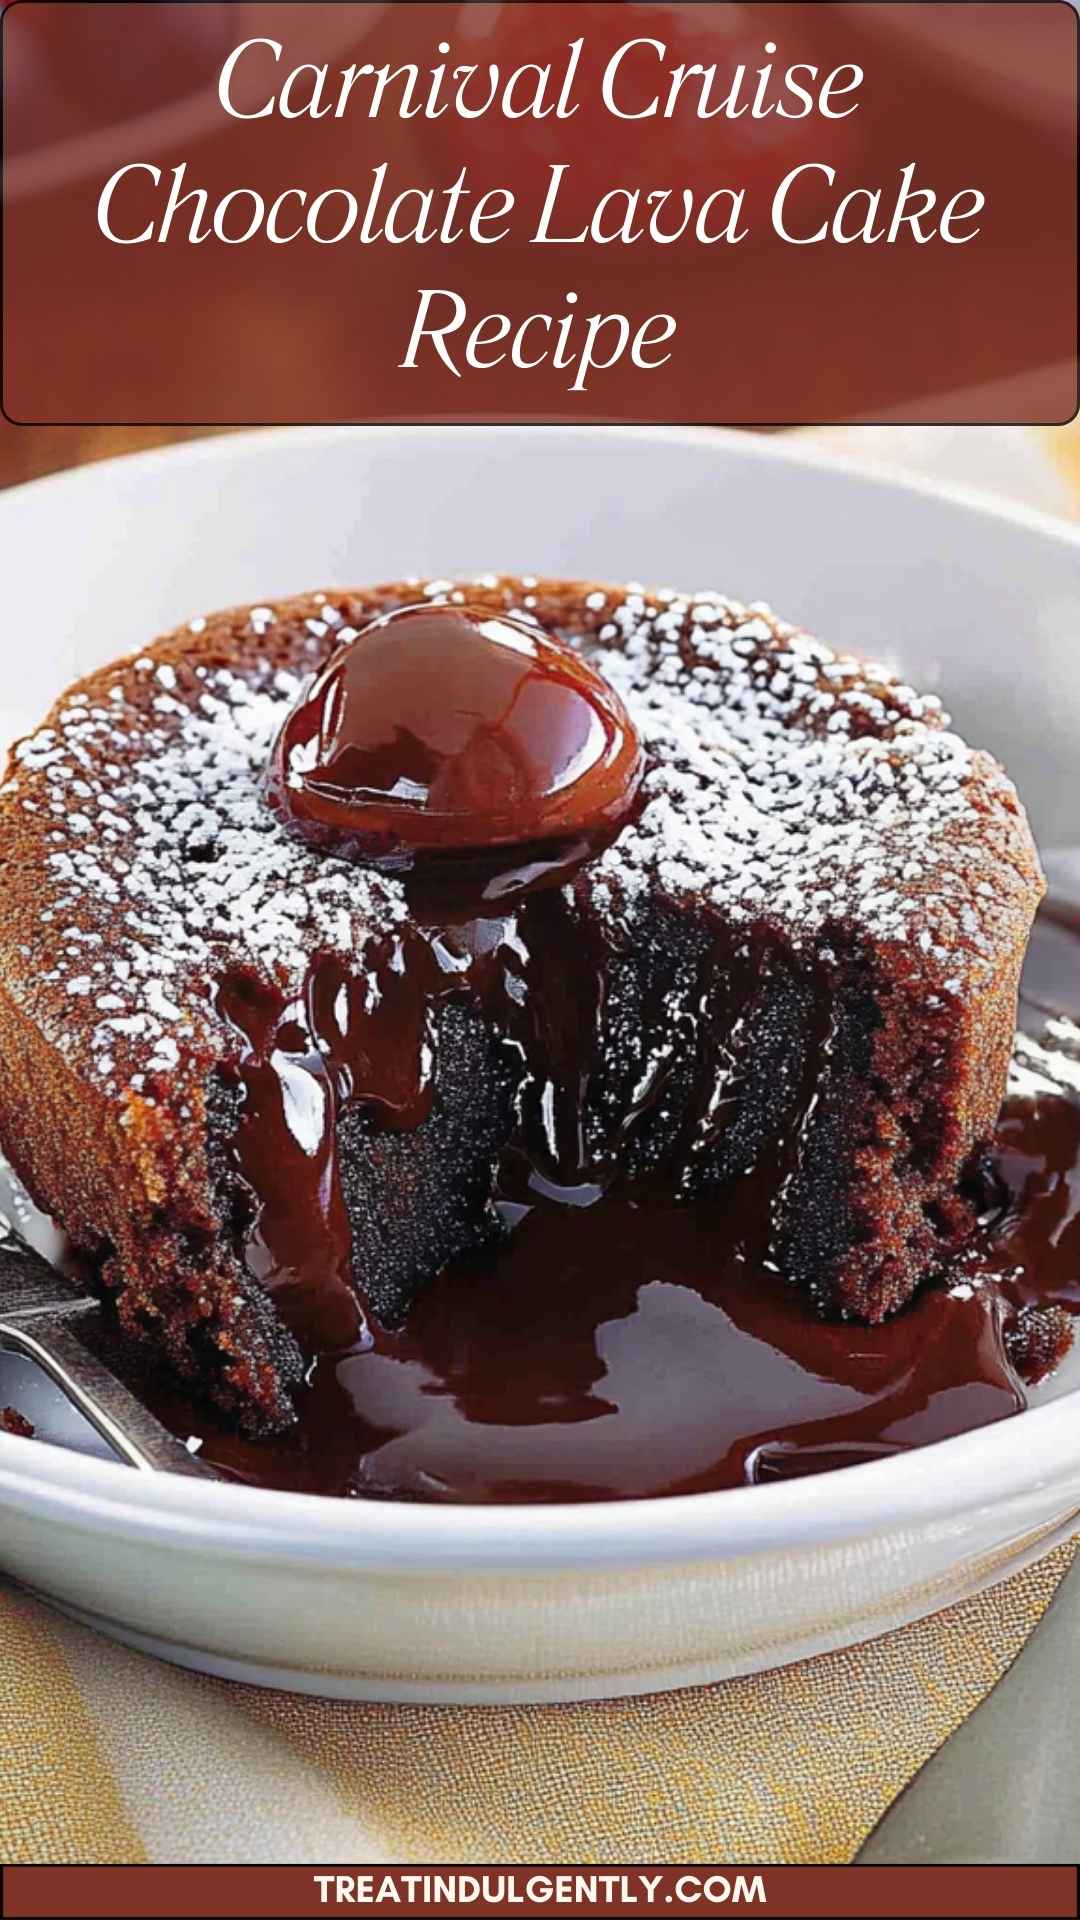
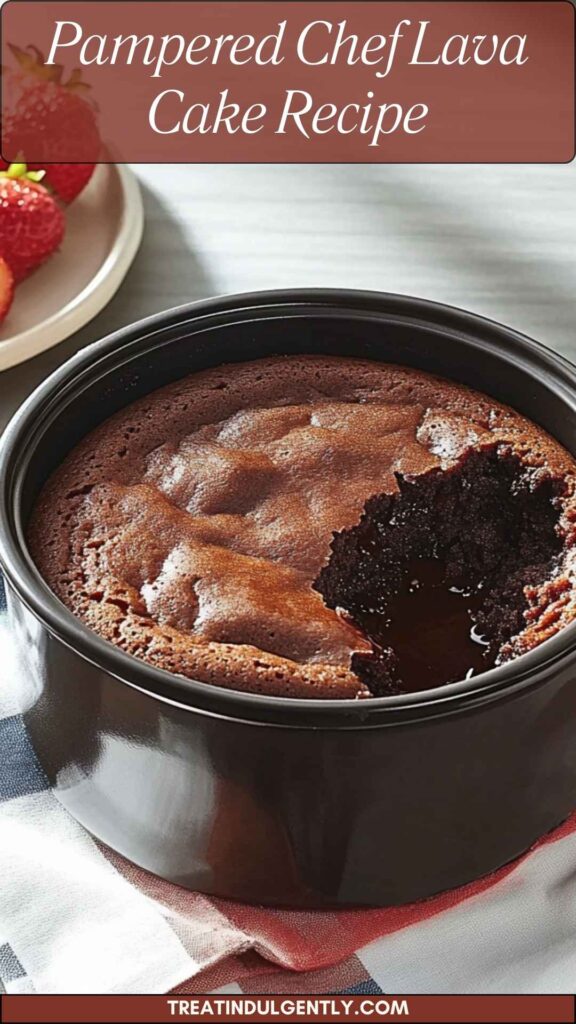
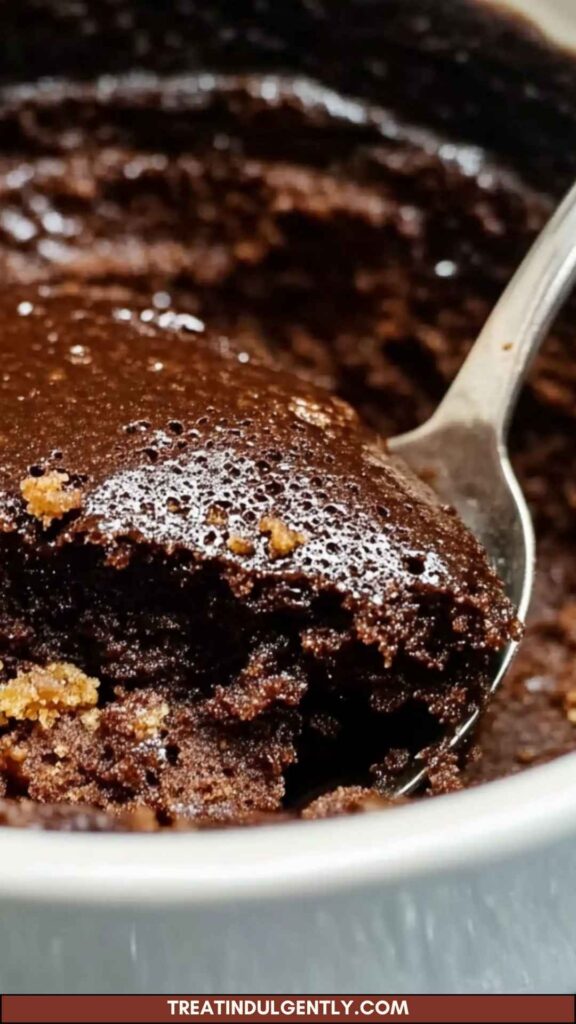
Pampered Chef lava cake is a rich chocolate dessert that’s famous for its gooey center. Unlike traditional cakes, this one features a warm, soft interior that flows out when you cut into it, creating a delightful contrast to the cake’s outer layer.
The dish often uses devil’s food cake mix as a base, making the preparation simple and efficient. Incorporating smooth peanut butter and semi-sweet chocolate chips elevates the flavor profile. Add a touch of espresso powder, and you’ll enhance the chocolate experience, making it even more irresistible.
What Does It Taste Like?
It’s hard to articulate the flavors of the Pampered Chef lava cake without diving into the experience itself. When you take that first bite, you encounter a soft, chocolatey cake that melts in your mouth.
Then, the rich, molten center bursts forth, flooding your palate with a deep, creamy chocolate essence that’s reminiscent of the finest chocolate truffles.
Imagine chocolate lovers blissfully lost in a world of taste—a moment that feels almost ethereal. Your sweet tooth will dance with delight.
Why This Recipe Works
When crafting this lava cake, there are specific reasons it’s a standout recipe. Here’s a closer look at why it’s so brilliantly successful:
1. Simple Ingredients
This recipe mostly utilizes pantry staples. With ingredients like devil’s food cake mix, peanut butter, eggs, and water, it’s accessible for anyone who enjoys baking. You don’t have to hunt for fancy items at gourmet stores.
2. Quick Preparation
You can whip this together in just a few minutes. The method is straightforward, allowing even novice bakers to shine. It’s perfect for last-minute gatherings or whenever you need a sweet fix without spending hours in the kitchen.
3. Stunning Presentation
Even though the preparation is simple, the final product looks impressive. Plate it well, and you can transform a basic dessert into something fit for a fine dining experience. Your guests won’t believe how easy it was to create!
4. Versatile Pairings
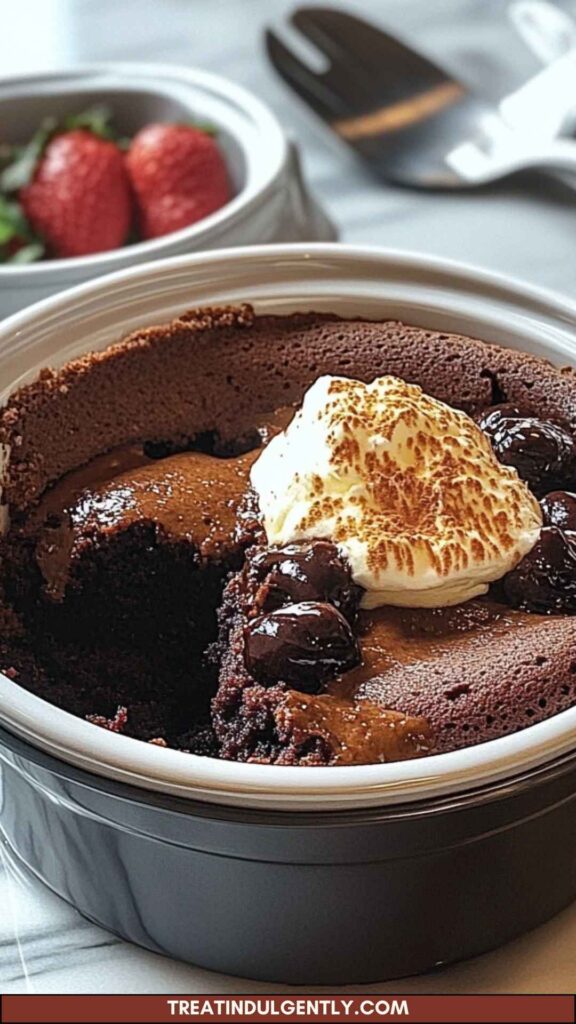
Whether you decide to serve it alone, with ice cream, or topped with fresh fruit, it allows for flexibility every time you make it. Make it your own by experimenting with various toppings!
Ingredients for Pampered Chef Lava Cake
Here’s what you’ll need to get started:
- ½ cup (125 mL) vegetable oil
- 1 cup (250 mL) smooth peanut butter
- 1 package (16.5 oz./432 g) devil’s food cake mix
- 1¼ cups (425 mL) water
- 2 large eggs
- 1 cup (250 mL) semi-sweet chocolate chips
- Optional: Vanilla bean ice cream
- 1 teaspoon espresso powder (to enhance the chocolate flavor)
- ½ cup chopped nuts (such as walnuts or pecans for added crunch)
Step by Step Instructions
Now, let’s buckle down and make this divine lava cake!
Step 1: Prepping the Oven and Dish
First things first, preheat your oven to 350°F (175°C). It’s crucial to have it running hot and ready to create that perfect molten center. Grease ramekins or a muffin tin to ensure easy removal of the cake once it’s baked.
Step 2: Mix the Base Ingredients
In a large bowl, add the devil’s food cake mix, vegetable oil, peanut butter, water, and eggs. Mix everything until it’s smooth. The peanut butter adds a lovely creaminess that complements the chocolate.
Step 3: Add More Chocolatey Goodness
Stir in the semi-sweet chocolate chips until they are evenly distributed throughout the batter. This step is all about ensuring that every bite is packed with chocolatey joy.
Step 4: Incorporate the Espresso and Nuts (Optional)
Sprinkle in the espresso powder to amplify the chocolate flavor even more and mix. If you like a little crunch, fold in the chopped nuts.
Step 5: Fill Your Dishes
Carefully pour the batter into your prepared ramekins or muffin pan, filling them about ¾ of the way full. Leave space for rising.
Step 6: Bake to Perfection
Place the filled ramekins or muffin tins into your preheated oven and bake for about 12 to 15 minutes. Keep an eye on them! You want the edges cooked while the center remains gooey.
Step 7: Let Them Rest
Once you pull them from the oven, allow them to cool for a minute or so. Use a knife around the edges to loosen them before inverting onto plates.
Step 8: Serve with Style
Top the warm lava cakes with your choice of ice cream, berries, or a drizzle of chocolate sauce. Enjoy while they’re warm for that glorious molten center!
Notes
Before you get started, here are some helpful tips to ensure your lava cake turns out perfectly:
- Avoid Overbaking: Keep an eye on the cakes after 10 minutes. Overbaking could lead to a less gooey center.
- Use Room Temperature Ingredients: This helps create a smoother batter.
- Don’t Skip Greasing: Properly greased ramekins prevent the cake from sticking.
- Experiment with Fillings: You can add a square of chocolate or caramel in the center for extra surprise.
- Watch the Timing: Every oven is different, so adjust your baking time as needed.
Nutrition Information
For those curious about the health aspects, here’s a general breakdown (per serving):
- Calories: 350
- Fat: 20g
- Carbohydrates: 35g
- Protein: 6g
- Sugar: 15g
Keep in mind these values can vary based on exact measurements and ingredient variations.
How to Store the Leftovers?
If you have any leftovers (which is rare with such a popular dish), store them in an airtight container in the fridge. They will stay fresh for about three days.
To reheat, simply microwave for a few seconds, making sure to keep that molten center intact!
Sides for Pampered Chef Lava Cake
You can elevate the experience with some delightful sides. Here are a few suggestions:
1. Fresh Fruit Salad
A mix of colorful berries provides a refreshing counterbalance to the richness of the lava cake. Strawberries, blueberries, and kiwi add vibrancy to your plate.
2. Whipped Cream
You can’t go wrong with whipped cream. It’s light and airy, which pairs well with dense chocolate.
3. Raspberry Sauce
A tangy raspberry sauce is a fantastic contrast to the intense sweetness of the cake. Its bright flavor brightens each bite.
4. Chocolate Ganache
If you’re feeling extra indulgent, a silky chocolate ganache enhances the chocolate experience even further. You can never have too much chocolate, right?
What are some alternative choices to the ingredients in case they are not in your pantry?
We all have those days when we find ourselves lacking the exact ingredients, right? Here are some alternatives:
1. Cake Mix Options
If devil’s food cake mix isn’t on hand, you can use chocolate cake mix or even a gluten-free cake mix. They yield great results.
2. Nut Butter Choices
Instead of peanut butter, feel free to use almond or cashew butter for a different flavor profile.
3. Egg Substitutes
If you’re out of eggs, mix ¼ cup of unsweetened applesauce or a mashed banana per egg as a replacement.
4. Chocolate Variants
Dark chocolate chips or even white chocolate can add exciting new flavors. Don’t be afraid to experiment!
Conclusion
In the end, the Pampered Chef lava cake isn’t just a recipe; it’s an experience. From the moment you unwrap those ingredients to the minute you take that first succulent bite, it’s a thrill ride for your senses.
Whether you’re satisfying your own cravings or creating a charming dessert for friends, this cake brings the magic.
So, fire up those ovens and let the baking begin. Trust that once you’ve tried this indulgent dessert, you’ll want to make it again and again. Happy baking!
You’ll also like the following recipes!
- Golden Corral Chocolate Lava Cake Copycat Recipe
- How to Make Lava Crunch Cake
- Best Pampered Chef Lava Cake Recipe

Pampered Chef Lava Cake Recipe – Treat Indulgently
Description
If you're looking for the perfect dessert that will wow your guests, look no further than the Pampered Chef lava cake. Picture this: a decadent chocolate cake with a gooey, molten center, rich and flavorful chocolate drizzling down like a waterfall as you slice into it. It's a sight that brings joy and excitement to anyone who's fortunate enough to indulge.
Before we jump into the recipe and details of this amazing dessert, you might wonder what pairs well with it. You can enhance your lava cake experience with a scoop of vanilla bean ice cream. The cold creaminess contrasts beautifully with the warm, melting chocolate. Wouldn’t a sprinkle of chopped nuts add a delightful crunch?
Fresh berries, like raspberries, complement the rich chocolate flavor perfectly, and a drizzle of raspberry sauce or a dollop of whipped cream can take it to the next level. The combination of textures and flavors makes every bite a celebration.
Ingredients
Instructions
Step 1: Prepping the Oven and Dish
-
First things first, preheat your oven to 350°F (175°C). It’s crucial to have it running hot and ready to create that perfect molten center. Grease ramekins or a muffin tin to ensure easy removal of the cake once it’s baked.
Step 2: Mix the Base Ingredients
-
In a large bowl, add the devil’s food cake mix, vegetable oil, peanut butter, water, and eggs. Mix everything until it’s smooth. The peanut butter adds a lovely creaminess that complements the chocolate.
Step 3: Add More Chocolatey Goodness
-
Stir in the semi-sweet chocolate chips until they are evenly distributed throughout the batter. This step is all about ensuring that every bite is packed with chocolatey joy.
Step 4: Incorporate the Espresso and Nuts (Optional)
-
Sprinkle in the espresso powder to amplify the chocolate flavor even more and mix. If you like a little crunch, fold in the chopped nuts.
Step 5: Fill Your Dishes
-
Carefully pour the batter into your prepared ramekins or muffin pan, filling them about ¾ of the way full. Leave space for rising.
Step 6: Bake to Perfection
-
Place the filled ramekins or muffin tins into your preheated oven and bake for about 12 to 15 minutes. Keep an eye on them! You want the edges cooked while the center remains gooey.
Step 7: Let Them Rest
-
Once you pull them from the oven, allow them to cool for a minute or so. Use a knife around the edges to loosen them before inverting onto plates.
Step 8: Serve with Style
-
Top the warm lava cakes with your choice of ice cream, berries, or a drizzle of chocolate sauce. Enjoy while they’re warm for that glorious molten center!
Nutrition Facts
Servings 12
- Amount Per Serving
- Calories 350kcal
- % Daily Value *
- Total Fat 20g31%
- Total Carbohydrate 35g12%
- Sugars 15g
- Protein 6g12%
* Percent Daily Values are based on a 2,000 calorie diet. Your daily value may be higher or lower depending on your calorie needs.
Note
- Avoid Overbaking: Keep an eye on the cakes after 10 minutes. Overbaking could lead to a less gooey center.
- Use Room Temperature Ingredients: This helps create a smoother batter.
- Don’t Skip Greasing: Properly greased ramekins prevent the cake from sticking.
- Experiment with Fillings: You can add a square of chocolate or caramel in the center for extra surprise.
- Watch the Timing: Every oven is different, so adjust your baking time as needed.


