As summer blooms and invites us to gather around plush picnic blankets and sunlit patios, the quest for the next culinary showstopper begins. The dish I’ve found to turn heads and tantalize taste buds is homemade squid ink pasta. If you’ve never tasted this unique dish before, you’re in for a treat.
The bold hue, paired with its rich, briny flavor, offers a striking visual appearance and a delightful experience. This pasta goes swimmingly with a variety of sauces, but my favorite has to be a light white wine garlic sauce paired with fresh seafood. Trust me, when you serve it at your next gathering, everyone will be asking for seconds.

What is Homemade Squid Ink Pasta?
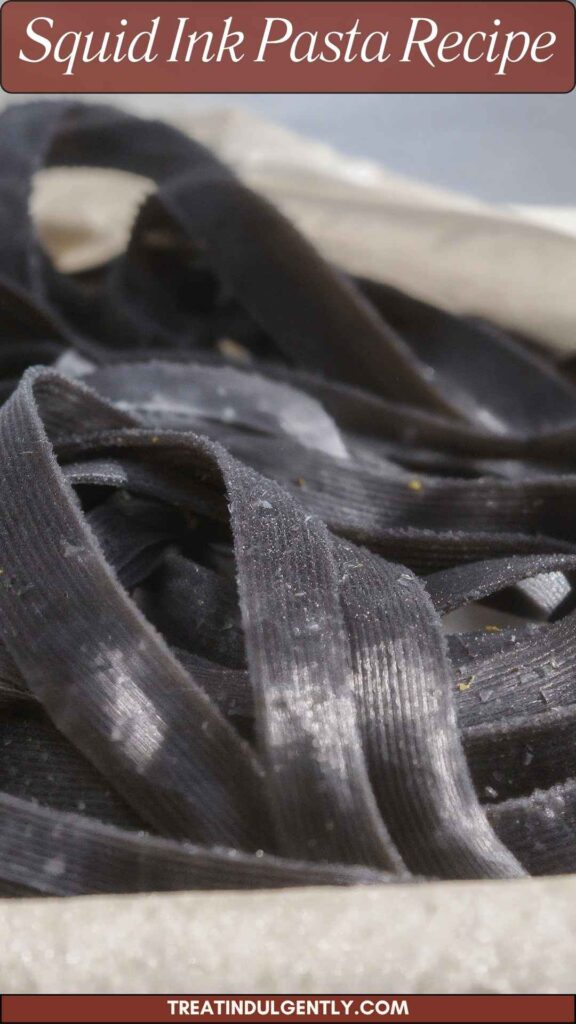
At its core, squid ink pasta is simply pasta infused with squid ink, giving it that beautiful dark color and a slightly briny flavor that enhances the dish remarkably. The process of making it from scratch can feel a bit like an art form.
It demands attention but rewards with a stunning and delicious outcome. Let’s dive right into crafting your own batch of this delectable pasta!
The Ingredients
For those ready to embark on their culinary adventure, here’s what you’ll need:
- 4 egg yolks from large eggs (about 2.5 ounces)
- 1 teaspoon kosher salt, plus more for salting water
- 2 whole large eggs (about 4 ounces)
- 10 ounces (about 2 cups) all-purpose flour, plus more for dusting
- 1/2 teaspoon extra virgin olive oil for added silkiness and depth
- 4 teaspoons squid ink

How to Make Homemade Squid Ink Pasta Recipe
Creating squid ink pasta involves a few straightforward steps. Don’t be intimidated; it’s rewarding and quite enjoyable. Let’s take it step by step.
Step 1: Preparing Your Ingredients
Gather all your ingredients. Start by measuring out your flour. I like to use a food scale; it helps ensure consistency. Make a well in the center of the flour on a clean surface. This will be your mixing area.
Step 2: Mixing the Dough
In the well, add the egg yolks, whole eggs, salt, olive oil, and squid ink. With a fork, begin to whisk the eggs gently, gradually incorporating the flour. As you mix, the dough will start to come together. Embrace the mess; it’s part of the fun!
Step 3: Kneading the Dough
Once the dough starts forming, it’s time to switch to your hands. Knead the dough for about 8-10 minutes until it’s smooth and elastic. It should feel a bit tacky but not overly sticky. If it feels too wet, sprinkle a bit more flour.
Step 4: Resting the Dough
Wrap the kneaded dough in plastic wrap and let it rest for at least 30 minutes. This allows the gluten to relax and makes rolling it out much easier.
Step 5: Rolling Out the Pasta
After the resting period, divide the dough into four pieces. Keep the pieces you’re not currently using covered to prevent them from drying. Roll out the dough using a pasta machine or rolling pin until it’s about 1/16 inch thick. Dust with flour to prevent sticking.
Step 6: Cutting the Pasta
Cut your rolled-out dough into your preferred shape. I love long strands like fettuccine, but you can go for tagliatelle or even more intricate shapes if you’re feeling adventurous. Remember to dust with flour to keep the strands from clumping together.
Step 7: Cooking the Pasta
Bring a large pot of salted water to a boil. Add the pasta and cook for about 2-3 minutes, or until it floats to the surface. Fresh pasta cooks much quicker than dried.
Step 8: Serving Your Pasta
Drain the pasta, reserving a bit of the cooking water, and toss it with your sauce of choice. Don’t forget to have a glass of white wine handy—it pairs perfectly!
Notes
Here are some useful tips to ensure your pasta turns out perfectly:
- Fresh Ingredients Matter: Use fresh eggs and high-quality squid ink to enhance flavor.
- Resting is Key: Don’t skip the resting time for the dough; it improves texture.
- Flour Wisely: Keep flour handy for dusting as you roll out and cut the pasta.
- Taste Test: Always taste your water before boiling the pasta; it should be salty like the sea!
- Experiment!: Feel free to adjust the squid ink to your liking. More ink means a softer flavor and deeper color.
Storage Tips
Leftover pasta? Not a problem! You can store it in the fridge for up to 2 days in a sealed container. If you want to keep it longer, freeze the uncooked pasta. Just sprinkle with flour, let it dry a bit, and then store it in airtight bags. It can last in the freezer for up to a month.
Nutrition Information
Delightfully, homemade squid ink pasta offers a balance of carbohydrates from the flour and protein from eggs. Here’s a general breakdown for one serving (assuming four servings from the entire recipe):
- Calories: Approximately 300
- Protein: 10g
- Carbohydrates: 40g
- Fat: 9g
Serving Suggestions
- Seafood Medley: Toss the pasta with sautéed shrimp and scallops in garlic butter. The ocean flavors complement the ink beautifully.
- Spicy Aglio e Olio: A simple olive oil, garlic, and chili flake sauce adds nice heat and lets the pasta shine.
- Creamy Tomato Sauce: Pairing the ink pasta with a rich tomato sauce creates a fulfilling dish that’s vibrant.
- Pesto Magic: Blend some fresh basil and pine nuts with parmesan. This herbaceous sauce is a fantastic match for squid ink.
- Vegetable Delight: Toss in seasonal vegetables, like zucchini and bell peppers. Add herbs for freshness—think parsley or basil.
What Other Substitutes Can I Use in Homemade Squid Ink Pasta Recipe?
If you want to try different flavors or can’t access squid ink, here are some alternatives:
- Chili Paste: Instead of squid ink, use chili paste for a spicy kick. It adds color and heat.
- Activated Charcoal: For a similar color, you can use food-safe activated charcoal. It offers a unique twist but lacks the seafood flavor.
- Black Garlic Puree: Infuse your pasta with rich flavor using black garlic puree. It’s surprisingly sweet and adds depth.
- Beet Juice: For a vegetable twist, consider using beet juice. It will color the pasta a striking red, with a bit of an earthy taste.
- Cuttlefish Ink: If you can find it, cuttlefish ink works similarly to squid ink. It provides a comparable briny flavor.

Conclusion
Homemade squid ink pasta may seem like a daunting task at first glance. However, once you experience the hands-on delight of crafting your own pasta, you’ll likely find it becomes a cherished part of your culinary repertoire.
The taste, the presentation, and the joy of sharing this dish with loved ones make it all worthwhile. As you dive into the rich flavors and elegant presentation of squid ink pasta, remember it’s not just a meal; it’s an experience to share and enjoy. Trust me, this dish will steal the show at your next gathering!
You’ll also like the following recipes!

Squid Ink Pasta Recipe – Treat Indulgently
Description
As summer blooms and invites us to gather around plush picnic blankets and sunlit patios, the quest for the next culinary showstopper begins. The dish I’ve found to turn heads and tantalize taste buds is homemade squid ink pasta. If you've never tasted this unique dish before, you’re in for a treat.
Ingredients
Instructions
Step 1: Preparing Your Ingredients
-
Gather all your ingredients. Start by measuring out your flour. I like to use a food scale; it helps ensure consistency. Make a well in the center of the flour on a clean surface. This will be your mixing area.
Step 2: Mixing the Dough
-
In the well, add the egg yolks, whole eggs, salt, olive oil, and squid ink. With a fork, begin to whisk the eggs gently, gradually incorporating the flour. As you mix, the dough will start to come together. Embrace the mess; it’s part of the fun!
Step 3: Kneading the Dough
-
Once the dough starts forming, it’s time to switch to your hands. Knead the dough for about 8-10 minutes until it's smooth and elastic. It should feel a bit tacky but not overly sticky. If it feels too wet, sprinkle a bit more flour.
Step 4: Resting the Dough
-
Wrap the kneaded dough in plastic wrap and let it rest for at least 30 minutes. This allows the gluten to relax and makes rolling it out much easier.
Step 5: Rolling Out the Pasta
-
After the resting period, divide the dough into four pieces. Keep the pieces you're not currently using covered to prevent them from drying. Roll out the dough using a pasta machine or rolling pin until it’s about 1/16 inch thick. Dust with flour to prevent sticking.
Step 6: Cutting the Pasta
-
Cut your rolled-out dough into your preferred shape. I love long strands like fettuccine, but you can go for tagliatelle or even more intricate shapes if you're feeling adventurous. Remember to dust with flour to keep the strands from clumping together.
Step 7: Cooking the Pasta
-
Bring a large pot of salted water to a boil. Add the pasta and cook for about 2-3 minutes, or until it floats to the surface. Fresh pasta cooks much quicker than dried.
Step 8: Serving Your Pasta
-
Drain the pasta, reserving a bit of the cooking water, and toss it with your sauce of choice. Don’t forget to have a glass of white wine handy—it pairs perfectly!
Nutrition Facts
Servings 6
- Amount Per Serving
- Calories 300kcal
- % Daily Value *
- Total Fat 9g14%
- Total Carbohydrate 40g14%
- Protein 10g20%
* Percent Daily Values are based on a 2,000 calorie diet. Your daily value may be higher or lower depending on your calorie needs.
Note
- Fresh Ingredients Matter: Use fresh eggs and high-quality squid ink to enhance flavor.
- Resting is Key: Don’t skip the resting time for the dough; it improves texture.
- Flour Wisely: Keep flour handy for dusting as you roll out and cut the pasta.
- Taste Test: Always taste your water before boiling the pasta; it should be salty like the sea!
- Experiment!: Feel free to adjust the squid ink to your liking. More ink means a softer flavor and deeper color.