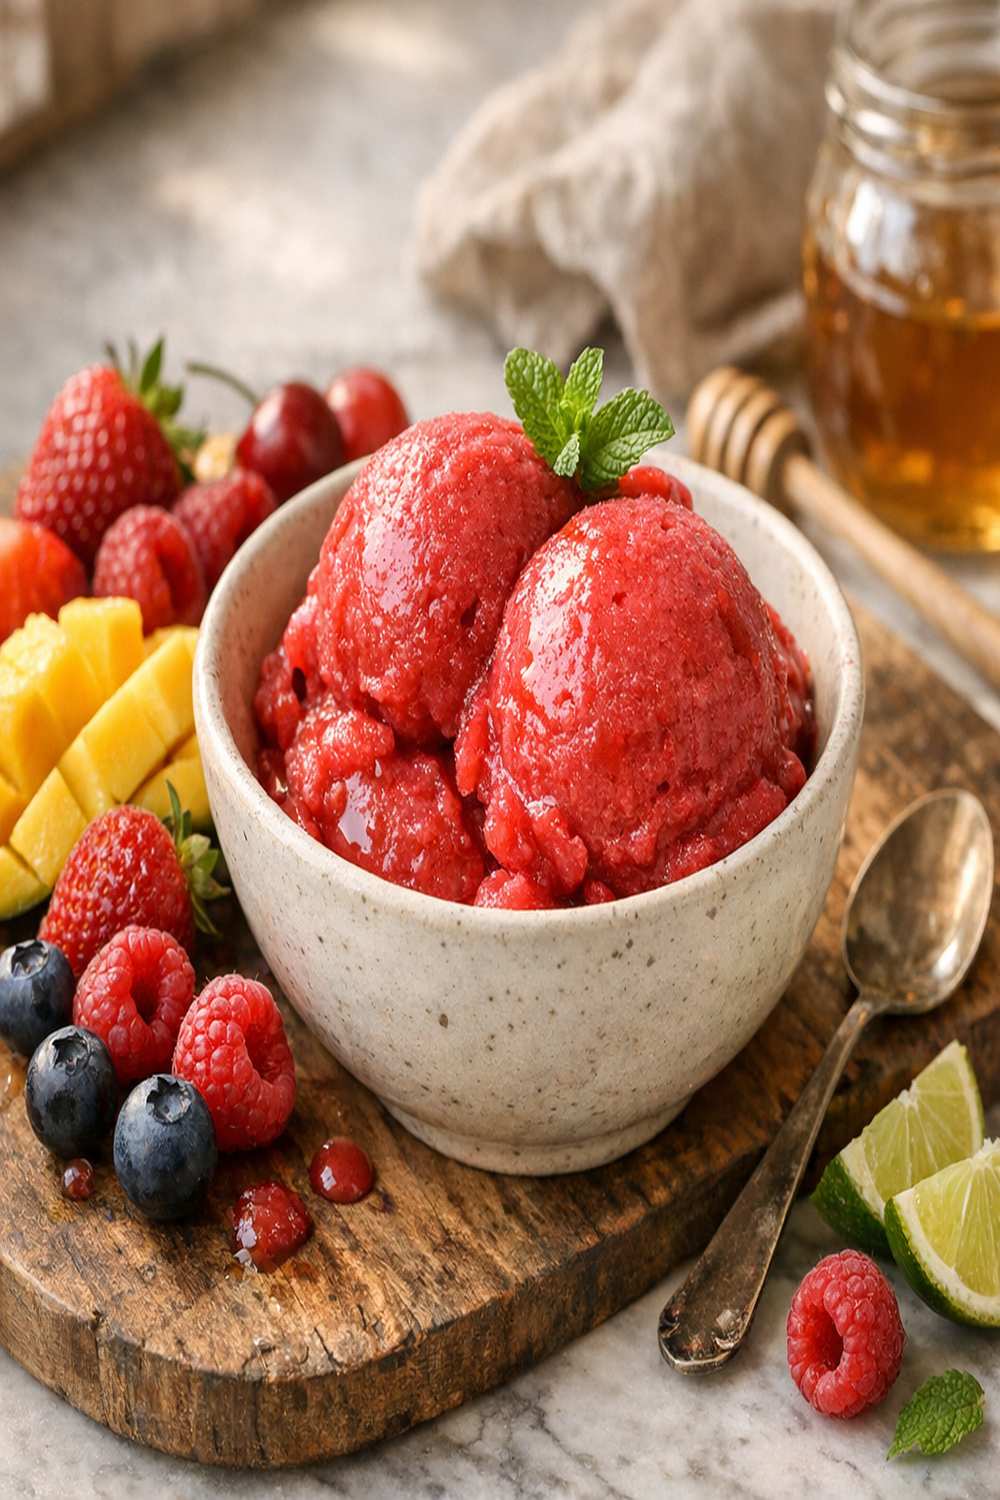

Ingredients
Method
Step 1: Make Your Sugar Syrup (The Foundation)
- This is where professionals get ahead of home cooks. Instead of using granulated sugar, they dissolve it in hot water first, creating a syrup that distributes evenly throughout your fruit mixture. In a medium saucepan over medium-high heat, combine 1 cup granulated sugar and 2 cups filtered water. Stir constantly until sugar completely dissolves—you should see no grains remaining on the bottom of the pan. This takes about 3-4 minutes. Don't skip this step; granulated sugar in frozen fruit creates that unpleasant grainy texture. Once dissolved, remove from heat and let cool to room temperature. I always make this ahead and refrigerate it, which also means it's already cold when I'm ready to blend.

Step 2: Prepare Your Fruit with Precision
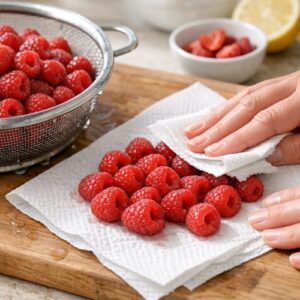
- Fruit preparation matters more than you'd think. For berries like raspberries, simply rinse gently and pat dry—you want minimal water that might dilute flavor. For pineapple and peaches, remove all skin and core completely, then cut into uniform half-inch cubes. Consistent sizing ensures even blending and freezing. For honeydew, halve the melon, scoop out seeds meticulously (they're bitter and will ruin your sorbet), then cut flesh into the same half-inch cubes. This uniformity is what restaurants obsess over.
Step 3: Combine Fruit, Syrup, and Citrus in Your Blender
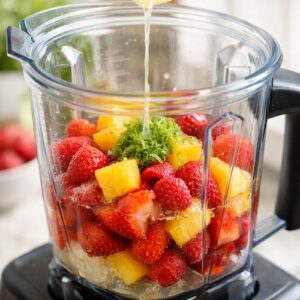
- This is the moment where technique separates amateur from professional. Add your chosen fruit (8 ounces) to a high-powered blender—I use a Vitamix, which has the power to break down fruit fibers completely while keeping the mixture cool. Pour in 3-4 tablespoons of your cooled sugar syrup. Add your citrus juice. Don't blend yet. Let the mixture sit for exactly 2-3 minutes. This allows fruit juices to begin releasing and sugar to start penetrating the cells, which means when you blend, you're working with more liquid and the friction creates less heat. The reason restaurants do this intuitively: cold fruit + cold syrup + minimal friction = better flavor retention.
Step 4: Blend on High Until Completely Smooth
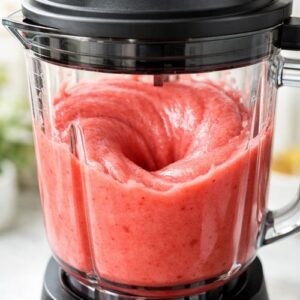
- Secure your blender lid and blend on high speed for 60-90 seconds. You're looking for a completely smooth puree with absolutely no visible fruit pieces or fiber texture. This is crucial—any texture variation will freeze into visible ice crystals. With a high-powered blender, you'll notice the mixture becoming slightly warmer from friction. This is okay; you're aiming for the consistency of thick fruit juice or thin pudding. Pour the blended mixture into a fine-mesh strainer set over a bowl. Using the back of a silicone spatula, press the mixture through the strainer, extracting maximum liquid while leaving behind any pulp or seeds. This step is what professionals do—it creates that silky texture home cooks struggle to achieve.
Step 5: Chill the Mixture Thoroughly (This Matters More Than You'd Expect)
- Your blended and strained mixture needs to be ice-cold before freezing. Transfer to a shallow glass dish and refrigerate for at least 2 hours, ideally overnight. Cold mixture freezes more evenly and creates smaller ice crystals, which is the difference between grainy sorbet and silky sorbet. I always do this step the night before, because patience transforms texture.
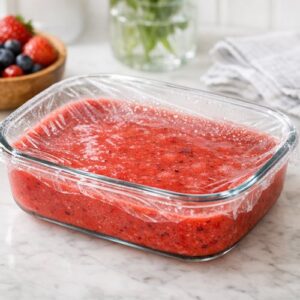
Step 6: Freeze Until Scoopable (The Home Method Without an Ice Cream Maker)
- If you have an ice cream maker or gelato machine, follow manufacturer instructions—this is ideal and creates restaurant-quality results. If not, pour your cold mixture into a shallow metal baking dish (metal freezes faster than glass) and place in your coldest freezer. Every 30 minutes for the first 2 hours, take a fork and scrape the mixture from the edges toward the center, breaking up ice crystals as they form. This manual churning process mimics what commercial equipment does automatically. After 2 hours of scraping, the mixture should have a texture like Italian ice. At this point, you can either serve it immediately (softer consistency, more luxurious) or continue freezing for 1-2 more hours if you prefer denser, scoopable sorbet.
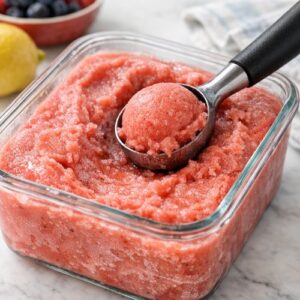
Step 7: Serve with Intention
- Let frozen sorbet sit at room temperature for 3-5 minutes before scooping—this allows it to soften just slightly, making scooping easier and the texture more silky on your tongue. Use a warm ice cream scoop (run under hot water between each scoop) to create beautiful quenelles. Serve in chilled bowls. The temperature differential between cold sorbet and room-temperature bowl enhances flavor perception.