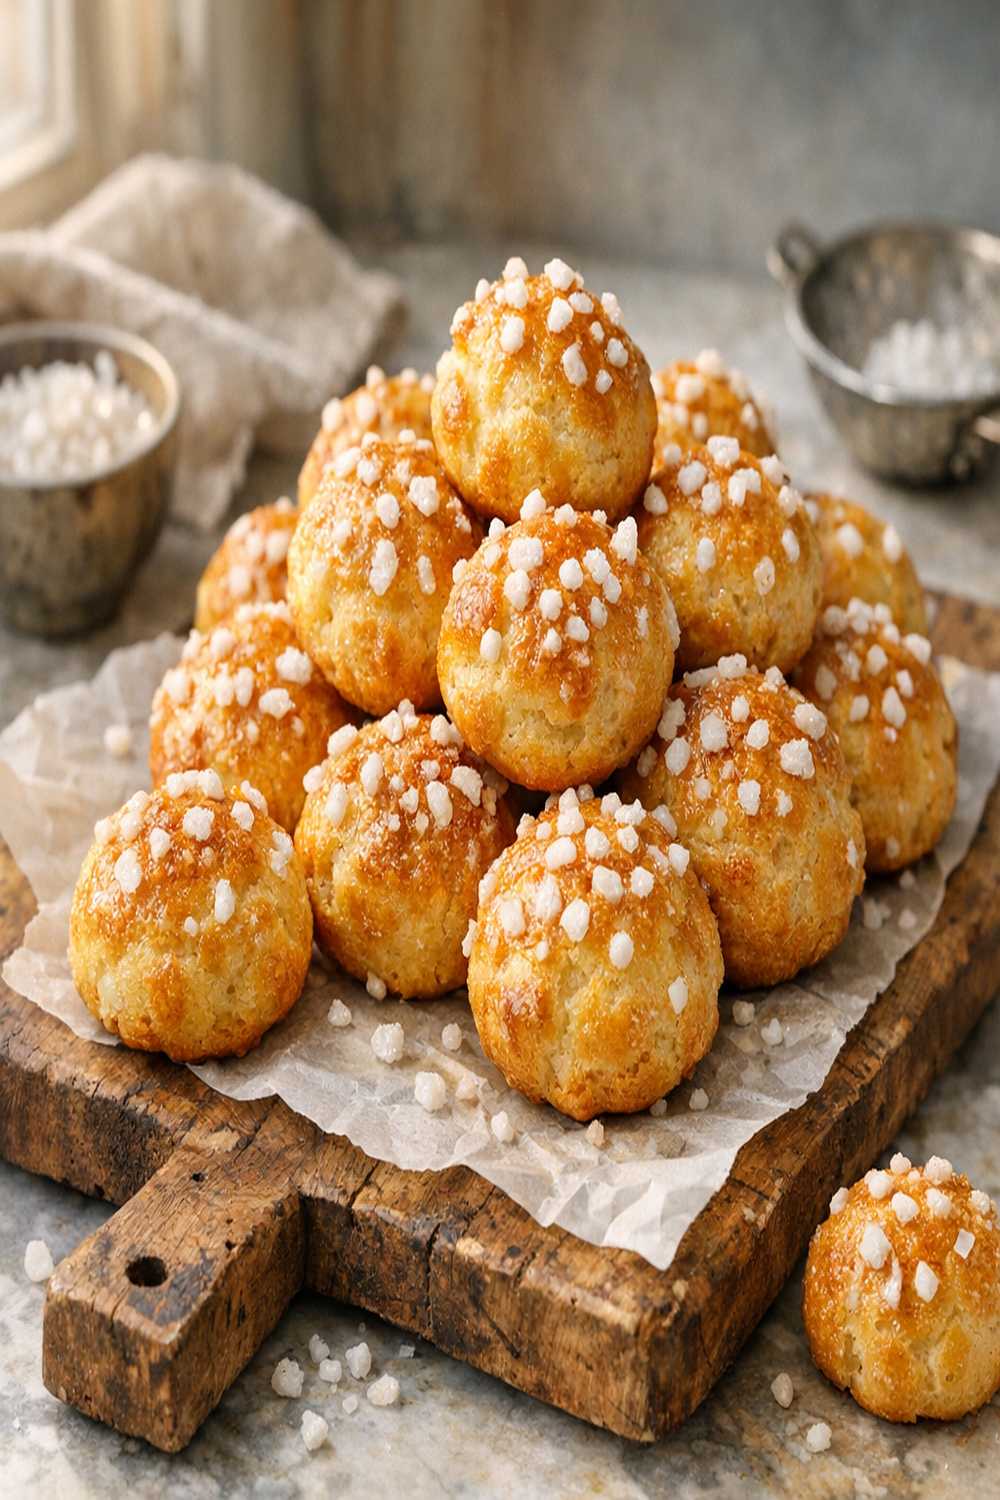

Ingredients
Method
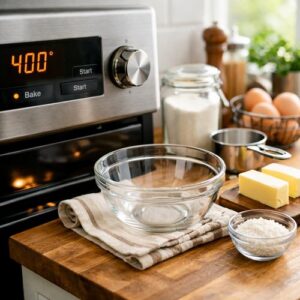
Step 1: Prepare Your Workspace and Preheat
- Start by setting your oven to 400°F and allowing it a full 15 minutes to preheat. This temperature is critical—it's hot enough to create that initial burst of steam that makes your puffs rise, but not so hot that they brown before they fully set. While the oven heats, line a heavy-duty baking sheet with parchment paper. I recommend using a professional-grade aluminum sheet, not a dark nonstick one, because dark sheets conduct heat too aggressively and can over-brown the bottoms. Position your oven rack in the center of your oven for even heat distribution.
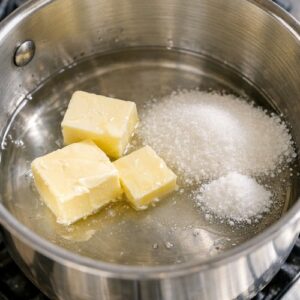
Step 2: Create the Base Mixture
- In a medium saucepan (not nonstick—you need that friction for the next steps), combine your filtered water, unsalted butter, granulated sugar, and fine sea salt. Over medium heat, bring this mixture to a full rolling boil. You'll know it's ready when you see vigorous bubbles across the entire surface, about 3-4 minutes. This isn't just heating—this is a crucial step where the butter emulsifies into the water, creating an ideal medium for your flour. The salt has already begun its work of seasoning and strengthening the gluten strands you're about to develop.
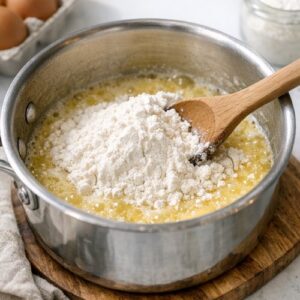
Step 3: Incorporate the Flour with Purpose
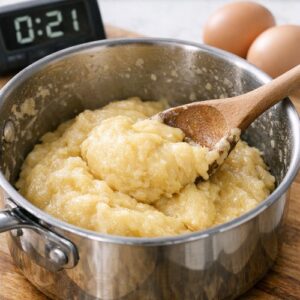
- Remove your saucepan from heat immediately when the mixture reaches a boil. Add all of your flour at once—this is important, no gradual additions. Using a sturdy wooden spoon (wood is ideal because it won't conduct heat as aggressively as metal), stir with vigorous, intentional strokes for about 1-2 minutes until the mixture transforms into a smooth, cohesive dough ball. You'll notice the dough beginning to pull away from the sides of the pan. This is exactly what you want. The heat is cooking the flour, and your stirring is developing the gluten network that will trap steam and create those precious air pockets.
Step 4: Cool and Incorporate Eggs
- Let this dough cool for exactly 2 minutes. I use a timer for this because it matters. The dough should still be warm but cool enough that it won't scramble your eggs. You want the temperature to be around 140-150°F if you're checking with an instant-read thermometer. This is where the magic really happens. Add your eggs one at a time, whisking vigorously after each addition for about 30-45 seconds. The dough will look broken and separated at first—this is completely normal. Keep whisking with confidence. After all four eggs are incorporated, you'll have a smooth, glossy dough with a ribbon-like quality to it. The dough should fall from your spoon in ribbons and slowly incorporate back into itself. If it's too stiff, your oven rise will be limited. If it's too loose, your puffs will spread too much. This is the moment where feel matters as much as precision.
Step 5: Prepare Your Glaze
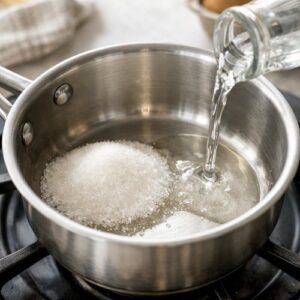
- While your dough rests, make the finishing glaze. In a small saucepan, combine 2 tablespoons of granulated sugar and 2 tablespoons of filtered water over medium heat. Stir constantly until the sugar completely dissolves, about 1 minute. You're not making caramel here—the mixture should remain clear and thin. Remove from heat and let it cool to room temperature. This takes about 3-5 minutes. If the glaze is still hot when you brush it on, it can make your puffs soggy. Patience here yields better results.
Step 6: Shape Your Chouquettes
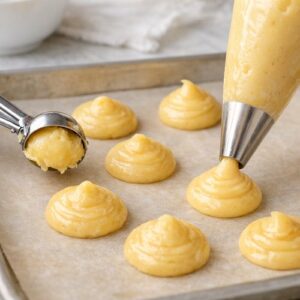
- Transfer your dough to a piping bag fitted with a ½-inch round tip, or use a small cookie scoop (a leveled 1-tablespoon scoop is ideal). I prefer the piping method for consistency and control. If you're using a scoop, position the dough mounds about 1½ inches apart on your prepared baking sheet. These will expand as they bake. Alternatively, you can use two teaspoons—one to scoop a walnut-sized amount of dough, the other to gently push it onto the sheet. The puffs don't need to be perfectly round; rustic is actually more authentic and charming.
Step 7: Glaze and Add Pearl Sugar
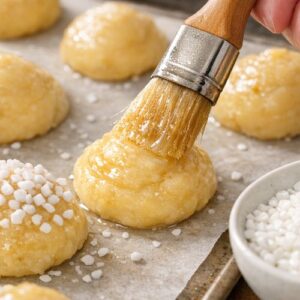
- Using a pastry brush, gently brush each dough mound with your cooled sugar glaze. Be generous—this adds flavor and helps the pearl sugar adhere. Immediately sprinkle pearl sugar over each puff, about ½ teaspoon per puff. The sugar should cover the top and sides. This is the step that makes chouquettes unmistakably beautiful. That pearl sugar will caramelize slightly and create a delicate crackle when you bite in.
Step 8: Bake to Golden Perfection
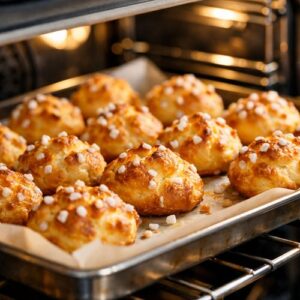
- Place your baking sheet in the preheated oven and bake for 20-25 minutes, until the puffs are deeply golden brown and feel light and crispy when you tap them. They should look set and no longer wet or doughy. The color should be a rich golden-brown, not pale or overly dark. During the last 2 minutes of baking, you might notice them getting darker—this is the pearl sugar caramelizing, and it's exactly what you want.
Step 9: The Critical Cool-Down
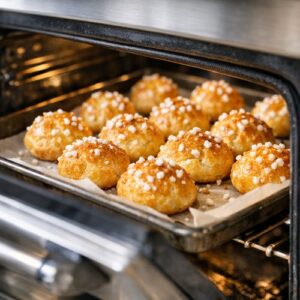
- When the timer goes off, turn off your oven and crack the door open about 3-4 inches. Leave the chouquettes in the oven with the door ajar for exactly 5 minutes. This gradual adjustment from hot to room temperature prevents them from deflating. It's the difference between a beautifully risen puff and a sad, collapsed pastry. After those 5 minutes, remove the baking sheet and place it on a cooling rack. The chouquettes will continue to set as they cool. Serve them warm or at room temperature, preferably within 2 hours of baking for optimal crispness.
Notes
- Room Temperature is Non-Negotiable - This applies to both your eggs and your water. Room temperature ingredients incorporate smoothly into the warm dough without temperature shock. I keep eggs out of the fridge for at least 30 minutes before baking.
- Use a Wooden Spoon for Stirring - Metal heats up too quickly and can create hot spots in your dough. A wooden spoon distributes heat more gently and gives you better tactile feedback about dough consistency.
- Don't Skip the 2-Minute Cool - This is the only thing preventing scrambled egg dough. I set a timer and don't eyeball it. Two minutes is the sweet spot.
- Invest in a Good Piping Bag - A sturdy, quality piping bag makes shaping infinitely easier and more consistent. I use heavy-duty canvas bags that I wash and reuse. Disposable bags are wasteful and prone to tearing.
- Pearl Sugar is Worth Finding - Regular granulated sugar will slide off and burn. Pearl sugar, also called nib sugar, has a larger crystal structure that holds during baking. It's available online and at specialty baking stores.
- Parchment Paper Prevents Sticking - Don't use greased baking sheets. Choux dough needs just enough friction to hold its shape as it rises. Parchment is perfect.