
Ingredients
Equipment
Method
Step 1: Combine Your Liquid and Fat Base
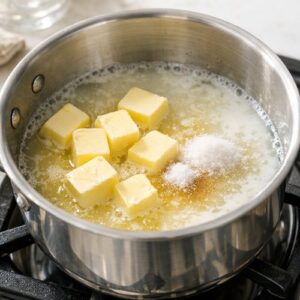
- Place your medium saucepan on the stovetop over medium heat. Add your cut butter pieces, along with the filtered water, whole milk, salt, and granulated sugar. Watch this mixture carefully—you're not in a rush. As the butter melts, stir occasionally with a wooden spoon or heat-safe spatula, ensuring everything combines evenly. This isn't a vigorous stir; it's a gentle, consistent movement that distributes the salt and sugar while the butter melts. The mixture will transition from separate, oily components into a unified liquid. Once you see it beginning to simmer—tiny bubbles actively breaking the surface all over—you've reached the critical moment. Don't let it boil aggressively; a gentle simmer is perfect. This temperature is about 200-210°F, and it's precisely hot enough to cook your flour without scorching it.
Step 2: Add Your Flour and Cook the Dough
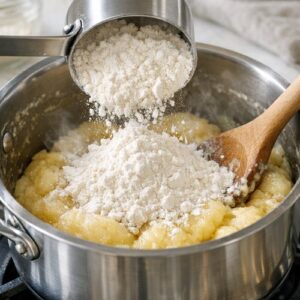
- Here's where patience becomes your greatest asset. Reduce the heat to low. Measure your flour carefully—spooned and leveled—and add all of it at once to your simmering liquid. Immediately begin stirring with vigor, breaking up any lumps that form. You're looking to fully incorporate the flour within about 30 seconds, creating a thick, unified dough that forms a shaggy ball. Now comes the crucial step that most recipes barely mention: mash this dough against the bottom and sides of the pan for a full minute. Use the back of your spoon or spatula, pressing firmly. What you're doing is gelatinizing the starches in the flour through heat and friction. This cooking process creates the structure that allows your pastry to puff. You'll notice the dough becoming smoother, slightly glossier, and more cohesive. This step is non-negotiable—don't skip it or rush it.
Step 3: Cool the Dough Properly
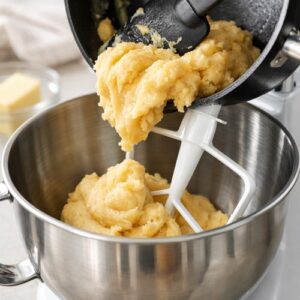
- Remove the saucepan from heat. Transfer your dough immediately to the bowl of your stand mixer fitted with the paddle attachment. If you're using a handheld mixer, transfer it to a large mixing bowl. Let it cool for 3-5 minutes. This cooling period is critical because you're about to add room-temperature eggs. If your dough is still piping-hot, those eggs will scramble before they can emulsify properly. Set a timer and resist the urge to rush—this short rest makes all the difference. While your dough cools, beat your eggs in a separate bowl until fully combined. You want a uniform, pale yellow mixture. Set this aside near your mixer.
Step 4: Add Eggs in Stages for Perfect Emulsification
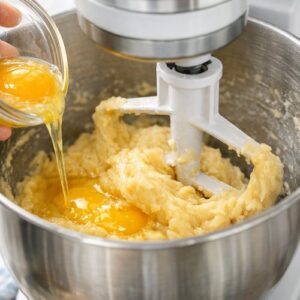
- This is the step that separates success from disappointing, lumpy dough. Turn your mixer to low speed. With the paddle running, begin adding your beaten eggs in 3-4 separate additions, allowing 30 seconds of mixing between each addition. This gradual approach allows each portion of egg to fully incorporate and create an emulsion with the dough before the next addition arrives. Your first addition will look jarring—the dough will appear curdled and separated, almost broken. This is completely normal. Keep the mixer running. By the second addition, you'll see it beginning to come together. By the third addition, you're watching a transformation: the dough becomes glossy, smooth, and cohesive. For your final addition, add your eggs very slowly, almost pouring a thin stream while watching the dough's texture carefully. Your goal is a shiny, thick, smooth choux pastry with a pipeable consistency—it should look like soft cookie dough or thick pudding. Stop adding beaten egg once you achieve this texture. You'll likely have a few teaspoons of beaten egg remaining, which is perfect—save this for your egg wash in the next steps. Expert's Nutritional Tip: As a dietitian, I appreciate that choux pastry derives its structure from eggs, which provide complete protein containing all nine essential amino acids. This makes choux pastry more substantive nutritionally than many other pastries, despite its delicate appearance. The protein also contributes to satiety, so you're likely to feel satisfied with a single cream puff rather than consuming multiple servings.
Step 5: Pipe Your Pastry Shells (Or Refrigerate for Later)
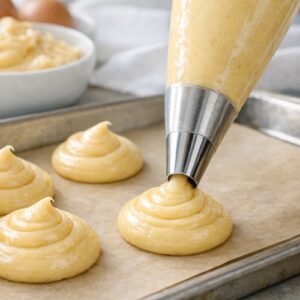
- Your choux pastry dough is now complete and ready to use. If you're baking immediately, transfer it to your piping bag fitted with the Wilton 1A tip. If you prefer to work ahead—and I often do—cover your dough bowl tightly and refrigerate for up to 3 days. You can even transfer the dough directly into a piping bag and refrigerate the bag itself; you'll pipe and bake from cold, which actually prevents the dough from spreading too much during baking. When you're ready to pipe, preheat your oven to 400°F (204°C). Line two baking sheets with parchment paper. Here's a small technique: lightly brush the parchment with water. This creates a humid microclimate that prevents your pastry shells from drying out or burning on the bottoms. Fill your piping bag and pipe 2-inch mounds of dough onto the prepared baking sheets, spacing them about 3 inches apart. They'll expand during baking, so this spacing prevents them from touching. After piping, use a finger moistened with water to gently smooth down any peaks on top of each mound. This creates a more even surface and prevents browning too quickly on the peaks. Brush each pastry lightly with your reserved egg wash.
Step 6: Bake With Confidence and Patience
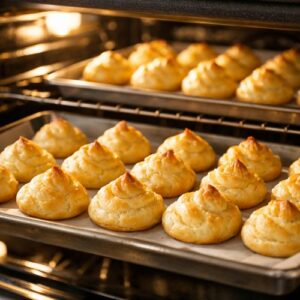
- Place your baking sheets in the preheated 400°F oven. Set a timer for 20 minutes. Do not open the oven door during this time. I know the temptation is real—you want to peek and see what's happening. But opening that door releases the steam that's literally creating the puff. Have faith in the process. After 20 minutes, your pastries should be beginning to puff and turn golden-brown. Keeping the pastries in the oven, carefully reduce the temperature to 350°F (177°C) and continue baking for 10-15 minutes more until they achieve a deep, even golden-brown color. The shells should look sturdy, not pale or soft-looking. Remove the baking sheets from the oven and transfer each pastry to a cooling rack. Allow them to cool completely before filling—this takes about 30 minutes at room temperature. As they cool, the interiors set and the shells become crispy. This cooling step is just as important as the baking.
Step 7: Fill and Serve Your Choux Pastry Creation
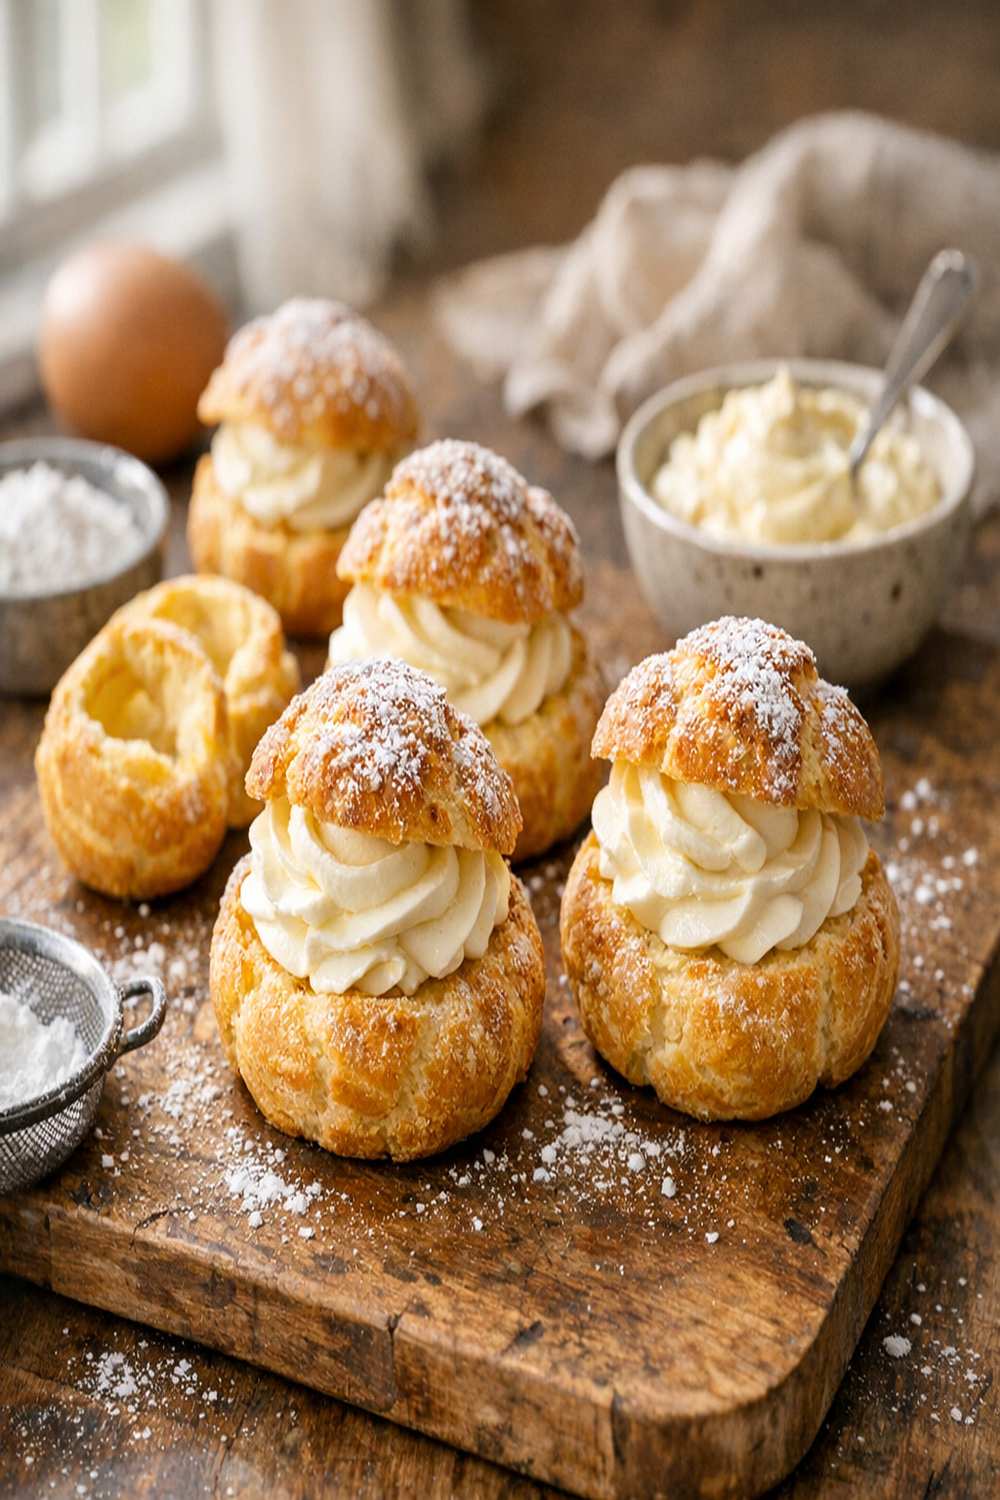
- Once completely cooled, you have two filling options. You can split the pastry shells horizontally and fill the interiors with your choice of fillings—whipped cream, pastry cream, lemon curd, fresh berries, or any combination that speaks to you. Alternatively, you can poke a small hole in the bottom or side of each shell and use your piping bag to fill them from the inside, which creates a more elegant presentation. For profiteroles, I fill the shells with pastry cream or whipped cream, then drizzle them with chocolate sauce. For cream puffs, I love a combination of pastry cream and fresh whipped cream topped with a dusting of powdered sugar or fresh berries.
Notes
- Adding eggs while the dough is still hot – This scrambles the eggs and creates a grainy, broken dough. Prevent it by cooling your dough for 3-5 minutes after removing it from heat. If you do make this mistake mid-batch, you can occasionally save it by cooling the dough completely, then adding another room-temperature egg slowly while mixing on low. It's not guaranteed, but it's worth attempting.
- Adding eggs too quickly without proper mixing time – This breaks the emulsion before it forms. Prevention is simple: add eggs in 3-4 separate additions with at least 30 seconds of mixing between each. The patience here pays dividends in texture and success.
- Skipping or rushing the dough-mashing step – This step gelatinizes the flour and creates structure. Rushing it results in dense, flat pastries that don't puff. Commit the full minute to mashing, pressing firmly against the pan's sides and bottom. You're literally building the architecture of your pastries here.
- Opening the oven door during baking – This releases steam and causes your pastries to deflate. Prevent this by trusting your timer. If you really need to check, open the door just slightly for a quick peek in the final 5 minutes when puffing is mostly complete, but ideally, don't open it at all.