
Ingredients
Method
Step 1: Awaken Your Yeast With the Sponge Method
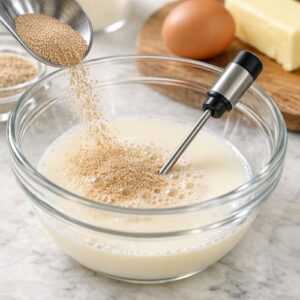
- Begin by combining your 120 milliliters of warm milk (ideally 110°F, which you can verify with your thermometer) with the 9 grams of active dry yeast and 10 milliliters of honey in your stand mixer bowl. Stir gently and let this mixture rest for 5 to 7 minutes. You'll observe the surface becoming foamy and fragrant—this visual cue tells you the yeast is viable and actively fermenting. This preliminary stage, called the sponge method, builds yeast population and creates the foundation for excellent flavor development. The honey isn't just sweetness; it provides immediately accessible carbohydrates that yeast metabolizes to begin gas production.
Step 2: Build Your Dough Foundation
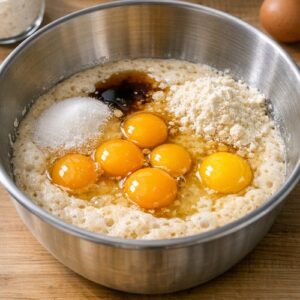
- Once your sponge is visibly active, add your 5 room-temperature eggs, 1 large egg yolk, 10 milliliters of vanilla extract, 60 grams of sugar, and 500 grams of all-purpose flour to the mixer bowl. Using the dough hook attachment on medium speed, mix for 8 to 10 minutes until a shaggy dough forms. You're developing the gluten network at this stage—the proteins in flour (glutenin and gliadin) are aligning and bonding, creating the elastic matrix that will trap fermentation gases. The dough should come together but appear slightly sticky; this is correct. Add your 1½ teaspoons of fine sea salt in the final minute of mixing. Salt regulates fermentation speed by controlling yeast activity through osmotic pressure—too much salt kills yeast, but the right amount slows fermentation beneficially, allowing flavor compounds to develop. The dough at this point should feel soft, slightly tacky, and smooth. It shouldn't be stiff or dry.
Step 3: The Critical Butter Integration
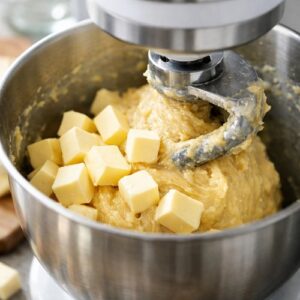
- This step separates brioche masters from frustrated bakers. With your mixer running on medium-low speed, add your 250 grams of cold, cubed unsalted European-style butter gradually—approximately 5 to 6 cubes at a time. Wait until each addition is nearly fully incorporated before adding the next batch. This process requires 12 to 15 minutes total. Why such patience? When you add room-temperature butter to warm dough, it melts completely and separates from the dough, creating a greasy mess. Cold butter, however, breaks into small pieces that distribute throughout without melting immediately. The dough temperature should stay around 75°F to 78°F during this process; if it exceeds 80°F, refrigerate the dough for 15 minutes before continuing. As you incorporate butter, you'll observe the dough transforming from shaggy to silky, almost glossy. It should feel smooth and slightly sticky but hold together cohesively. This transformation indicates successful emulsification—the eggs' lecithin is binding fat and water phases together into a stable system.
Step 4: First Rise and Bulk Fermentation
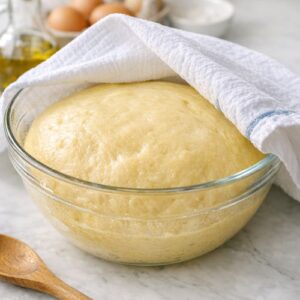
- Transfer your dough to a lightly oiled bowl and cover it with a damp kitchen towel or plastic wrap. This bulk fermentation period is where flavor develops. Allow the dough to rise at room temperature (70°F to 72°F is ideal) for 3 to 4 hours, or until it has increased in volume by approximately 50 to 75 percent. You're not looking for doubling here—brioche's rich fat content slows fermentation compared to standard dough. During this time, yeast cells are multiplying and metabolizing sugars, producing ethanol and CO₂. The longer, slower fermentation at cooler temperatures favors complex flavor development over rapid gas production. For overnight preparation (my preference for superior flavor), refrigerate the dough after 30 minutes of room-temperature rising and let it ferment in the refrigerator for 12 to 18 hours. Cold fermentation dramatically increases flavor complexity while making the dough easier to shape.
Step 5: Shape Your Brioche
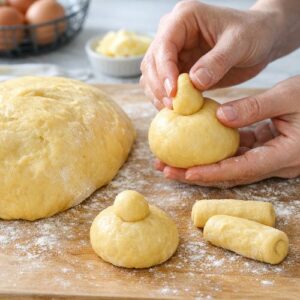
- Remove your dough from the refrigerator approximately 30 minutes before shaping to take the slight chill off. Turn it out onto a lightly floured work surface—you shouldn't need to add much flour due to the dough's inherent richness. For a classic brioche loaf, gently shape the dough into a round, tucking the edges underneath to create surface tension. This tension helps the dough rise upward rather than spreading outward during the final proof. Place your shaped brioche seam-side up in a floured banneton proofing basket, or in a bowl lined with a generously floured kitchen towel. If you lack a proofing basket, a round mixing bowl works beautifully. Cover with plastic wrap or a shower cap—yes, a shower cap provides an excellent seal that prevents drying while allowing minimal air exchange.
Step 6: Final Proof and Egg Wash
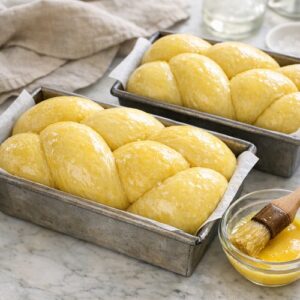
- Allow your shaped brioche to proof for 2 to 3 hours at room temperature until it increases by approximately 50 percent in volume and feels airy when gently poked. The poke test is critical: your finger should leave a slight indent that springs back slowly—not immediately (underproofed) and not remain as a depression (overproofed). Overproofed brioche may collapse during baking, while underproofed brioche won't develop the delicate crumb structure that makes this bread special. While your brioche is proofing, preheat your oven to 375°F. Twenty minutes before baking, prepare an egg wash by whisking together 1 large egg with 15 milliliters of water or cream. Gently invert your proofed brioche onto a parchment-lined baking sheet. Brush the entire surface with egg wash—this creates the characteristic golden sheen and promotes even browning through the Maillard reaction. Some bakers prefer a second egg wash layer 15 minutes into baking for extra shine; I find one thorough coating sufficient.
Step 7: Bake to Golden Perfection
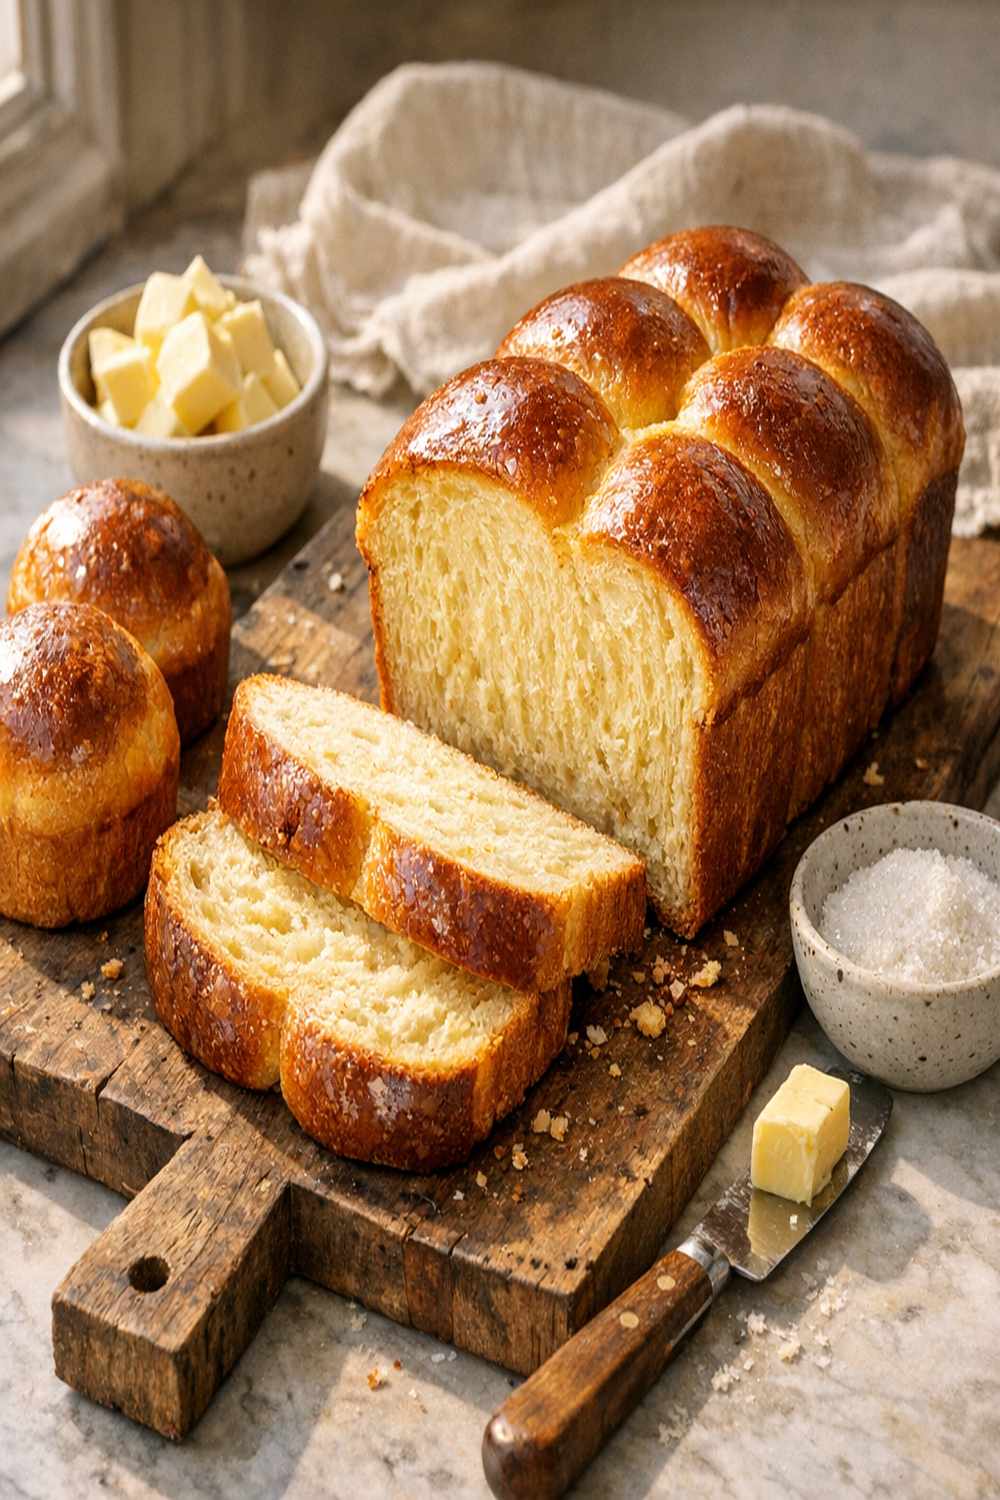
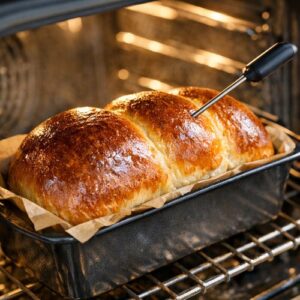
- Place your egg-washed brioche in your preheated 375°F oven. Bake for 30 to 35 minutes until the top is deep golden brown and a digital instant-read thermometer inserted into the center registers 190°F to 195°F. This internal temperature indicates that the starch in the flour has gelatinized and the proteins have coagulated—the structure is set. If your brioche is browning too quickly but the interior hasn't reached temperature, tent it loosely with aluminum foil for the final 10 to 15 minutes. Remove from the oven and allow your brioche to cool in the pan for 15 minutes before turning it out onto a wire rack. This initial cooling period allows the crumb to set without becoming tough. Complete cooling takes approximately 2 hours. I know waiting feels eternal, but slicing into warm brioche before it's fully set creates a gummy texture. Patience here is crucial.
Notes
- Temperature precision determines texture - Brioche is temperature-sensitive. Dough that's too warm ferments too quickly, developing insufficient flavor and creating a coarse crumb. Dough that's too cool ferments sluggishly. Keep your dough between 75°F and 78°F during mixing and initial bulk fermentation. Use your thermometer, not guesswork.
- Overnight cold fermentation is non-negotiable for my approach - The 12 to 18 hour refrigeration period in step 4 dramatically increases flavor complexity. Cold fermentation allows yeast to work slowly, developing esters and other flavor compounds that rushed fermentation misses. This step alone elevates brioche from good to transcendent.
- European-style butter makes a measurable difference - Standard American butter contains approximately 80 percent butterfat, while European-style butter reaches 86 percent butterfat with lower moisture content. This higher fat percentage creates richer flavor and silkier crumb. Source high-quality butter from a local dairy if possible—the difference is perceptible and worth the investment.
- Don't skip the poke test for proof accuracy - Visual volume increase can deceive you. The poke test—gently pressing your floured finger into the dough and observing how quickly it springs back—accurately indicates fermentation progress better than timer alone.
- Invest in a Dutch oven for superior crust development - While you can bake brioche directly on a baking sheet, using a preheated Dutch oven for the first 15 minutes of baking traps steam, promoting better oven spring and crust structure. Remove the lid for the final 15 to 20 minutes to develop that golden color.