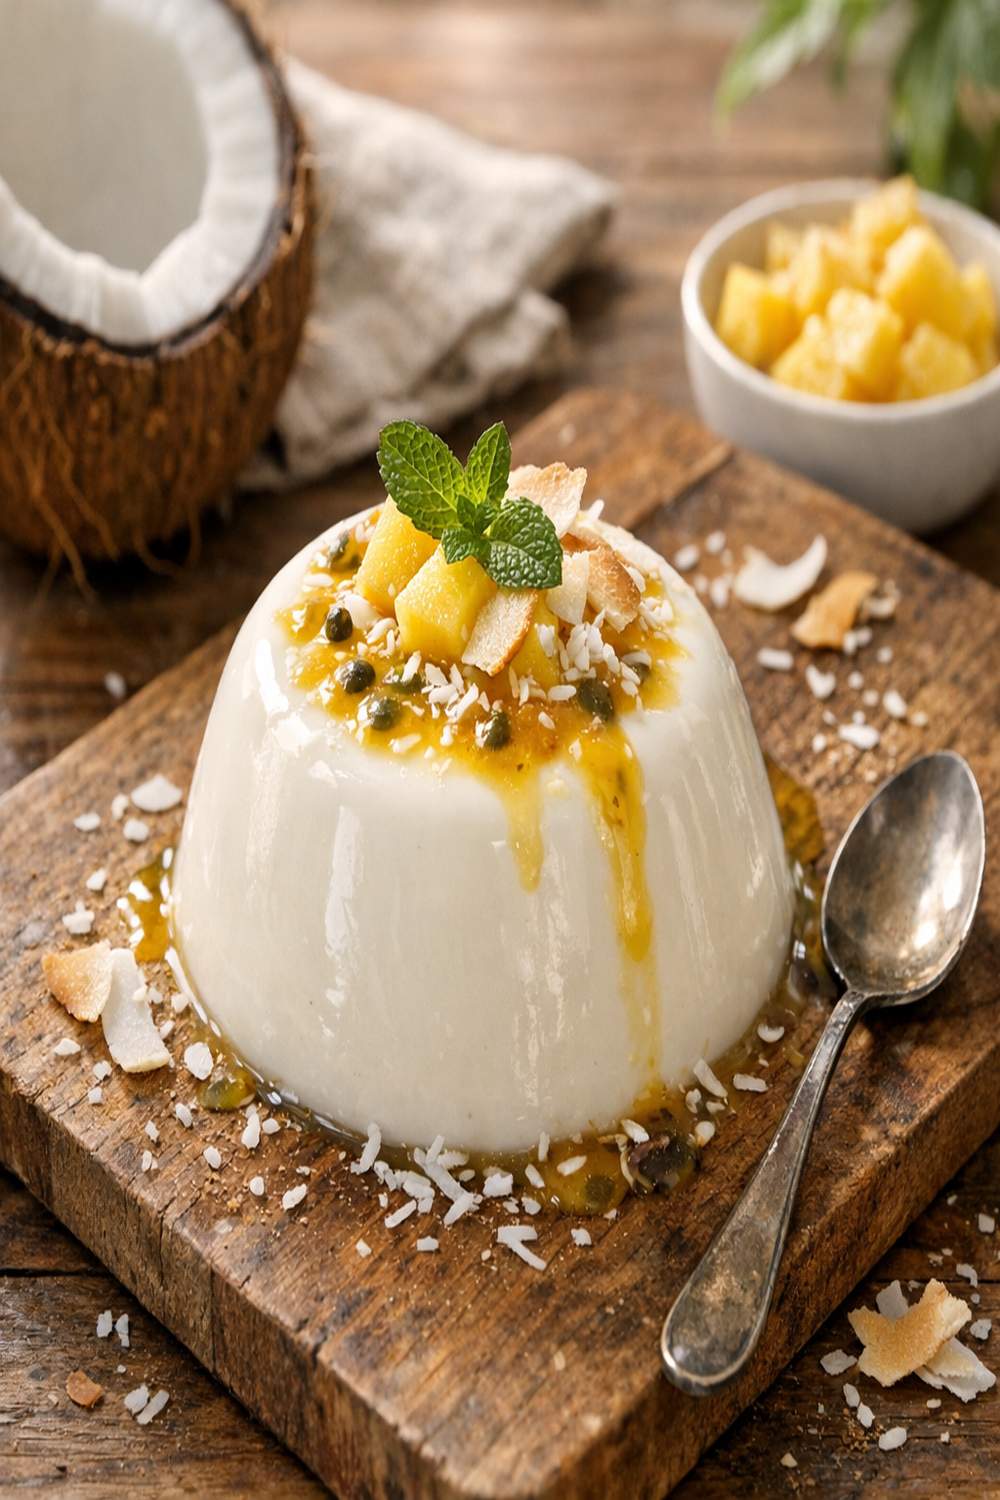

Ingredients
Method
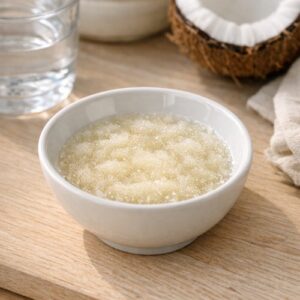
Step 1: Bloom Your Gelatine Properly
- Pour the 30 milliliters of cold water into a small bowl and sprinkle the powdered gelatine across the surface. Do not stir immediately—let it sit for about 2-3 minutes so the gelatine absorbs the water completely. This blooming process is critical; it prevents lumps from forming when you add it to the warm coconut mixture. I use a small liquid measuring cup or ramekin for this, which makes it easy to pour into the hot mixture later without spilling.
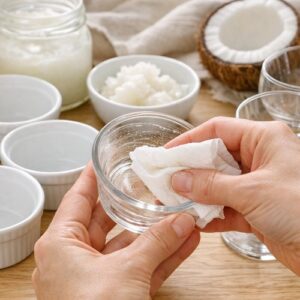
Step 2: Prepare Your Serving Vessels
- While your gelatine blooms, lightly coat the interior of 10 small ramekins, wine glasses, or serving bowls with coconut oil. Use a paper towel to distribute it thinly and evenly—you want just enough to prevent sticking without creating a greasy mouthfeel. Arrange these vessels on a small tray or flat baking sheet (this makes it easier to move them all into the refrigerator at once). This preparation step means you're never rushing at the final moment.
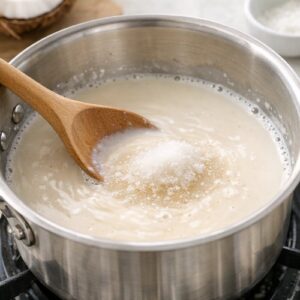
Step 3: Heat Your Coconut Mixture Gently
- In a medium-sized saucepan, combine the 500 milliliters coconut milk, 80 grams sugar, and pinch of sea salt. Place over medium heat and stir occasionally with a whisk, watching carefully as the sugar dissolves. This is crucial: you want the mixture to be warm and the sugar fully dissolved, but it should never come to a boil. If it begins to bubble at the edges, remove it from heat immediately. This gentle approach preserves the delicate coconut flavor and prevents the gelatine from breaking down. The entire process should take about 5-7 minutes.
Step 4: Incorporate Your Aromatics and Gelatine
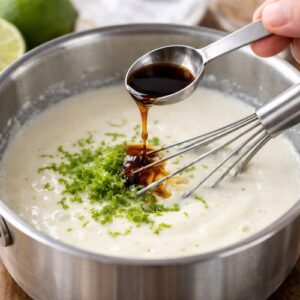
- Remove the saucepan from heat and immediately add the vanilla extract and lime zest. Stir these in thoroughly so the bright lime flavor distributes evenly. Now add your bloomed gelatine to the warm (not hot) coconut mixture. Stir continuously for about one full minute until you see no visible traces of gelatine granules remaining. The mixture should look completely smooth and homogeneous. If you notice any resistance or feel graininess, return the pan to low heat for just 30 seconds while whisking, then remove from heat again. The gelatine will dissolve completely in the residual warmth.
Step 5: Achieve That Signature Silky Texture
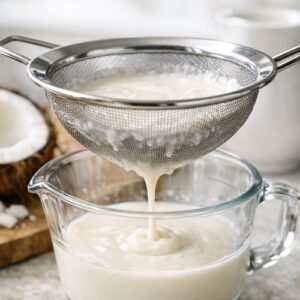
- For the silkiest possible texture—the kind that makes people close their eyes when they taste it—pour the mixture through a fine-mesh sieve into a separate bowl. This removes any microscopic gelatine particles that might create a slightly grainy texture. This step is what separates good panna cotta from truly luxurious panna cotta. Take your time here; there's no rushing this part.
Step 6: Fill Your Prepared Vessels
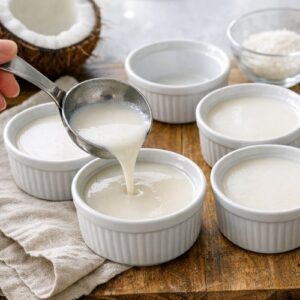
- Working carefully and steadily, pour the strained coconut mixture into your prepared ramekins, dividing it evenly among them. I use a small ladle or measuring cup with a pouring spout to make this easier and to minimize splashing. Fill each vessel about three-quarters full, leaving room for your fruit topping. Set the tray into your refrigerator on a flat shelf where nothing will disturb it.
Step 7: Chill with Patience
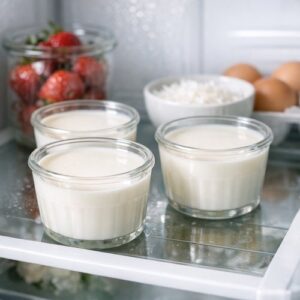
- This is where patience becomes an ingredient. Refrigerate the panna cotta for a minimum of 5 hours, though overnight (8-12 hours) produces the most perfect texture. The gelatine needs adequate time to set completely. You'll know they're ready when the surface is set and slightly jiggly when you gently shake the ramekin—that wobble tells you the interior is perfectly set but still silky, not firm.
Step 8: Prepare Your Fruit Topping
- About one hour before serving, prepare your fresh fruit. Slice or halve the strawberries and place them in a small bowl. If desired, toss them with 1-2 teaspoons of raw or demerara sugar to encourage them to release their natural juices. Cut your passion fruit in half and scoop out the pulp and seeds into a small bowl—this concentrated tartness is what balances the coconut's richness perfectly. Keep both fruits refrigerated until service.

Step 9: Serve with Elegance
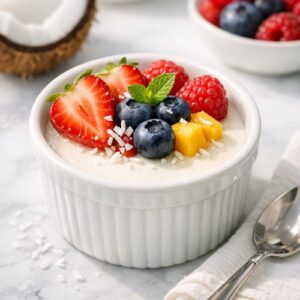
- You have two beautiful options here: serve the panna cotta directly in its ramekin, topped with fresh fruit—this is elegant in its simplicity and means less risk of the panna cotta breaking. Or, if you'd like that polished presentation, carefully unmold each panna cotta by dipping the ramekin halfway into a bowl of hot water for 10-15 seconds. Remove it from the water, place a serving plate on top, and invert with a gentle shake. If it doesn't release, dip for another few seconds or run a thin knife around the edges. Either presentation method is correct; choose based on your comfort level and the formality of your event.
Notes
- Skipping the bloom step or rushing it - gelatine must have adequate time to absorb water, or you'll end up with a grainy, lumpy texture. Those 2-3 minutes of waiting aren't optional; they're the difference between silky and disappointing
- Overheating the coconut milk or allowing it to boil - heat breaks down gelatine and can cause the coconut milk to separate. Keep your heat at medium and remove from the stove the moment steam rises; residual heat will finish the job
- Skipping the fine-mesh sieve step - I know this feels optional, but it truly isn't. Those microscopic gelatine particles create a slightly grainy mouthfeel that prevents that luxurious silky sensation you're working toward
- Not allowing adequate refrigeration time - rushing this and serving after only 2-3 hours results in a wobbly, underset panna cotta that's more mousse than custard. The minimum 5-hour chill isn't negotiable; overnight is genuinely better
- Using low-fat or light coconut milk - this is where you cannot compromise. The richness and flavor come directly from the fat content; anything less than full-fat coconut milk results in a thin, watery, unsatisfying dessert