
Ingredients
Method
Step 1: Combine Your Dry Ingredients with Precision
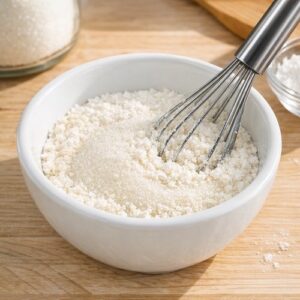
- In a small bowl, whisk together your cornstarch, 100 grams of the sugar, and the salt. This dry mixture is your foundation—it prevents lumping when you add it to hot milk later. Many home bakers add cornstarch directly to liquid and end up with lumps. Mixing it with sugar first breaks up the starch granules so they disperse evenly and hydrate smoothly. Use a wire whisk here, not a fork—you need actual air incorporation to break up any clumps.
Step 2: Temper Your Milk Properly
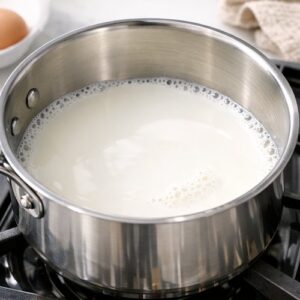
- Pour your whole milk into a medium saucepan (I use a 3-quart stainless steel pan for easy visibility and heat distribution). Warm it over medium heat until it reaches a bare simmer—you're looking for small bubbles forming around the edges, not a rolling boil. This temperature threshold matters because milk that's too cool won't cook your eggs enough, and milk that boils will scorch and taste bitter. Use an instant-read thermometer if you have one (I recommend the Thermapen for accuracy)—you want approximately 180-190°F.
Step 3: Whisk Your Eggs with the Remaining Sugar
- While your milk heats, place your four egg yolks and one whole egg into a medium mixing bowl. Add the remaining 50 grams of sugar. Using an electric mixer on medium speed (I use my KitchenAid stand mixer with the whisk attachment), beat these eggs for approximately 3-4 minutes until they're pale yellow, thick, and tripled in volume. This step is crucial—you're incorporating air and allowing the eggs to cook more gently when you add hot milk. The pale color indicates that the eggs have been sufficiently aerated and the sugar has partially dissolved. If you rush this step, your custard will taste eggy rather than silky. This is not optional—take the full 3-4 minutes.
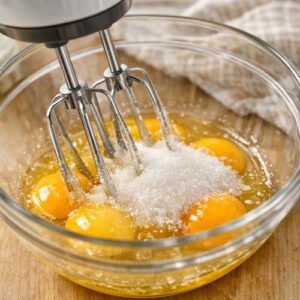
Step 4: Temper Your Eggs Gradually
- This is where patience saves your entire batch. With your mixer running on low speed, slowly pour the hot milk into your whipped eggs—this should take a full 2-3 minutes. You're not dumping it in; you're allowing each addition to warm the eggs gently so they cook through evenly without scrambling. Think of it as introducing extreme temperature change in stages rather than shock. By the time you've added all the milk, your eggs should be fully tempered (cooked through) but still liquid. This is the right consistency to pour back into your saucepan.
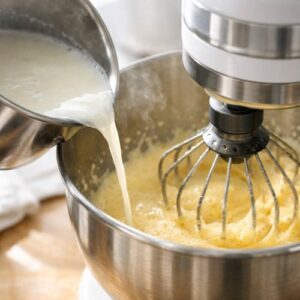
Step 5: Cook Your Custard Base on Medium Heat
- Pour your egg-milk mixture back into your saucepan, then add your pre-mixed cornstarch-sugar-salt blend. Here's the technique: pour the dry mixture slowly while whisking constantly. Do not stop whisking—this action disperses the starch and prevents lumps. Cook over medium heat, whisking frequently (every 20-30 seconds), until the mixture reaches a full boil. You'll feel the moment everything changes—the mixture goes from thin and pourable to thick and glossy, like pudding. Once you see actual boiling bubbles breaking through the surface, continue cooking for exactly 1 minute more while whisking constantly. This extra minute cooks out the raw cornstarch taste that would otherwise linger.
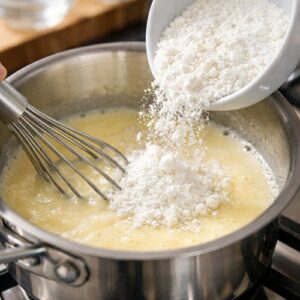
Step 6: Add Your Vanilla and Butter for Richness
- Remove your pan from heat. Stir in your vanilla paste (or vanilla pod scrapings) and the lemon zest immediately. The heat will help release the vanilla's aromatic compounds. Add your butter in one piece and let it sit for 30 seconds, then whisk it in until completely incorporated. The butter adds silky richness and creates a subtle shine in your finished diplomat. At this point, your custard should be thick, glossy, and luxurious—it should coat the back of a spoon so thickly that you can draw a line through it with your finger. This is exactly what you want.
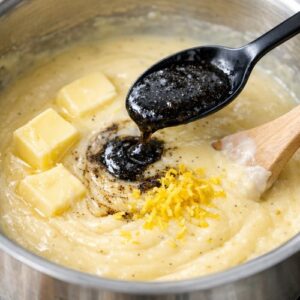
Step 7: Cool Your Custard to the Perfect Temperature
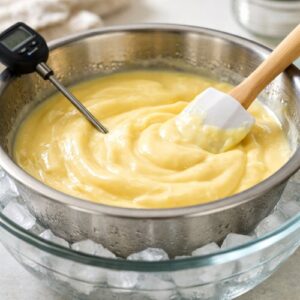
- You need to cool this custard without letting it set solid. The ideal temperature for folding in whipped cream is 100-110°F—warm but not hot. Here's my technique: pour your hot custard into a shallow bowl (wider surface area cools faster than deep). Place it in an ice bath (a larger bowl filled with ice water), but don't submerge it—you're cooling from the sides, not from below. Stir occasionally with a silicone spatula for about 8-10 minutes. You can also use an instant-read thermometer to check the temperature. Once it reaches that perfect 100-110°F range, you're ready for the final step.
Step 8: Whip Your Cream to Soft Peaks
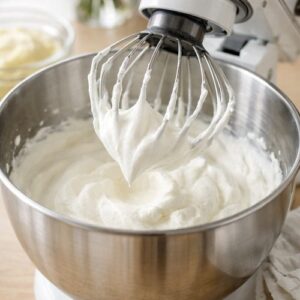
- While your custard cools, pour your cold heavy cream into the bowl of your electric mixer (or use a regular bowl and handheld mixer). I store my mixing bowl in the freezer for 15 minutes before whipping because cold equipment whips cream faster and more stably. Beat on medium-high speed until your cream reaches soft peaks—this means the peaks hold their shape but flop over slightly at the top. This typically takes 2-3 minutes with a stand mixer, 4-5 minutes with a handheld mixer. Do not overbeat—hard peaks will make your diplomat grainy and separated. You're looking for luxurious, pillowy cream.
Step 9: Fold Cream into Custard at the Perfect Moment
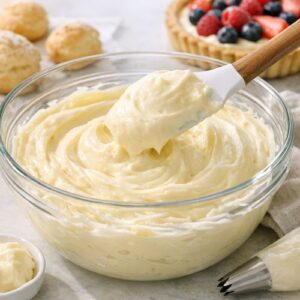
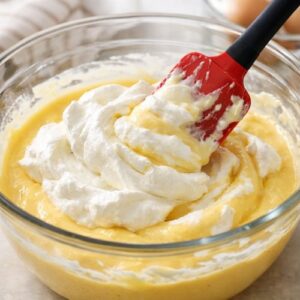
- This is the final magic moment. Using a large silicone spatula, fold your whipped cream into your warm custard in three additions. For each addition, use gentle, deliberate motions: cut down the center of the bowl, sweep across the bottom, and fold up and over. Rotate the bowl slightly and repeat. This motion maintains the whipped cream's air pockets while fully incorporating it. By the third addition, your mixture should be completely homogeneous—you should see no white streaks of cream and no dark streaks of custard. The final texture will be airy, silky, and luxuriously thick. This is crème diplomat in its perfect form.
Step 10: Use Immediately or Chill Briefly
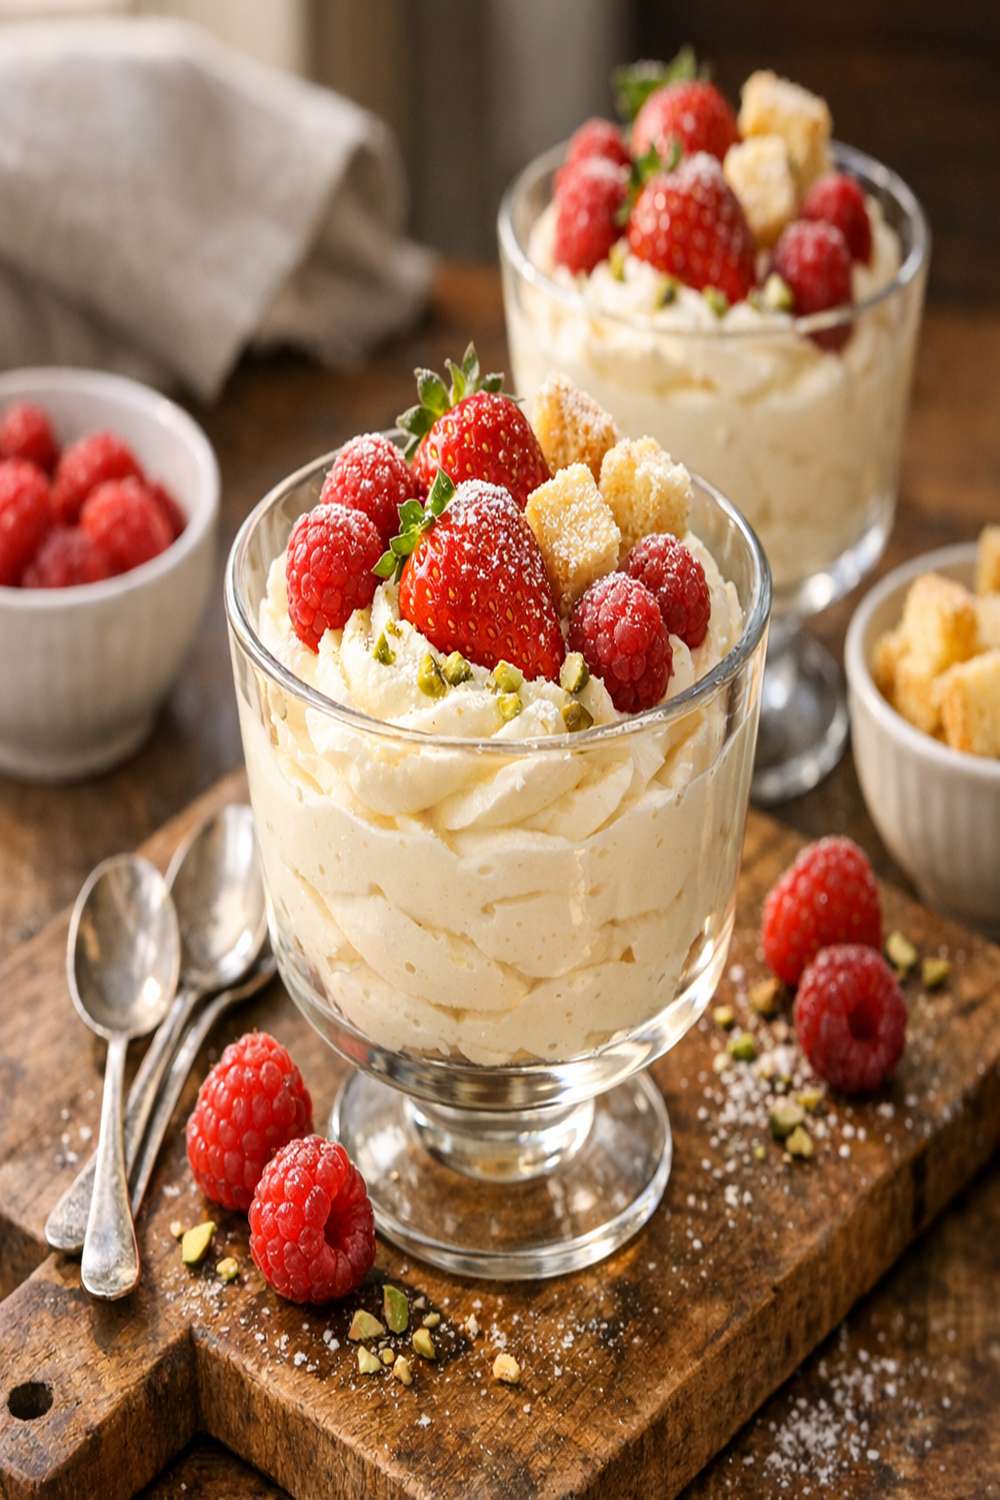
- Your crème diplomat is now ready to use. You can pipe it into profiteroles, spread it into a tart shell, or use it as a filling for layer cakes immediately. If you need to chill it before using (this can make piping easier), cover it with plastic wrap pressed directly against the surface and refrigerate for up to 2 hours. The longer it sits, the more the foam settles and the less voluminous it becomes—but it doesn't separate or break.