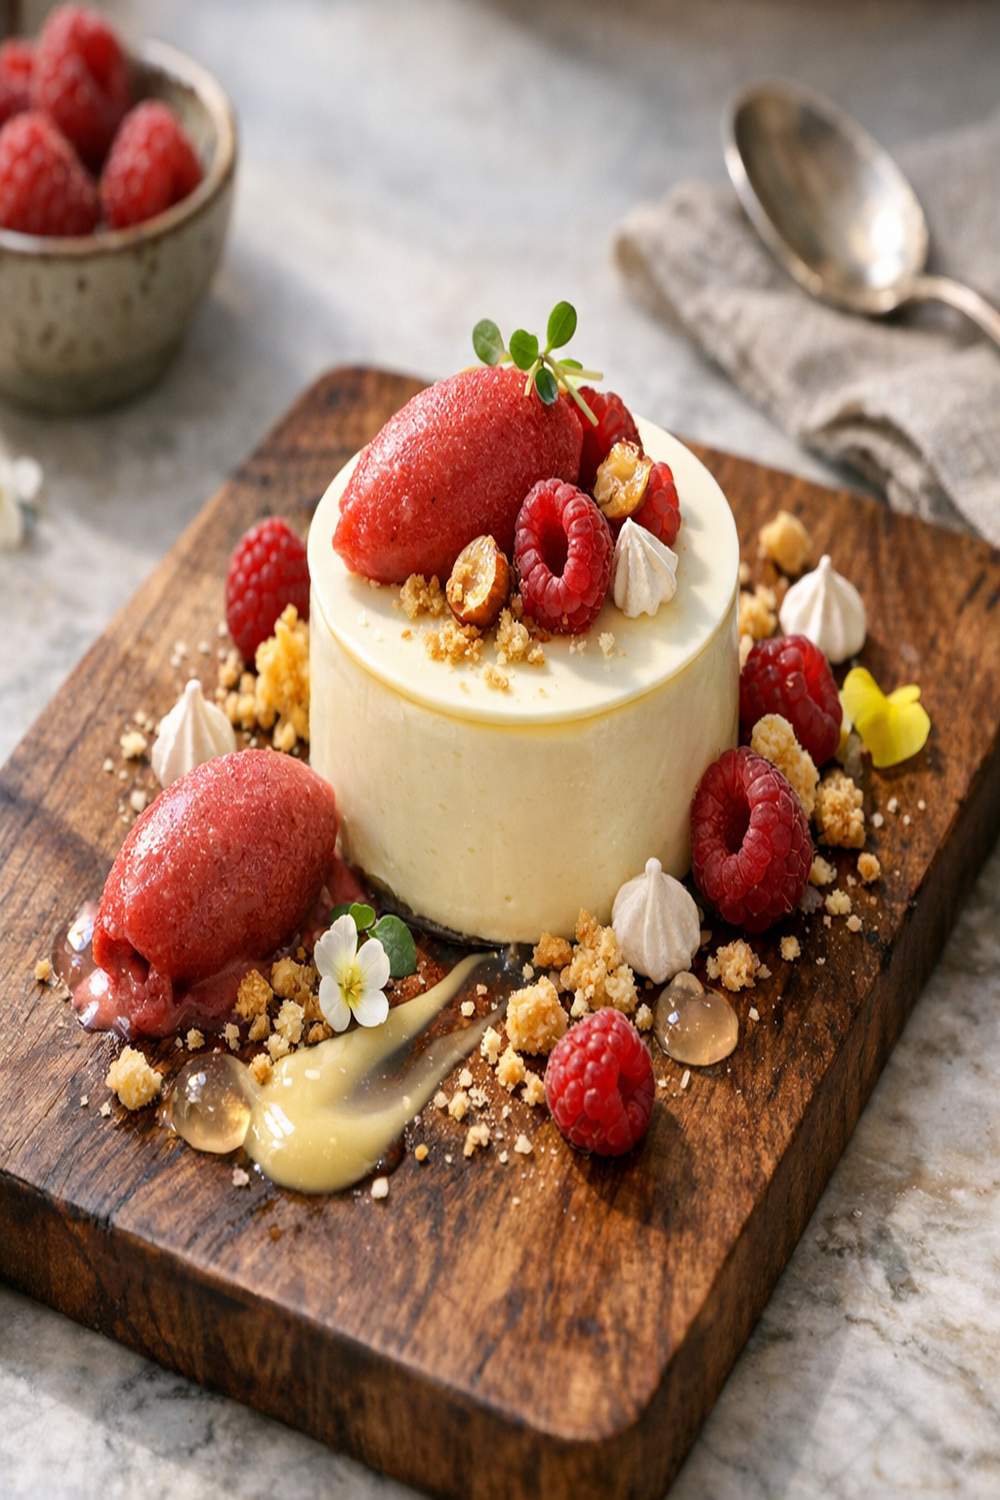

Ingredients
Method
Step 1: Temper Your Egg Yolks With Heat and Sugar
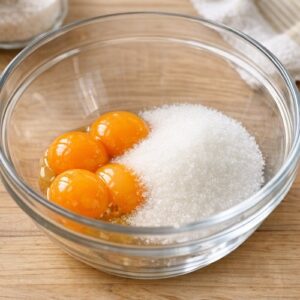
- Place your 4 room-temperature egg yolks and 100 grams of granulated sugar in a medium mixing bowl. Room temperature is non-negotiable—cold eggs won't incorporate smoothly and you'll end up with grainy texture. Whisk together by hand or with an electric mixer on medium speed for 2-3 minutes until the mixture becomes pale yellow and forms ribbons when you lift the whisk. This process, called "pâle and ribbony," aerates the yolks and ensures even cooking when you add the warm milk. The science here: you're creating an emulsion base. The egg yolks contain lecithin, a natural emulsifier that will eventually bind your chocolate, cream, and milk together. By whisking sugar into them now, you're creating tiny crystals that help stabilize the final texture. This step costs nothing but a few minutes and completely determines whether your crèmeux is silky or grainy.
Step 2: Heat Your Milk and Cream Together
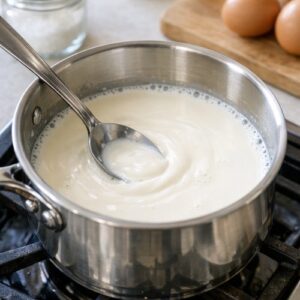
- Pour your 240 milliliters of full-fat milk and 240 milliliters of heavy cream into a small saucepan. Heat over medium heat, stirring occasionally, until small bubbles form around the edges—approximately 170-180°F (77-82°C). Do not boil. You're pasteurizing the eggs next, not creating steam. A budget-conscious tip: if you don't have an instant-read thermometer (mine cost $12 at Williams-Sonoma and has lasted 8 years), watch for that telltale moment when wisps of steam rise and tiny bubbles dot the edges. That's your target. Too hot and you'll scramble your yolks; too cool and you won't pasteurize safely.
Step 3: Temper the Egg Yolk Mixture
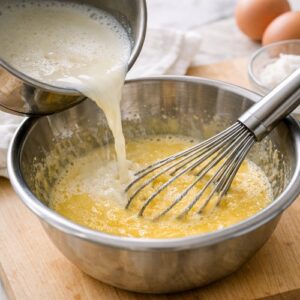
- Here's where technique replaces cost. Slowly pour approximately one-third of your hot milk-cream mixture into your whisked egg yolks while whisking constantly. This gradual incorporation—called tempering—raises the egg temperature without shocking the proteins into scrambling. It's the difference between creamy crèmeux and sweet scrambled eggs. Whisk continuously and deliberately. Spend 1-2 minutes on this step. Once that first third is fully incorporated and the mixture looks homogeneous, pour the egg mixture back into the saucepan with the remaining milk and cream, whisking all the while. You've now created a uniform custard base.
Step 4: Cook the Custard to Pasteurization Temperature
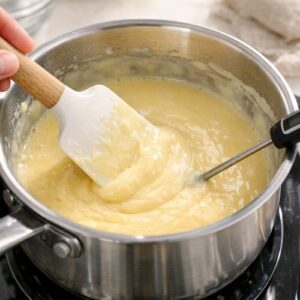
- Return the saucepan to medium heat. Continue stirring with a heat-resistant spatula or wooden spoon, scraping the sides and bottom constantly. You're looking for 160°F (71°C)—this temperature pasteurizes the raw egg yolks, making them safe to eat while preserving that silky texture. This should take 5-8 minutes. You'll notice the mixture thickens slightly and coats the back of your spoon. Dip a wooden spoon into the mixture, run your finger across the back—if the line holds without running, you've reached the right consistency. Do not exceed 180°F or your eggs will scramble and you'll have grainy texture.
Step 5: Strain and Cool Your Custard Base
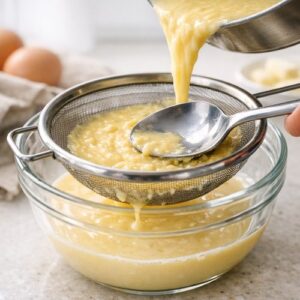
- Pour your hot custard through a fine-mesh strainer into a separate bowl, pressing gently with the back of a spoon. This single step removes any microscopic bits of cooked egg white and guarantees silky texture. It's the professional move that makes people think you trained in France, but it's pure technique, zero cost. Let the custard cool for 5 minutes at room temperature, then place the bowl into an ice bath (a larger bowl filled with ice water and a pinch of salt) for 10-15 minutes, stirring occasionally, until the mixture reaches approximately 110°F (43°C). You're cooling it enough that the chocolate won't separate when added, but not so much that it becomes difficult to incorporate smoothly.
Step 6: Chop and Incorporate the Chocolate
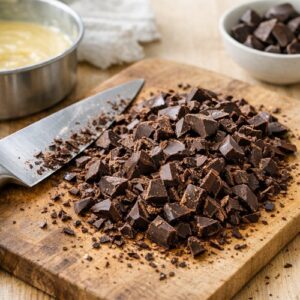
- While your custard cools, chop your 340 grams of dark chocolate into uneven pieces—roughly the size of chocolate chips, though some larger pieces are fine. The size variation actually helps even melting. Place the chopped chocolate in a separate bowl and add the ¼ teaspoon of sea salt directly into the chocolate. Pour your cooled custard over the chocolate. Resist the urge to stir immediately. Let it sit for 1 minute—the heat from the custard will gently soften the chocolate. Then, starting from the center of the bowl, whisk slowly in circular motions, gradually incorporating the softening chocolate into the custard. This gentle, deliberate whisking creates the emulsion that makes crèmeux so silky. You're suspending tiny chocolate particles throughout the custard base, and rough stirring breaks the emulsion. Take 2-3 minutes with this step. The chocolate will fully incorporate and the mixture will become glossy and homogeneous.
Step 7: Optional Butter Addition for Ultimate Silkiness
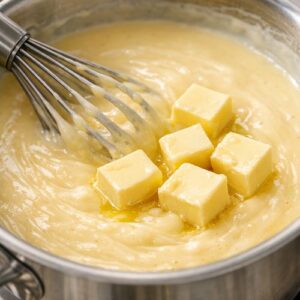
- If you have quality unsalted butter on hand—European-style with 86% fat content, like Kerrygold or Plugrá—add 50 grams (about 3.5 tablespoons) cut into small pieces. Let it sit in the warm chocolate mixture for 30 seconds, then whisk until fully incorporated. This step is optional but transforms the texture from silky to impossibly luxurious. The additional fat creates a mouthfeel that costs nearly nothing but feels indulgent beyond measure. If you don't have quality butter or prefer to keep ingredients minimal, absolutely skip this step. Your crèmeux will be perfect without it.
Step 8: Add Vanilla and Adjust Flavor
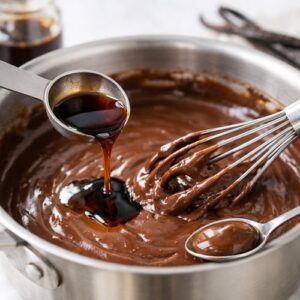
- Whisk in 1 tablespoon of pure vanilla extract. This brightens the chocolate flavor and prevents it from feeling one-note. Taste a tiny spoonful—if you want a deeper chocolate note, add another pinch of sea salt. If you want more sweetness, add 1 teaspoon of sugar, whisk thoroughly, and taste again. Seasoning crèmeux is personal; I make mine with restraint, letting the chocolate be the star.
Step 9: Portion and Chill
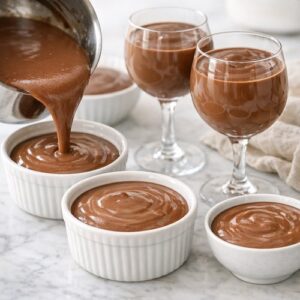
- Pour your finished crèmeux into serving vessels—ramekins, wine glasses, or small bowls. You'll have approximately 1 liter total, which portions beautifully into 4 generous 8-ounce servings or 6 modest 5-ounce servings. Cover with plastic wrap (pressing the wrap directly onto the surface prevents a skin from forming, which some people love and others prefer to avoid) and refrigerate for at least 2 hours, though overnight is ideal. Crèmeux actually improves in texture after 24 hours as the flavors meld and the custard fully sets. Plan ahead when possible.
Notes
- Source chocolate from restaurant supply stores or online bulk retailers - Cocoa.store and King Arthur Baking Company offer 55-72% cacao discs at $4-5 per pound when buying 2-pound quantities. Local restaurant supply stores (many allow home-cook purchases) offer European brands like Callebaut at competitive prices. This single swap saves $2-3 versus grocery store chocolate.
- Buy eggs from farmers markets or directly from local producers - In Alabama, I source pastured eggs from local farms for $4-5 per dozen instead of $3-4 for conventional. The yolks are deeper golden, richer, and create superior crèmeux texture. You're using only the yolks here, so superior eggs directly affect the final product's luxury factor.
- Purchase heavy cream during holiday seasons (November-December) when dairies run promotions - Stock up and freeze it. Heavy cream freezes beautifully for 3-4 months. I buy 4-5 containers when they're $1.29 instead of $1.79 and use them throughout winter for custards, crèmes, and sauces.
- Skip individual vanilla pods; buy pure extract in bulk from King Arthur or The Spice House - You'll pay $8-12 for a 4 oz bottle that lasts 2-3 years. One tablespoon of quality vanilla is non-negotiable in crèmeux because it's the only flavor note competing with chocolate.
- Buy granulated sugar in 4-pound bags from warehouse clubs if you have membership - At Costco or Sam's Club, sugar costs $0.25 per pound versus $0.35-0.40 at traditional grocers. For bakers and home cooks, this membership pays for itself in sugar alone.