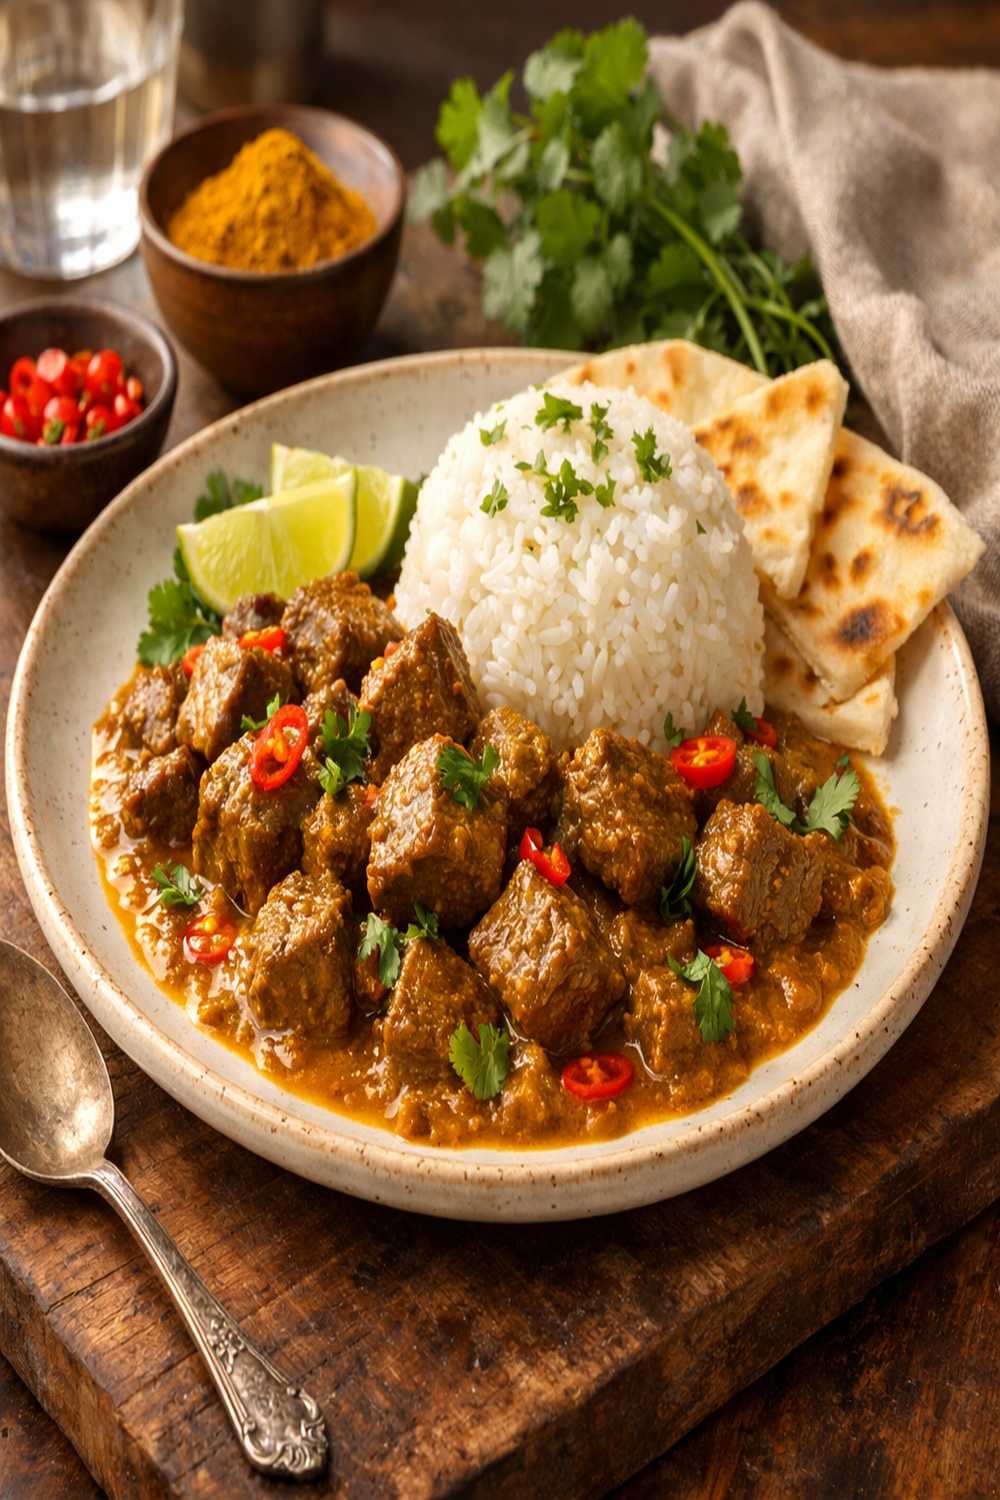

Ingredients
Method
Step 1: Prepare and Dry Your Beef for Perfect Searing
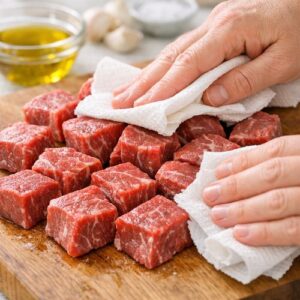
- Pat your beef cubes thoroughly dry with paper towels—this single step determines whether you'll achieve a proper sear or create steam that prevents browning. Moisture is the enemy of caramelization. Let the dried beef rest for 5 minutes at room temperature so it sears evenly rather than shocking from cold. Sprinkle lightly with sea salt on all surfaces. I use my hands for this, pressing gently so the salt adheres. This isn't just seasoning; you're beginning to draw out the meat's flavors.
Step 2: Toast Your Mustard Seeds and Build the Spice Foundation
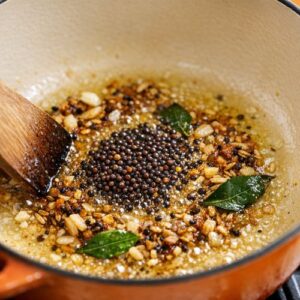
- Heat your ghee or oil in a heavy-bottomed Dutch oven (I recommend a 5.5-quart Le Creuset for even heat distribution) over medium-high heat until shimmering but not smoking. Add the mustard seeds immediately. Listen for them to crack and pop—this happens in 20-30 seconds. The moment they begin crackling vigorously, you'll hear and smell the transformation. This is when volatile compounds wake up, releasing compounds that season everything forward. Add the bay leaves and cinnamon stick to this oil. Let them infuse for another 20 seconds until fragrant.
Step 3: Sear the Beef in Batches for Deep Color and Flavor
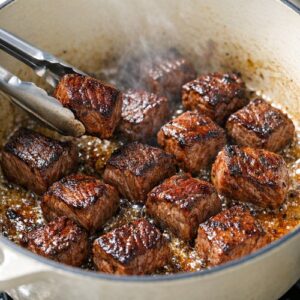
- Increase heat to high. Working in three batches so you don't overcrowd the pot, sear the beef cubes on all sides until deeply browned—aim for a mahogany crust, not pale brown. This should take 3-4 minutes per batch. Don't move the meat while it's searing; let it develop color undisturbed. Between batches, allow the oil to return to its previous temperature. This browning step, called the Maillard reaction, creates hundreds of complex flavor compounds that cannot be achieved any other way. This is non-negotiable for authentic depth.
Step 4: Build Aromatics With Precision Timing
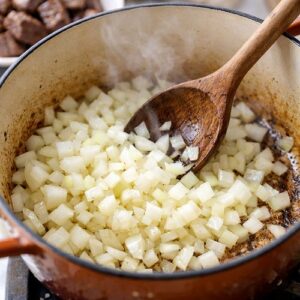
- Once all beef is browned and set aside, add your diced onion (the larger portion) to the pot. Cook for 3-4 minutes until the onion begins to soften and turn translucent at the edges. Add your minced garlic and fresh ginger, stirring constantly for exactly 2 minutes. You want the garlic to release its aroma without burning—burnt garlic becomes bitter and ruins everything. The ginger's volatile oils need this brief heat to express their warmth.
Step 5: Layer the Ground Spices Into the Aromatics
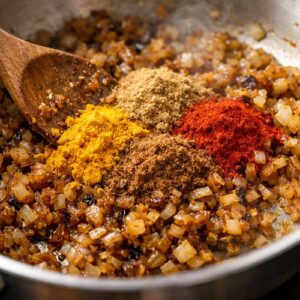
- Reduce heat to medium. Add your turmeric, ground coriander, garam masala, and red chili powder all at once. Stir constantly and continuously for 2 minutes. This step blooms the spices' flavor in the fat, allowing them to release their compounds in a controlled environment rather than in liquid where they're diluted. You want the spices to coat the aromatics completely. The mixture should smell complex and warm—if it smells burnt, your heat is too high.
Step 6: Return Beef and Begin the Braise
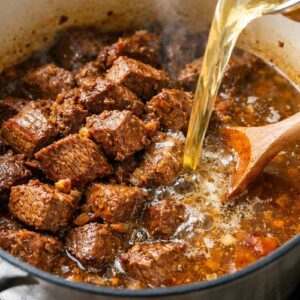
- Return all the browned beef and any accumulated juices back to the pot, stirring to coat everything in the spiced oil. Pour in your water or bone broth—start with ¾ cup and add more if needed. The liquid should barely cover the meat, not submerge it. Bring to a gentle simmer. Stir in the fresh coconut slices at this point. Do not use canned coconut milk here; the texture and intensity differ significantly, and traditional technique calls for the flesh itself, which adds subtle nuttiness as it breaks down during cooking.
Step 7: Braise Low and Slow Until Beef Becomes Tender
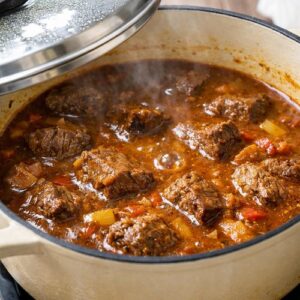
- Reduce heat to low and cover with the lid. You want the gentlest simmer possible—just the occasional bubble breaking the surface. This is where time becomes your secret ingredient. Braise for 2 to 2.5 hours, stirring occasionally. The meat should be fall-apart tender, and the sauce should have reduced and concentrated into something glossy and thick. If after 2 hours the sauce is still watery, remove the lid and increase heat slightly, simmering for another 15-20 minutes until the sauce coats the back of a spoon.
Step 8: Finish With Fresh Herbs and Final Seasoning
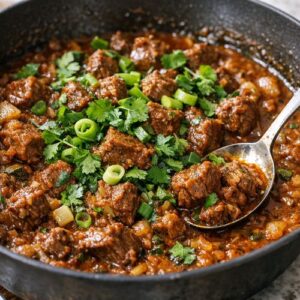
- Remove from heat. Taste carefully and adjust salt—remember, you seasoned at the beginning, but much has reduced and concentrated. Add the remaining diced onion (raw) for brightness and textural contrast. Scatter the fresh cilantro over the top. The raw herbs provide aromatic notes that balance the deep, concentrated spices. Do not stir the cilantro in completely; let it remain visible on top, releasing its essential oils as people eat.
Notes
- Using pre-made curry powder instead of blooming whole spices - I cannot emphasize this enough. Commercial curry powders are convenient but have oxidized in storage, losing volatile compounds. Blooming your spices fresh makes a flavor difference that will astonish you. This is the single biggest quality upgrade you can make.
- Skipping the initial searing step - The Maillard reaction creates flavor that cannot be replicated. I've tried skipping it to save time, and the result is thin, one-dimensional sauce. The time investment returns exponentially in depth.
- Adding all the liquid at once instead of building gradually - The sauce needs to concentrate slowly. If you add too much water, you're steaming rather than braising. Start conservatively and add only if needed after the first 90 minutes.
- Neglecting to dry the meat before searing - Wet meat creates steam, which prevents browning. This single step determines whether you get a mahogany crust or pale, unappetizing cubes. Pat thoroughly and let rest.