
This post contains affiliate links. As an Amazon Associate I earn from qualifying purchases.
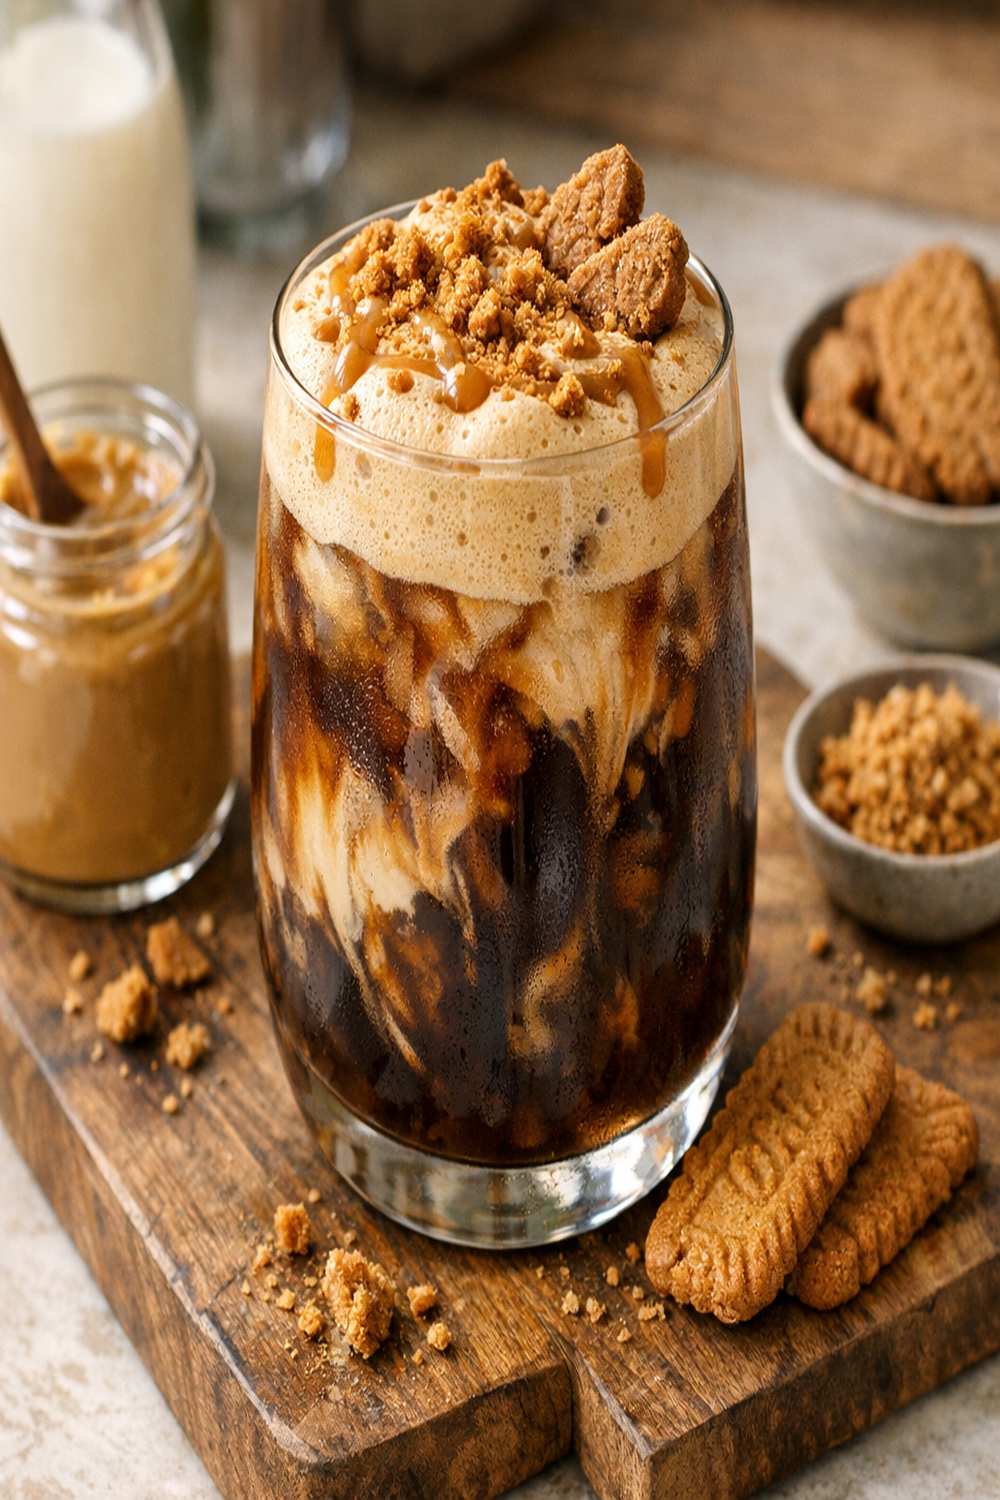
This looks and tastes like you just dropped $7 at a specialty coffee shop. The reality? You’re spending less than $8 total, and the flavor is honestly richer because you made it with intention. I’ve watched too many of my clients choose convenience over quality, accepting mediocre coffee when extraordinary is just as affordable. This cookie butter cold brew changes that narrative entirely.
Restaurant-Quality Cookie Butter Cold Brew Recipe for Under $8 (No Shortcuts on Flavor)
I remember the exact moment this recipe came to life. I was in my kitchen in Bay Minette, testing flavor combinations late on a humid afternoon, thinking about how my abuela used to layer spices and brown sugar into everything she made. She never rushed. She never skimped. But she was also incredibly resourceful—she understood that luxury and practicality weren’t enemies. That’s when I realized: cold brew doesn’t need to be complicated, and cookie butter deserves a moment in the spotlight beyond just spreading it on toast.
I spent weeks perfecting this, playing with ratios of cold brew to cream, experimenting with homemade brown sugar syrups instead of expensive flavored pumps. What emerged is something that genuinely feels indulgent without the guilt or the price tag. When you layer a silky cookie butter foam on top of smooth cold brew, something magical happens. It’s the kind of drink that makes you pause, actually taste what you’re drinking, and feel grateful for small luxuries.
The Real Cost Breakdown
Let’s be honest about what this costs. I’m not hiding ingredients in the pantry or assuming you already own everything. Here’s what you’re actually spending:
- Cold brew concentrate – $0.85 (buying quality cold brew from Costco or brewing your own brings this down significantly)
- Heavy cream – $1.20 (half cup from a standard quart)
- Whole milk – $0.40 (sourcing from local dairies when possible adds nutrition and taste)
- Brown sugar – $0.35 (buying in bulk at stores like Aldi cuts this in half)
- Cookie butter emulsion – $2.85 (split across multiple drinks, this ingredient lasts months)
- Biscoff cookies – $1.15 (for garnish and crumble)
- Filtered water – $0.15 (tap water is fine; I use filtered for better taste)
Total cost per serving: $7.95
At a coffee shop, this drink costs $6.50–$8.00 just for the base cold brew, before adding any extras. You’re getting café quality for the same price, with ingredients you can pronounce and control.
Smart Shopping Tips for This Recipe
- Buy cold brew concentrate from Costco in bulk – A single bottle costs $8–$10 and makes 20+ servings. This is the single biggest way to keep per-drink costs down. If you don’t have Costco, Trader Joe’s cold brew concentrate is nearly identical in quality and price.
- Source your heavy cream strategically – Buy the larger quart-sized containers from Aldi or store brands rather than individual pints. Aldi’s heavy cream is $1.99–$2.29 per quart, and quality is excellent. You’ll use half a cup here, leaving plenty for other recipes.
- Invest in cookie butter emulsion once, enjoy it for months – LorAnn emulsions are concentrated, so one small bottle (½ oz) costs $3–$4 and makes dozens of drinks. This is a one-time purchase that justifies itself immediately. Store in a cool, dark place and it lasts over a year.
- Make your own brown sugar syrup – Combining granulated sugar with molasses costs pennies compared to buying flavored syrups. You control the sweetness and it tastes infinitely better.
- Buy Biscoff cookies on sale and stockpile – These shelf-stable cookies go on sale regularly at Target and grocery stores. Buy three boxes when they’re $2.50 each instead of $3.50, and you have garnish for months.
The Ingredients
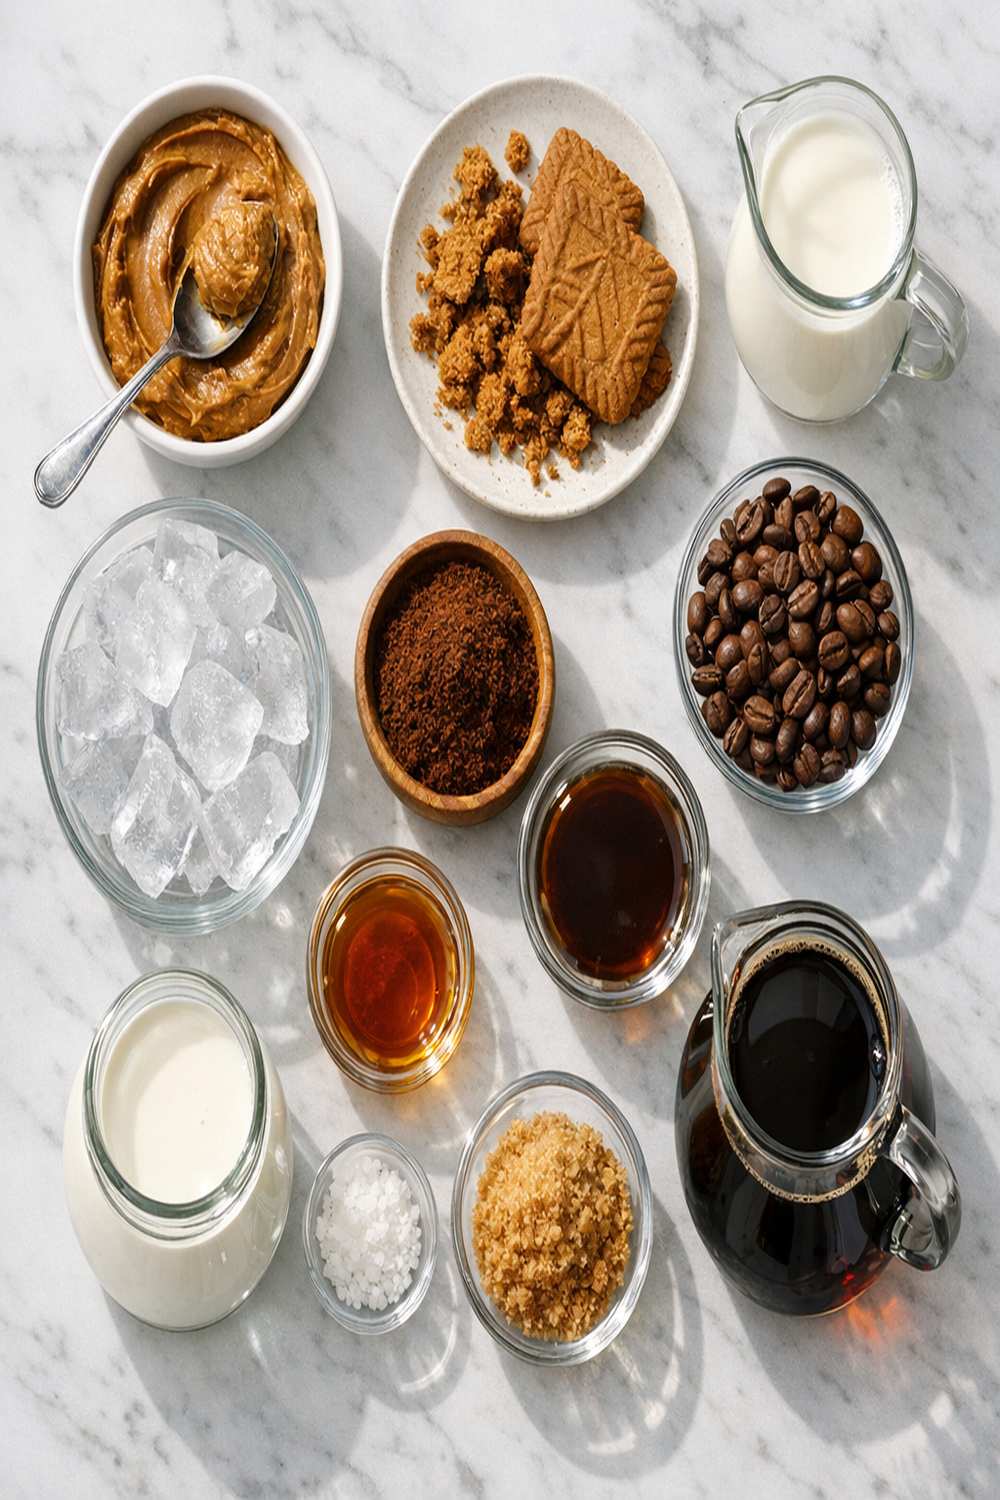
Every ingredient in this drink earns its place and its cost. Nothing is filler. Nothing is there just to look pretty. Each element adds texture, flavor depth, or that moment of pause when you take the first sip.
For the Brown Sugar Syrup Base
- ½ cup water (filtered or tap, doesn’t matter)
- 1 cup granulated sugar (white or cane sugar, whichever is cheapest)
- 2 tablespoons unsulfured molasses (adds the brown sugar flavor without buying packaged brown sugar)
For the Cold Brew
- 8 fluid ounces cold brew coffee concentrate (chilled, not diluted yet)
- ¼ cup heavy cream (reserved for drinking, not whipping)
- ½ cup whole milk (full-fat creates better mouthfeel than reduced fat)
For the Cookie Butter Foam Topping
- 1 teaspoon cookie butter emulsion (LorAnn brand or similar concentrated flavoring)
- 2 teaspoons granulated sugar (for sweetness in the foam)
- Ice cubes (for chilling the drink)
- 1 whole Biscoff cookie, crumbled (for garnish)
- ½ cup heavy cream (cold, straight from the refrigerator)
How to Make Cookie Butter Cold Brew Recipe Without Breaking the Bank
What makes this recipe special isn’t any single step—it’s understanding why each step matters. As a dietitian, I see people rush through cooking, treating it like a task instead of a moment. This drink requires 8 minutes of your attention. That’s it. Those 8 minutes are where the luxury lives.
Step 1: Make Your Brown Sugar Syrup (Can Be Done Ahead)
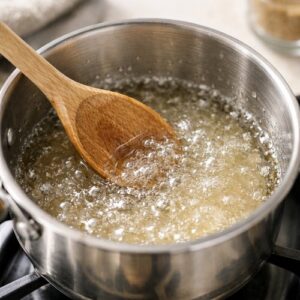
In a small saucepan over medium heat, combine 1 cup granulated sugar and ½ cup water. Stir until the sugar dissolves completely—this takes about 2–3 minutes. You’ll see the mixture shift from grainy to translucent. Don’t rush this step; rushing creates crystallized syrup. Once dissolved, remove from heat and stir in 2 tablespoons molasses. The mixture will deepen to a rich brown color immediately. This is your secret to that authentic brown sugar depth without the cost of packaged brown sugar.
Let the syrup cool completely before transferring to a clean jar. This keeps in the refrigerator for up to 3 weeks, so make it once and use it for five cold brews. You’re spreading the cost and effort across multiple servings.
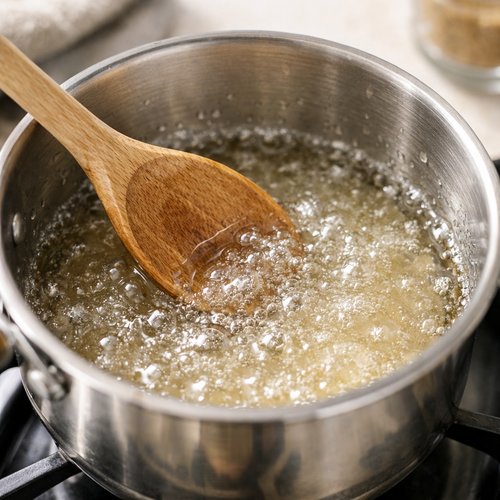
Step 2: Prepare Your Cold Brew Base
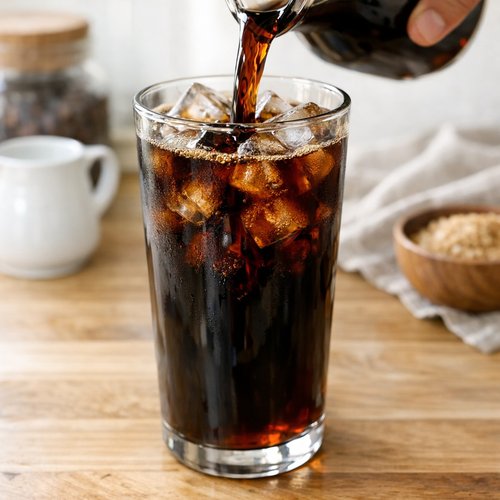
Pour 8 fluid ounces of chilled cold brew concentrate into a tall glass. If you’re making your own cold brew instead of buying concentrate (which I recommend for ultimate budget savings), steep 1 cup coarsely ground coffee in 4 cups cold water for 12–24 hours, then strain through cheesecloth. Homemade cold brew costs less than $1 per serving when you buy coffee beans on sale and brew in batches.
Add 1 tablespoon of your brown sugar syrup to the cold brew. Stir well. The syrup should distribute evenly, creating ribbons of color throughout the drink. This is where patience matters—a good 15-second stir ensures every sip has balanced sweetness.
Step 3: Create the Milk Layer
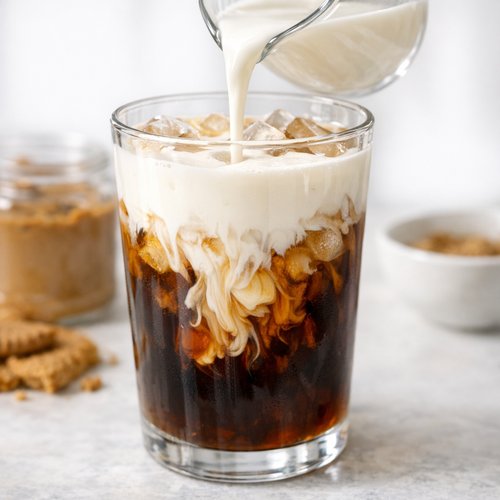
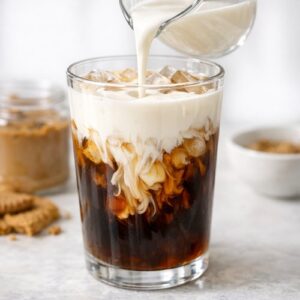
Here’s where many cold brew recipes fail: they don’t layer properly, creating a muddy, homogeneous drink instead of something visually striking. Pour ½ cup whole milk slowly over the back of a bar spoon (or the back of a regular spoon) into your cold brew. The milk should float briefly before gently mixing. This creates those beautiful cream-colored swirls.
Add ¼ cup cold heavy cream the same way. The heavier cream will sink through the milk, creating depth and richness. Now your drink has complexity—light coffee at the bottom, rich cream at the top.
Fill the glass with ice cubes, leaving about 1 inch of space at the top for the foam.
Step 4: Make the Cookie Butter Foam
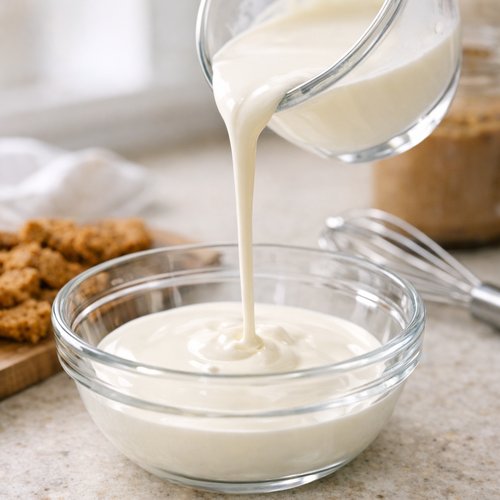
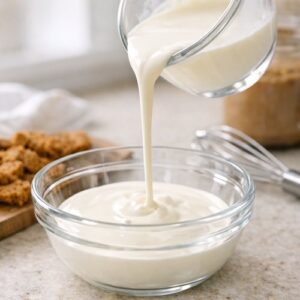
This is the show-stopping element. In a separate small bowl, pour ½ cup heavy cream (it must be cold—pull it from the refrigerator minutes before). Using an electric hand mixer on medium-high speed, whip the cream for about 90 seconds until soft peaks form. You want peaks that curl gently when you lift the beaters, not stiff peaks.
Add 2 teaspoons granulated sugar and 1 teaspoon cookie butter emulsion. Whip for another 30 seconds only. Over-mixing breaks down the foam structure. The emulsion creates a subtle cookie butter flavor throughout the foam—not overpowering, just a whisper of spiced cookie against the dairy richness.
Step 5: Layer and Garnish
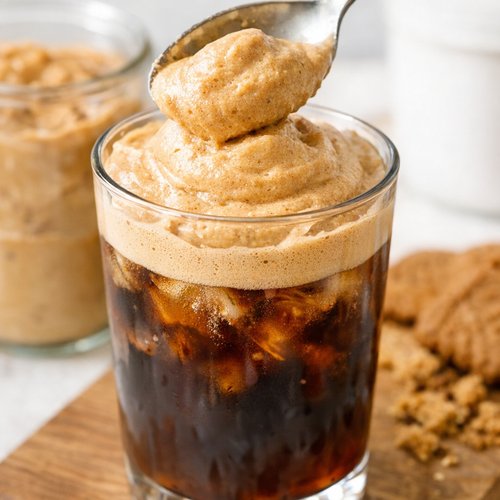
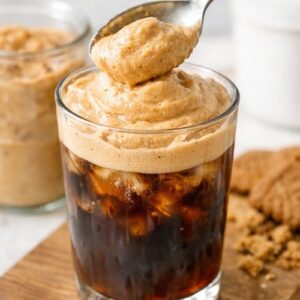
Spoon the cookie butter foam gently onto the surface of your cold brew, building it up in the center. Don’t fill the glass completely—the foam should crown the drink, inviting you to taste it first. Crumble one Biscoff cookie over the foam. The cookie pieces should sit on top, providing a textural contrast to the creamy foam.
The visual appeal here is part of the indulgence. You’re not just drinking coffee; you’re experiencing something intentional. This matters psychologically—studies show we enjoy food more when it’s visually appealing and when we’ve invested care in preparing it.
Expert’s Nutritional Insight: The Cream-to-Caffeine Ratio
As a registered dietitian, I notice that most cold brew recipes skimp on understanding why the ratio of cream to coffee matters beyond taste. Heavy cream contains about 52 calories per tablespoon and provides fat-soluble vitamins like vitamin A and K2. When you combine this fat with the polyphenols in coffee (powerful antioxidants), you’re actually improving your body’s ability to absorb those antioxidants. The fat slows caffeine absorption too, preventing the sharp spike-and-crash that leaves you exhausted by 2 PM.
This drink contains roughly 95 mg of caffeine from 8 oz of cold brew, with enough fat and protein from cream and milk to provide steady energy release over 4–5 hours. Compare this to a typical coffee shop cold brew, which often contains 150+ mg of caffeine with minimal fat, and you’re making a smarter choice for your nervous system.
Make-Ahead Guide: Meal Prep Your Coffee Moments
I recommend making your brown sugar syrup on Sunday for the entire week. It takes 5 minutes and transforms your weekday mornings. Here’s my professional approach:
- Make brown sugar syrup on Sunday – Prepare a full batch and store in a clean glass jar in the refrigerator. Label it with the date. It keeps for 3 weeks, so one batch covers multiple weeks of daily coffee.
- Brew cold brew in batches – Make a large batch of cold brew concentrate every 2 weeks (or buy Costco concentrate). Store in a glass pitcher with a tight-fitting lid. This takes the guesswork out of morning decisions.
- Prep foam ingredients the night before – Pour ½ cup heavy cream into a small bowl, cover with plastic wrap, and refrigerate overnight. The cream will be perfectly chilled for quick whipping in the morning.
- Set up a drink station – Keep your cold brew, milk, cream, syrup, and emulsion in one area of your refrigerator. Assembly becomes a 3-minute ritual instead of a hunt-and-gather mission.
How to Stretch This Recipe Further
- Make it a double recipe for two servings – The brown sugar syrup and all ingredients scale linearly. Make enough foam for two drinks and you’ve cut per-drink prep time in half. Share with a partner or colleague and you’ve created a moment of connection over something homemade.
- Transform leftover cold brew into affogato – Any remaining cold brew can be poured hot over vanilla ice cream (I recommend supporting local ice cream makers when possible). You’ve created a completely different dessert from one ingredient.
- Use leftover Biscoff cookies for another recipe – Crumble them into yogurt, blend them into smoothies, or crush them for a pie crust. These cookies are versatile and keep for weeks in an airtight container.
- Save brown sugar syrup for other drinks – Use the same syrup in iced tea, oat milk lattes, or vanilla seltzer. You’re making one batch work across multiple recipes, maximizing your investment and effort.
Budget Substitutions That Don’t Sacrifice Quality
- Cold brew concentrate → Homemade cold brew: Brewing your own costs about 40% less per serving if you buy coffee on sale. The flavor quality actually improves because you control the beans and steeping time. Use a French press, fine mesh strainer, or even cheesecloth—no special equipment needed.
- Heavy cream → Whole milk with butter (as emergency substitute only): Blend ¾ cup whole milk with 1 tablespoon melted butter to approximate heavy cream’s fat content. The texture won’t be identical, but the flavor works. I don’t recommend this regularly, only when cream is unavailable.
- Cookie butter emulsion → Homemade cookie butter syrup: Blend store-brand cookie butter spread (like Biscoff spread, much cheaper than emulsion) with a tablespoon of water until liquid. Use 1 tablespoon of this in place of 1 teaspoon emulsion. Texture will be thicker, but flavor is nearly identical.
- Biscoff cookies → Store-brand vanilla wafers or tea biscuits: Any crispy, slightly sweet cookie works for garnish. Store brands cost 50% less and taste nearly identical when crumbled on top.
Common Mistakes to Avoid
- Using room-temperature cream for the foam – Warm cream won’t whip properly. It should come directly from the refrigerator, ideally chilled for at least an hour. If your kitchen is hot, put the bowl in the freezer for 5 minutes before whipping.
- Over-whipping the foam – Stop at soft peaks. Continuing to whip turns your foam into butter. You want cloud-like texture, not grainy texture.
- Skipping the layering step – Pouring everything together at once creates a muddy brown drink. Layering creates visual appeal and encourages you to taste each component. This isn’t just for looks; it’s for the complete sensory experience.
- Making the brown sugar syrup with hot water then immediately using it – Warm syrup will melt the foam and thin out your drink. Always let syrup cool to room temperature before adding to cold brew. This takes 10 minutes but transforms the final result.
Seasonal Variations: Adapt This Recipe Year-Round
One of my favorite things about this recipe is its flexibility. The framework stays the same, but you can shift the flavors with the seasons:
- Winter version – Add ¼ teaspoon cinnamon and ⅛ teaspoon cardamom to the brown sugar syrup while it’s still warm. This creates spiced notes reminiscent of holiday cookies. Top with a cinnamon stick instead of a crumbled cookie.
- Spring version – Replace cookie butter emulsion with ½ teaspoon vanilla extract and add a pinch of sea salt to the foam. This creates a more subtle, understated flavor perfect for lighter spring mornings.
- Summer version – Add an extra ½ cup of ice and reduce cream by 2 tablespoons, increasing milk by the same amount. This creates a leaner, more refreshing version. The cookie butter flavor becomes more prominent without heavy cream masking it.
- Fall version – Add ¼ teaspoon pure vanilla extract and ⅛ teaspoon nutmeg to the brown sugar syrup. Replace Biscoff cookie garnish with crushed gingersnaps or pumpkin spice cookies if available.
Can I Store Cookie Butter Cold Brew Recipe?
This drink is designed to be consumed fresh, but here’s what you can prepare ahead:
Brown sugar syrup lasts 3 weeks refrigerated. Store in a glass jar with a tight-fitting lid. No waste, unlimited uses.
Cold brew concentrate lasts 2 weeks refrigerated if you make it yourself, longer if you buy shelf-stable concentrate. Keep in a glass pitcher or bottle away from light.
The completed drink is best consumed within 30 minutes of assembly because the foam will eventually deflate. However, you can prepare the cold brew and milk layer 4–6 hours ahead, covering it with plastic wrap and refrigerating. Make the foam fresh just before serving.
Whipped cookie butter foam lasts 2 hours refrigerated under plastic wrap, though it’s prettiest in the first 30 minutes. If you’re making this for guests, whip the foam right before serving for maximum visual impact.
Nutrition Information
Per serving (one complete drink as prepared): approximately 185 calories, 12g total fat (8g saturated), 18g carbohydrates, 2g protein, and 95mg caffeine. The drink provides 5% of daily value for calcium and small amounts of vitamin A from the dairy.
What’s interesting from a nutritional standpoint: the fat content (12g) slows gastric emptying, meaning the caffeine hits your system more gradually than black coffee would. You get sustained energy without the jitters. The 18g carbohydrates come almost entirely from the brown sugar syrup—not hidden sugars in flavorings, but transparent ones you control.
According to USDA food composition data, one 8oz serving of cold brew coffee contains approximately 95mg caffeine and negligible calories. The additions of milk, cream, and syrup bring nutritional density without excess calories. This is efficient indulgence.
For context: a comparable drink from a specialty coffee shop (flavored cold brew with cream and flavoring syrup) contains 180–220 calories and often 18–22g added sugars from commercial syrups. Here, you’re controlling every gram of sugar, understanding its source, and using considerably less of it.
What Can I Serve With Cookie Butter Cold Brew Recipe?
This drink pairs beautifully with breakfast foods that complement rather than compete with the cookie butter notes. I think about what would sit naturally beside this in a café setting.
- Buttered brioche toast – The vanilla and butter notes echo the cookie butter flavor. A slice costs under $1 and feels luxurious. Consider my braided brioche recipe if you want homemade richness without bakery prices.
- Plain Greek yogurt with honey – Provides protein contrast and cleansing effect for your palate. The tanginess offsets the drink’s sweetness beautifully. Cost per serving is under $1.
- A simple fruit salad – Watermelon, berries, or stone fruit provide freshness and natural sugars. This prevents the drink from feeling too heavy or sweet on its own.
- Chocolate croissant or pastry – If you’re going full indulgence mode (which is fine—that’s the whole point), a good croissant costs $2–$3 and pairs perfectly with cold brew’s bitterness against the pastry’s buttery richness.
- Baked goods featuring brown sugar or spice – My espresso crumb coffee cake pairs remarkably well, as does any cinnamon or cardamom-based bake.

Cookie Butter Cold Brew Recipe
Ingredients
Method
- In a small saucepan over medium heat, combine 1 cup granulated sugar and ½ cup water. Stir until the sugar dissolves completely—this takes about 2–3 minutes. You'll see the mixture shift from grainy to translucent. Don't rush this step; rushing creates crystallized syrup. Once dissolved, remove from heat and stir in 2 tablespoons molasses. The mixture will deepen to a rich brown color immediately. This is your secret to that authentic brown sugar depth without the cost of packaged brown sugar. Let the syrup cool completely before transferring to a clean jar. This keeps in the refrigerator for up to 3 weeks, so make it once and use it for five cold brews. You're spreading the cost and effort across multiple servings.
- Pour 8 fluid ounces of chilled cold brew concentrate into a tall glass. If you're making your own cold brew instead of buying concentrate (which I recommend for ultimate budget savings), steep 1 cup coarsely ground coffee in 4 cups cold water for 12–24 hours, then strain through cheesecloth. Homemade cold brew costs less than $1 per serving when you buy coffee beans on sale and brew in batches. Add 1 tablespoon of your brown sugar syrup to the cold brew. Stir well. The syrup should distribute evenly, creating ribbons of color throughout the drink. This is where patience matters—a good 15-second stir ensures every sip has balanced sweetness.

- Here's where many cold brew recipes fail: they don't layer properly, creating a muddy, homogeneous drink instead of something visually striking. Pour ½ cup whole milk slowly over the back of a bar spoon (or the back of a regular spoon) into your cold brew. The milk should float briefly before gently mixing. This creates those beautiful cream-colored swirls. Add ¼ cup cold heavy cream the same way. The heavier cream will sink through the milk, creating depth and richness. Now your drink has complexity—light coffee at the bottom, rich cream at the top. Fill the glass with ice cubes, leaving about 1 inch of space at the top for the foam.
- This is the show-stopping element. In a separate small bowl, pour ½ cup heavy cream (it must be cold—pull it from the refrigerator minutes before). Using an electric hand mixer on medium-high speed, whip the cream for about 90 seconds until soft peaks form. You want peaks that curl gently when you lift the beaters, not stiff peaks. Add 2 teaspoons granulated sugar and 1 teaspoon cookie butter emulsion. Whip for another 30 seconds only. Over-mixing breaks down the foam structure. The emulsion creates a subtle cookie butter flavor throughout the foam—not overpowering, just a whisper of spiced cookie against the dairy richness.
- Spoon the cookie butter foam gently onto the surface of your cold brew, building it up in the center. Don't fill the glass completely—the foam should crown the drink, inviting you to taste it first. Crumble one Biscoff cookie over the foam. The cookie pieces should sit on top, providing a textural contrast to the creamy foam. The visual appeal here is part of the indulgence. You're not just drinking coffee; you're experiencing something intentional. This matters psychologically—studies show we enjoy food more when it's visually appealing and when we've invested care in preparing it.
Notes
FAQs
Can I make this drink without an electric mixer for the foam?
Absolutely. Use a whisk and elbow grease. It’ll take about 3–4 minutes of vigorous whisking to achieve soft peaks, but the result is identical. I actually prefer hand-whisking sometimes because it connects me to the process more directly. Your effort becomes part of the indulgence.
Is there a non-dairy version that maintains the same quality?
Yes, though the cost changes slightly. Replace heavy cream with full-fat coconut cream (canned, not the light stuff). Replace milk with oat milk or almond milk. The coffee will taste slightly different—more pronounced, less rounded—but still delicious. The foam will be thinner because non-dairy creams don’t whip as easily. Cost stays similar, around $8 per serving.
Can I make a large batch of the complete drink and store it?
No. The foam will deflate within hours, and the drink becomes watery as ice melts. What you can do: prepare brown sugar syrup in bulk, brew cold brew in bulk, and assemble individual drinks fresh as needed. This takes 4 minutes per drink once you have components ready.
Why does my brown sugar syrup crystallize?
This happens when the temperature fluctuates or when sugar isn’t fully dissolved before cooling. Prevention: dissolve sugar completely over medium heat, stirring consistently. Don’t use high heat, which creates tiny sugar crystals. If crystallization happens, gently reheat the syrup over low heat while stirring until crystals dissolve again.
Can I substitute the cookie butter emulsion with regular extract?
Not directly. Cookie butter emulsion is specifically formulated to taste like spiced cookie spread. Vanilla extract will taste thin by comparison. Better option: use my earlier suggestion of blending store-brand cookie butter spread with water, or add ¼ teaspoon cinnamon plus a tiny pinch of nutmeg to approximate the cookie butter flavor profile. Taste and adjust.
More Budget-Friendly Recipes
- Brown Sugar Boba Pearls Recipe – Make café-quality tapioca pearls at home for a fraction of bubble tea shop prices
- Almond Praline Recipe – Homemade brittle that costs $2 to make and tastes like it cost $15 at a specialty shop
- Espresso Crumb Coffee Cake – A sophisticated breakfast cake that pairs perfectly with cold brew and costs under $5 to bake
This cookie butter cold brew sits at the intersection of what my career taught me and what my family taught me: you can be mindful about nutrition and cost without sacrificing indulgence or joy. My abuela understood that the best meals aren’t about expense—they’re about intention, quality ingredients within reach, and the willingness to spend 8 minutes actually making something rather than waiting in line for it.
Every time you make this drink, you’re proving to yourself that luxury doesn’t require a luxury budget. You’re proving that slowing down and preparing something intentionally tastes better than convenience. You’re proving that indulgence and mindfulness don’t fight; they dance together.
Your morning ritual deserves this care. Your budget can absolutely support it. Savor the joy of cooking!
META DESCRIPTION: Make café-quality cookie butter cold brew at home for under $8. This recipe combines indulgence with nutrition insights from a registered dietitian.